Deno Tui でユニバーサルな TUI アプリを作る
Back to Topはじめに
#Deno Tui は TUI (Terminal User Interface)のアプリを作成するための Deno ライブラリです。
GitHub - Im-Beast/deno_tui: 🦕 Deno module for creating Terminal User Interfaces
TUI は文字通りターミナルで動作する UI で Linux のインストーラーなどで利用した方も多いと思います。
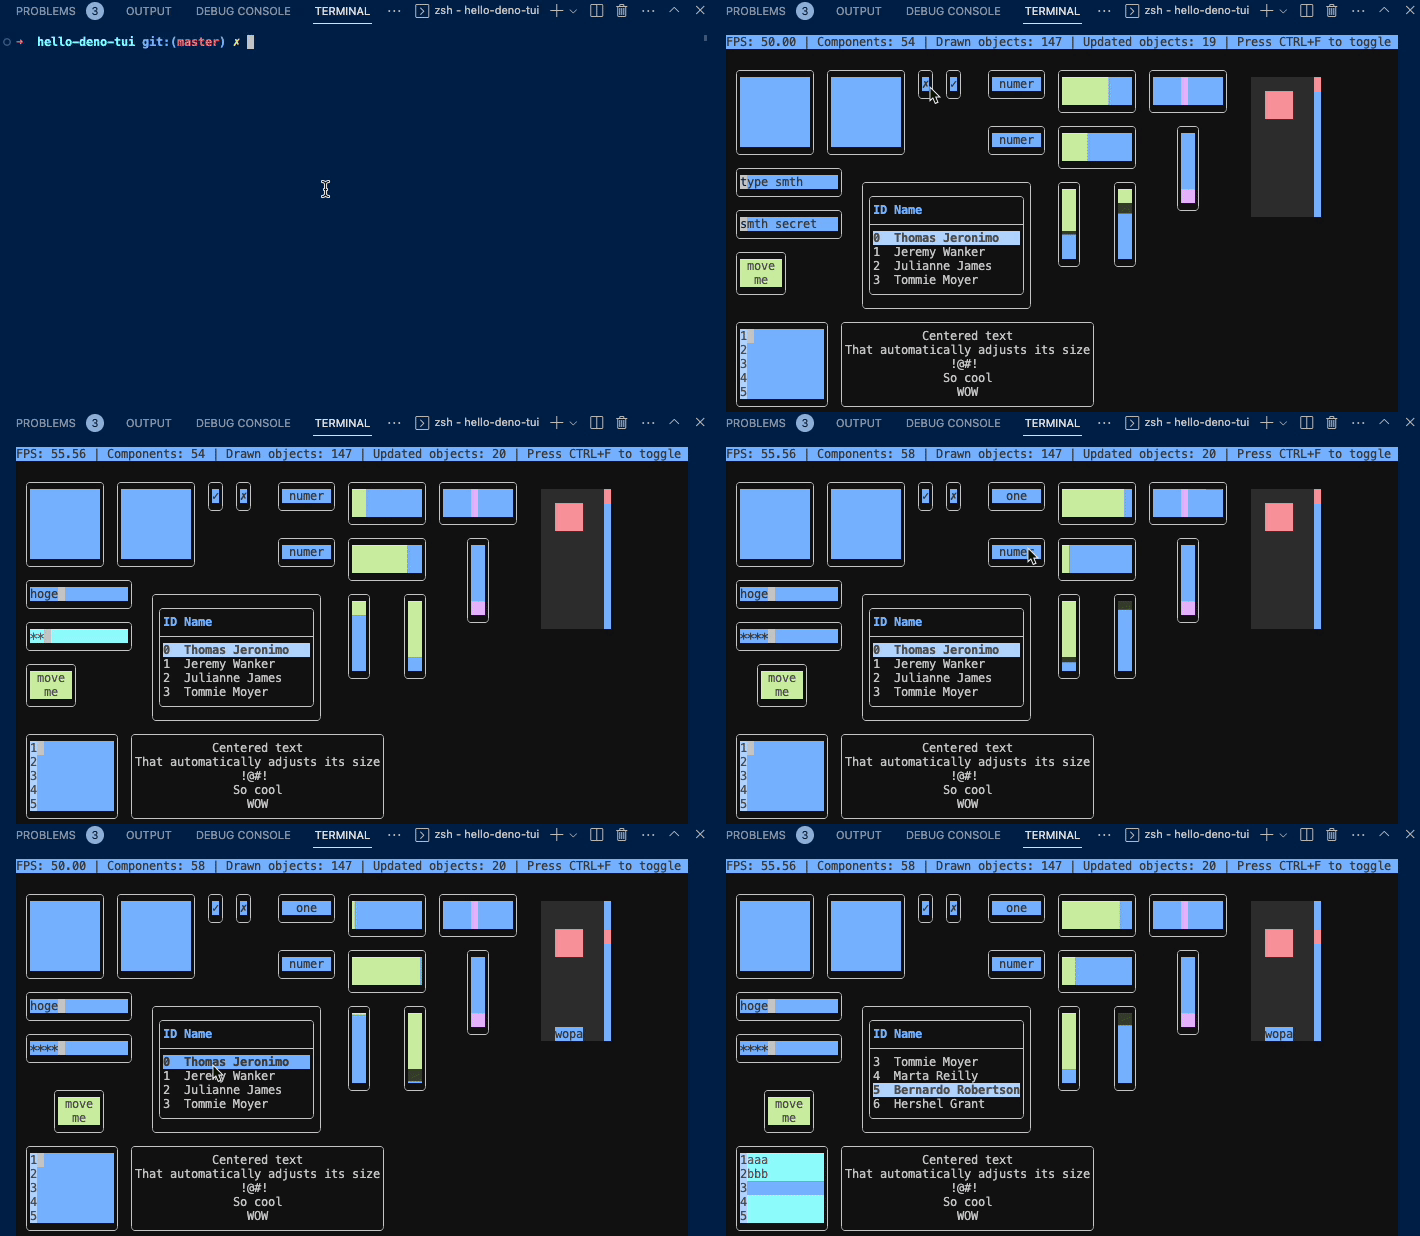
Deno Tui の Demo サンプルを動かしてみたところです。
マウス操作もできてかなりリッチな UI です。このキャプチャーは macOS のターミナル(正確には VS Code のターミナル)ですが、もちろん Windows Terminal でもちゃんと動作します。
筆者は Git 操作をするときに Tig を愛用しているのですが、これも TUI アプリです。
Deno Tui の API 群
#レンダリングやイベントハンドリングなどのコアな API は以下のモジュールにあります。
https://deno.land/x/tui@2.1.4/mod.ts
ボタンやテキストボックスなどのコンポーネントは別モジュールにあります。
https://deno.land/x/tui@2.1.4/src/components/mod.ts
UI のスタイルは Crayon が推奨されていますが、強制ではないそうです。
GitHub - crayon-js/crayon: 🖍️ Terminal styling done light and fast.
サンプルの動作確認
#まず、README に記載されているサンプルを動かしてみます。
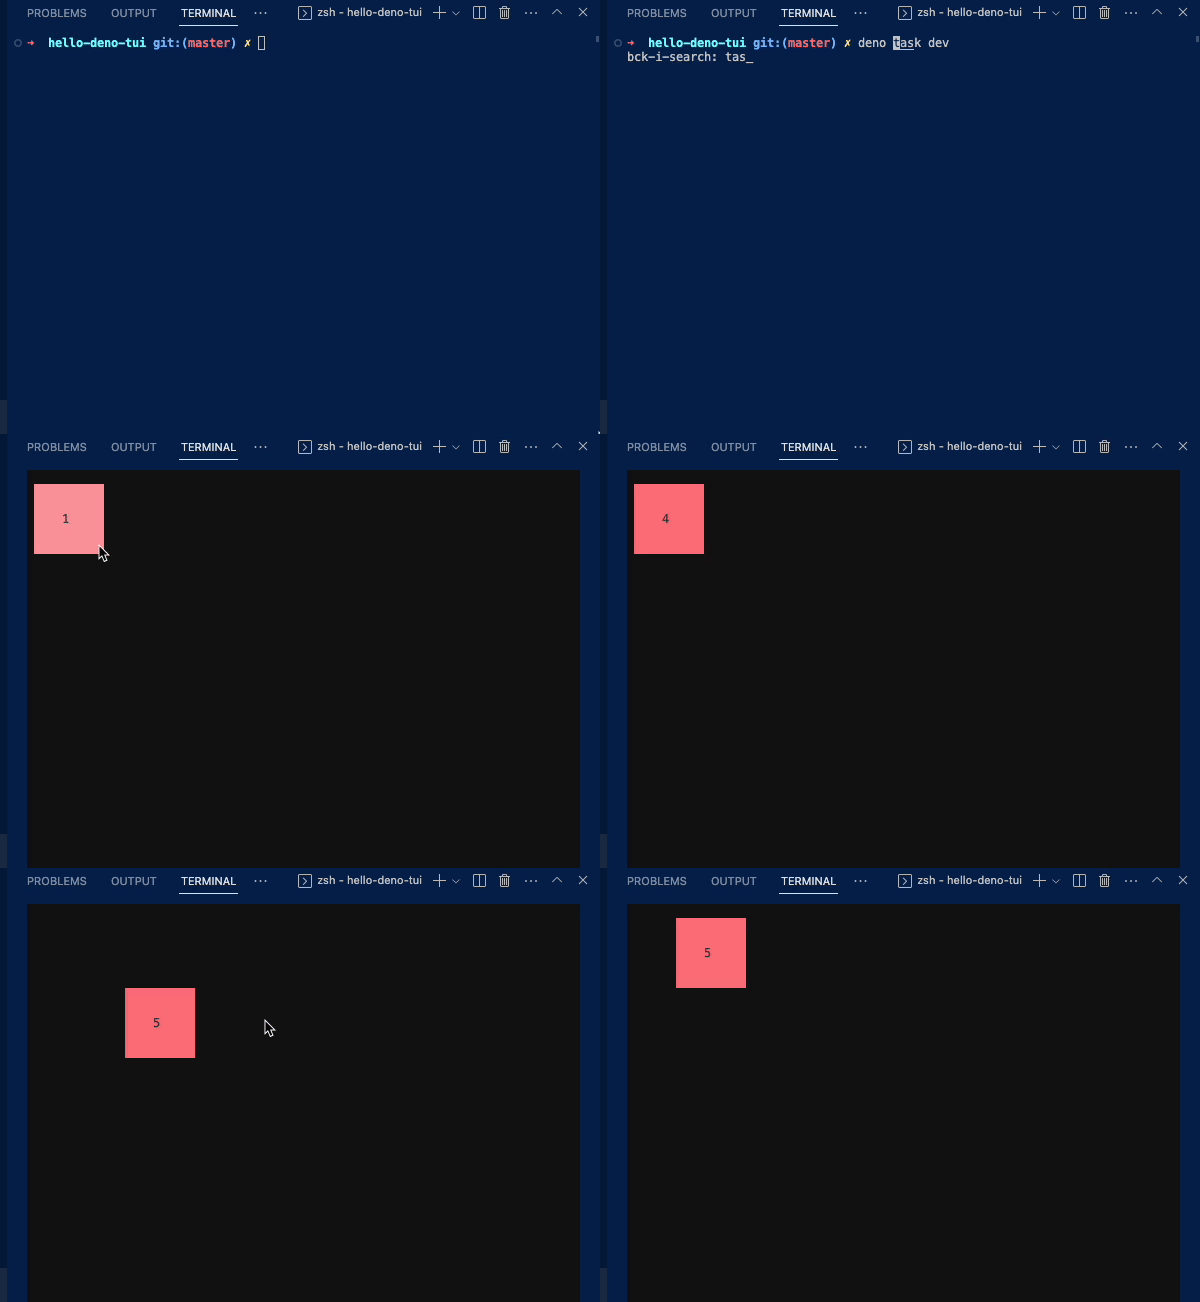
ボタンを描画し、以下のような動きを付与しています。
- マウスやキーイベントによりボタンがアクティブになったらラベルの数値がインクリメントされる
- マウスドラッグに応じてボタンが移動する
ソースコードです。
- main.ts
import { crayon } from "https://deno.land/x/crayon@3.3.3/mod.ts";
import { Tui,  handleInput, handleKeyboardControls, handleMouseControls, Signal, Computed } from "https://deno.land/x/tui@2.1.4/mod.ts";
import { Button } from "https://deno.land/x/tui@2.1.4/src/components/mod.ts";

const tui = new Tui({             // 1
  style: crayon.bgBlack,
  refreshRate: 1000 / 60,
});

handleInput(tui);                 // 2
handleMouseControls(tui);
handleKeyboardControls(tui);

tui.dispatch();                   // 3
tui.run();                        // 4

const number = new Signal(0);     // 5

const button = new Button({       // 6
  parent: tui,
  zIndex: 0,
  label: {
    text: new Computed(() => number.value.toString()),
  },
  theme: {
    base: crayon.bgRed,
    focused: crayon.bgLightRed,
    active: crayon.bgYellow,
  },
  rectangle: {
    column: 1,
    row: 1,
    height: 5,
    width: 10,
  },
});

button.state.subscribe((state) => {  // 7
  if (state === "active")  {
    ++number.value;
  }
});

button.on("mousePress", ({ drag, movementX, movementY }) => { // 8
  if (!drag) return;

  // Use peek() to get signal's value when it happens outside of Signal/Computed/Effect
  const rectangle = button.rectangle.peek();
  rectangle.column += movementX;
  rectangle.row += movementY;
});
- Tui でアプリのルート要素を宣言しています。背景色やリフレッシュレートを設定しています。
- マウスやキーボードの入力をハンドリングします。
- Ctrl+C で終了するようにします。(SIGTERM などのハンドリング)
- アプリを実行します。
- ボタンのラベル用の数値を Signal オブジェクトとして生成します。
- ボタンの定義です。ラベルに関しては5で定義した Signal がリアクティブに反映されるように Computed オブジェクトを設定します。テーマや矩形の設定も同時に行います。
- ボタンの状態変化に対してイベントを設定し、アクティブになったときに Signal の数値をインクリメントします。
- マウスイベントをハンドリングして、マウスの移動量に応じて、ボタンの矩形を変化させます。
peek()を呼んでいるのは、ボタンの矩形の外側で Signal が発生した場合に Signal の値を取得するためだそうです。
以上のように GUI 部分は宣言的で、リアクティブな処理も書け、ボタンなどのコンポーネントにもイベント処理のコールバックが書けるという、モダンな GUI ライブラリとなっています。
簡単なアプリを作ってみる
#kuberntes の Pod を Table に列挙するアプリを書いてみました。kubectl の実行結果を Table に表示し、選択されている行のインデックスをラベルに反映するという簡単なものです。
ソースコードの全量です
- kube.ts
import { crayon } from "https://deno.land/x/crayon@3.3.3/mod.ts";
import { Tui, handleInput, handleKeyboardControls, handleMouseControls, Signal, Computed} from "https://deno.land/x/tui@2.1.4/mod.ts"
import { Button, Label, Table } from "https://deno.land/x/tui@2.1.4/src/components/mod.ts";

const tui = new Tui({
  style: crayon.bgBlack,
  refreshRate: 1000 / 60,
});

handleInput(tui);
handleMouseControls(tui);
handleKeyboardControls(tui);
tui.dispatch();
tui.run();

new Button({
  parent: tui,
  zIndex: 0,
  label: {
    text: "refresh",
  },
  theme: {
    base: crayon.bgRed,
    focused: crayon.bgLightRed,
    active: crayon.bgYellow,
  },
  rectangle: {
    column: 1,
    row: 1,
    height: 1,
    width: 10,
  },
}).state.subscribe(async (state) => {        // 1
  if (state == "active") {
    const rows = await kubeOutput();
    createTable(rows);
  }
});

const selected = new Signal(0);              // 2

new Label({
  parent: tui,
  text: new Computed(() => "selected: " + selected.value.toString()),  // 3
  align: {
    horizontal: "center",
    vertical: "center",
  },
  theme: {
    base: crayon.magenta,
  },
  rectangle: {
    column: 1,
    row: 3,
  },
  zIndex: 0,
 });

let table: Table;

function createTable(data: string[][]) {
  if (table) {
    return;
  }
  table = new Table({                                   // 4
    parent: tui,
    theme: {
      base: crayon.bgBlack.white,
      frame: { base: crayon.bgBlack },
      header: { base: crayon.bgBlack.bold.lightBlue },
      selectedRow: {
        base: crayon.bold.bgBlue.white,
        focused: crayon.bold.bgLightBlue.white,
        active: crayon.bold.bgMagenta.black,
      },
    },
    rectangle: {
      column: 1,
      row: 4,
      height: data.length + 4 < 10 ? data.length + 4 : 10,  // 5
    },
    headers: [                                              // 6
      { title: "NAMESPACE" },
      { title: "NAME" },
      { title: "READY" },
      { title: "STATUS" },
    ],
    data: data,                                             // 7
    charMap: "rounded",
    zIndex: 0,
  });
  table.state.subscribe((state) => {                        // 8
    if (state == "active") {
      selected.value = table.selectedRow.value;
    }
  });
}

async function kubeOutput(): Promise<string[][]> {
  const { code, stdout, stderr } = await new Deno.Command(  // 9
    "kubectl", {args: ["get", "pods", "-A"]}
  ).output();

  let rows: string[][] = [];
  if (code === 0) {
    const lines = new TextDecoder().decode(stdout).split("\n");
    lines.shift(); // remove header
    rows = lines.map((line) => line.split(/\s+/).slice(0, 4)).filter(row => row.length > 3);
  }
  return rows;
}
- Button を定義し、ボタンがアクティブになった時のイベントハンドリングを行っています。kubectl の出力結果をテーブル作成用の関数に渡しています。
- Table の選択行を管理するための Signal オブジェクトを作成します。
- Label を定義し、Table の選択行が変化した時に Label のテキストが書き換わるように Computed オブジェクトを定義します。
- Table の定義です。
- TableOptions の rectangle の height 属性の指定がややわかりづらいですが、データの配列長にヘッダーの描画分を加えた長さになるように調整しています。
- テーブルヘッダーは、kubectl get pod の出力から最初の4つを指定しています。
- 表示するデータを設定しています。
- Table の選択行が変わったら Signal オブジェクトを更新します。これにより3で定義した Label の表示が更新されます。
- Deno.Command で
kubectl get pods -Aを実行し、結果を string の2次元配列に格納します。
Deno.Command は Deno で外部プログラムを実行するための標準 API です。以下の記事でも紹介しています。
実行するには --allow-run フラグを指定します。
deno run --allow-run kube.ts
シングルバイナリとしてビルド・配布する
#Deno の compile を使えば作成した TUI アプリをシングルバイナリで配布できます。今回のアプリは、--allow-run フラグが必要なので、コンパイル時にも指定します。
deno compile --allow-run kube.ts
生成されたバイナリは100MB超えですが、まあ配布方法としては楽でしょう。
$ ls -lh kube
-rwxrwxrwx  1 kondoh  staff   101M 11  3 12:24 kube
以下で実行できます。
./kube
クロスコンパイルすれば、Windows や Linux 用のバイナリを作成して配布することもできます。
おわりに
#Deno Tui はなかなかユニークな UI ライブラリでした。Table の API はもう少し使いやすくなってほしいところではあります。
TUI アプリをシングルバイナリとして配布できるので、システム運用のためのツールなどの用途にも向いているかもしれませんね。


