Introduction to Nuxt3 (Part 9) - Deploying a Nuxt3 Application to a Serverless Environment
Back to TopTo reach a broader audience, this article has been translated from Japanese.
You can find the original version here.
Last time, we looked at state management in Nuxt3.
In this final installment of the series, we will deploy the sample Nuxt application we created to an AWS environment.
The application to be deployed is the virtual blog system created in the following sessions:
- Nuxt3 Introduction (Part 2) - Creating a Simple Nuxt Application
- Nuxt3 Introduction (Part 3) - Fetching Data with Universal Fetch
- Nuxt3 Introduction (Part 4) - Understanding Nuxt Routing
We will use the default universal rendering mode provided by Nuxt. Here, we do not use pre-rendering, but instead deploy a server-side execution environment to run Nuxt[1].
Nuxt3's server engine, Nitro, is capable of operating on multiple platforms. This time, we would like to deploy the Nuxt application to AWS Lambda, a typical serverless service.
Deploying the Nuxt Application to Lambda
#First, we simply deploy the created Nuxt application to Lambda. Here, we use Lambda Function URL without placing API Gateway etc. in front.
Lambda Function URL is a relatively new Lambda feature introduced in April 2022.
For those interested, please refer to the following article:
Specifying Nitro Preset
#To operate Nuxt3 on Lambda, you need to set the preset for the server engine, Nitro, from preset settings. Presets can be specified from nuxt.config.ts or environment variables, but this time we use nuxt.config.ts. Modify it as follows.
export default defineNuxtConfig({
  nitro: {
    preset: 'aws-lambda',
    serveStatic: true,
  },
})
Specify the Lambda preset (aws-lambda) for Nitro. By default, the .output/public directory resulting from the Nitro build is not published. To deploy it alone on Lambda, you need to specify serveStatic: true separately.
Now, build the Nuxt application.
npm run build
The build results are output to the .output directory. Here, instead of the default Node.js Server, handler source code for Lambda is generated.
Lambda Deployment
#For deploying to Lambda, we use the Serverless Framework for easy deployment. First, install the Serverless Framework in the Nuxt project. Lambda Function URL is available from version 3.12.0 of the Serverless Framework.
npm install --save-dev serverless
Create serverless.yml directly under the project root. It will contain the following:
service: nuxt3-sample
frameworkVersion: '3'
provider:
  name: aws
  stage: dev
  region: ap-northeast-1
  runtime: nodejs16.x
  environment:
    BLOG_DB: db.json
package:
  patterns:
    - '!**'
    - '.output/**' # Output directory from nuxt run build
    - 'db.json' # JSON file storing article information
functions:
  NuxtSsrEngine:
    handler: '.output/server/index.handler'
    url: true # Enable Lambda function URL
package.patterns specifies the packaging target as .output/**, targeting only the Nitro build results. Nitro bundles only what is necessary, so there is no need to include the source code itself or node_modules, etc. As for db.json, it is included in the packaging target as it is used in the application (API) to store blog articles, although it is assumed to be obtained from an external system such as a CMS in actual use.
functions defines one Lambda (NuxtSsrEngine). handler specifies .output/server/index.handler, which becomes a single endpoint from the Nitro build results. Also, by setting url: true, a connection URL is assigned to the created Lambda.
This completes the preparation. Deploy using the CLI of the Serverless Framework.
npx serverless deploy

> Deploying nuxt3-sample to stage dev (ap-northeast-1)
>
> ✔ Service deployed to stack nuxt3-sample-dev (37s)
>
> endpoint: https://xxxxxxxxxxxxxxxxxxxxxxxxxxxxxxxx.lambda-url.ap-northeast-1.on.aws/
> functions:
>   NuxtSsrEngine: nuxt3-sample-dev-NuxtSsrEngine (970 kB)
Once the deployment is complete, the created Lambda can be checked from the AWS console.
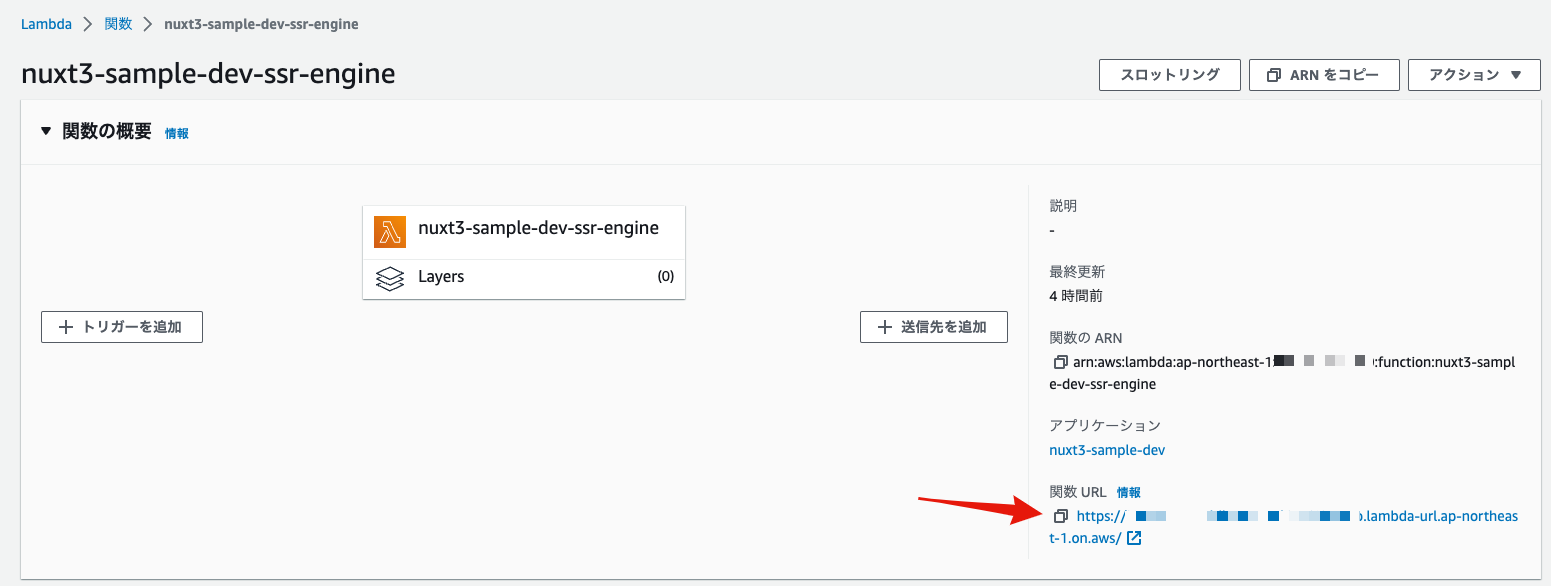
Access the URL assigned to the listed Lambda from a browser. You should be able to see that the sample application is running just like when it was executed in the local environment.
The preset change alone made it easy to deploy to the AWS serverless environment.
Delivering Static Resources from CDN
#Previously, we deployed the Nuxt application alone on Lambda. It's simple and easy, but it handles not only server-side rendering but also static resources like JavaScript on Lambda. It's fine for simple testing, but it's not practical from the perspectives of performance and Lambda costs.
The document on Nitro's serveStatic setting also mentions the following:
Note: It is highly recommended that your edge CDN (nginx, apache, cloud) serves the public/ directory instead.
In an AWS environment, it is ideal to deliver static resources via CloudFront, which provides CDN functionality. Here, we change to execute only server-side rendering on Lambda and place static resources (.output/public) on S3 for delivery via CloudFront (CDN).
Nuxt/Lambda Configuration Change
#First, modify nuxt.config.ts as follows.
export default defineNuxtConfig({
  nitro: {
    preset: 'aws-lambda',
  },
})
Remove serveStatic and stop delivering static resources from the Nitro engine in the runtime environment (default behavior of the aws-lambda preset).
Also, modify serverless.yml as follows.
service: nuxt3-sample
frameworkVersion: '3'
provider:
  name: aws
  stage: dev
  region: ap-northeast-1
  runtime: nodejs16.x
  environment:
    BLOG_DB: db.json
package:
  patterns:
    - '!**'
    - '.output/server/**' # Specify only the server side of the output directory from nuxt run build
    - 'db.json' # JSON file storing article information
functions:
  NuxtSsrEngine:
    handler: '.output/server/index.handler'
    url: true
package.patterns specifies the packaging target as .output/server/** only, excluding the .output/public directory where static resources are created.
Build and deploy the same way as before.
npm run build
npx serverless deploy
Creating Static Resource S3 Bucket and CloudFront Distribution
#Next, place the static resources on S3 and deliver them via CloudFront (CDN). To avoid CORS settings, the Nitro engine on Lambda is also routed through CloudFront.
We use CloudFormation for this provisioning. It's a bit long, but prepare the following template (cdn.yml).
AWSTemplateFormatVersion: "2010-09-09"
Description: Nuxt3 application distribution template

Parameters:
  NuxtSsrEnginDomain:
    Type: String
    Description: Lambda Function URL Domain

Resources:
  # S3 bucket for static resource delivery
  StaticResourceBucket:
    Type: AWS::S3::Bucket
    Properties:
      # Specify a globally unique name
      BucketName: nuxt3-sample-public-bucket
      AccessControl: Private
      PublicAccessBlockConfiguration:
        BlockPublicAcls: true
        BlockPublicPolicy: true
        IgnorePublicAcls: true
        RestrictPublicBuckets: true
  # Access control from CloudFront to S3
  StaticResourceOriginAccessControl:
    Type: AWS::CloudFront::OriginAccessControl
    Properties:
      OriginAccessControlConfig:
        Name: "nuxt3-sample-oac"
        OriginAccessControlOriginType: s3
        SigningBehavior: always
        SigningProtocol: sigv4
  # S3 bucket policy (allow only from CloudFront)
  StaticResourceBucketPolicy:
    Type: AWS::S3::BucketPolicy
    Properties:
      Bucket: !Ref StaticResourceBucket
      PolicyDocument:
        Version: 2012-10-17
        Statement:
          Sid: AllowCloudFrontServicePrincipalReadOnly
          Effect: Allow
          Principal:
            Service: cloudfront.amazonaws.com
          Action: s3:GetObject
          Resource: !Sub "arn:aws:s3:::${StaticResourceBucket}/*"
          Condition:
            StringEquals:
              AWS:SourceArn: !Sub "arn:aws:cloudfront::${AWS::AccountId}:distribution/${NuxtSampleAppDistribution}"
  # CloudFront distribution
  NuxtSampleAppDistribution:
    Type: AWS::CloudFront::Distribution
    Properties:
      DistributionConfig:
        Enabled: true
        HttpVersion: http2
        CacheBehaviors:
          - PathPattern: "/_nuxt/*"
            TargetOriginId: "nuxt-static-resources"
            ViewerProtocolPolicy: redirect-to-https
            # AWS Managed Cache Policy(CachingOptimized)
            CachePolicyId: 658327ea-f89d-4fab-a63d-7e88639e58f6
        DefaultCacheBehavior:
          TargetOriginId: "nuxt-ssr-engine"
          # AWS Managed Cache Policy(CachingDisabled)
          CachePolicyId: 4135ea2d-6df8-44a3-9df3-4b5a84be39ad
          ViewerProtocolPolicy: redirect-to-https
        Origins:
          - Id: "nuxt-static-resources"
            DomainName: !GetAtt StaticResourceBucket.RegionalDomainName
            OriginAccessControlId: !GetAtt StaticResourceOriginAccessControl.Id
            S3OriginConfig: {}
          - Id: "nuxt-ssr-engine"
            DomainName: !Ref NuxtSsrEnginDomain
            CustomOriginConfig:
              OriginProtocolPolicy: https-only
Outputs:
  CloudFrontDomain:
    Value: !GetAtt NuxtSampleAppDistribution.DomainName
The detailed content (overview of each resource is noted in inline comments) is omitted, but we are creating two origins:
- S3 origin (
nuxt-static-resources) storing static resources. Use this for the path/_nuxt/*. - Custom origin (
nuxt-ssr-engine) with the Lambda Function URL endpoint as the default for other paths.
The S3 origin enables CloudFront caching, while the custom origin side disables it. For simplicity, AWS-managed cache policies are applied instead of custom cache policies.
Now, execute CloudFormation. You can do this using the AWS CLI as shown below, but it's also fine from the AWS console.
Specify the domain of the Lambda Function URL running the Nitro engine as a parameter (NuxtSsrEnginDomain).
aws cloudformation deploy --template-file cdn.yml --stack-name nuxt-distribution \
  --parameter-overrides NuxtSsrEnginDomain=xxxxxxxxxxxx.lambda-url.ap-northeast-1.on.aws
Finally, upload the resources under .output/public to the created S3 bucket for static resources.
# Bucket name is specified in the template
aws s3 sync --delete .output/public s3://nuxt3-sample-public-bucket
All that's left is to access the application. Here, use the URL assigned to CloudFront instead of the Lambda Function URL[2].
The URL can be checked from the output of CloudFormation.
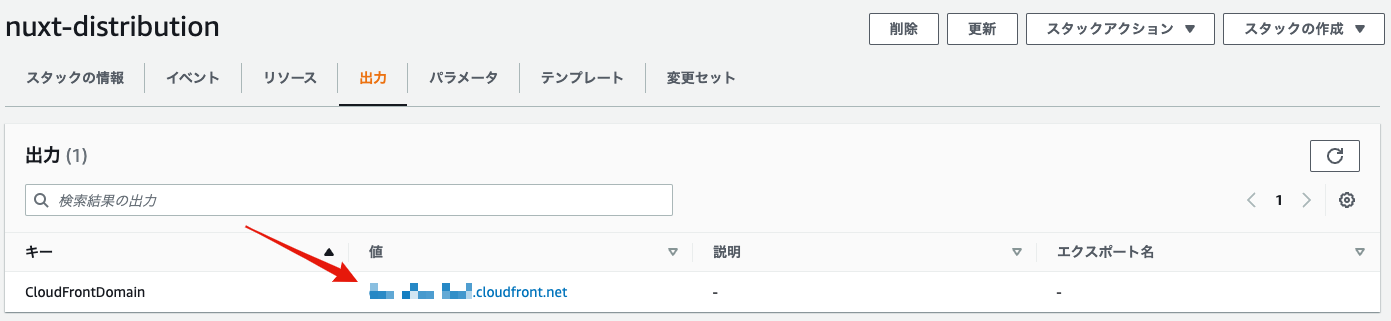
When you access the above URL from a browser, the application runs just like before. Although it's not visible from the appearance, static resources are being fetched from S3 here. From the Chrome Dev Tool's network, you can see the HTTP response header (x-cache), which shows Hit from cloudfront from the second access onwards.
Summarizing the content here, the configuration is as follows:

By doing this, Lambda only executes server-side rendering at the initial load, and static resources are delivered from S3 via CloudFront.
Summary
#We introduced how to deploy a Nuxt3 application to an AWS serverless environment. We also looked at practical deployments using CDN (CloudFront) from a simple method using Lambda alone.
While it was difficult to deploy to Lambda with Nuxt2 without various adjustments, the adoption of Nitro by Nuxt3 has made it possible to switch presets only. Although unverified, this should apply to all platforms supported by Nitro[3].
This series ends here, but Nuxt3 is still evolving. If interesting features come out, I would like to introduce them again.
If pre-rendering is used, like SSG, simply hosting the built output to S3 or similar is sufficient. ↩︎
Of course, if you're actually operating it, you'll need to assign a custom domain separately. ↩︎
For platforms supported by Nitro, refer to Nitro official documentation. ↩︎