Deno 2.9's Desktop Feature (Deno Desktop) - Experiencing the Differences from Electron / Tauri
Back to Top
To reach a broader audience, this article has been translated from Japanese.
You can find the original version here.
Introduction
#Congratulations on the Deno 2.9 release.
As someone who loves Electron, I'm naturally curious about Deno Desktop. It offers both a WebView-backed configuration like Tauri and a Chromium-based setup similar to Electron, so I knew I had to try it out.
The official documentation is available here:
The Deno blog notes the following: as of 2.9, the desktop feature is experimental.
deno desktop is experimental in 2.9. The surface described here is stabilizing and some platform features are still landing.
Trying It Out
#First, upgrade to 2.9[1].
deno upgrade
In main.ts, write a normal server program using Deno.serve:
Deno.serve(() =>
  new Response(
    "<!DOCTYPE html><h1>Hello from Deno desktop </h1>",
    { headers: { "content-type": "text/html" } },
  )
);
Run deno desktop main.ts in the same directory:
$ deno desktop main.ts

⚠ deno desktop is experimental and subject to change
Check main.ts
Compile main.ts to hello.dylib

Embedded Files

hello.dylib
└── main.ts (430B)

Files: 1.91KB
Metadata: 1.38KB
Remote modules: 12B

Downloading laufey webview backend for aarch64-apple-darwin (v0.4.0)
Download laufey-webview-aarch64-apple-darwin.tar.gz 97.44KiB/97.44KiB
Codesigning bundle with identity "-"
hello.app/Contents/MacOS/laufey_webview: replacing existing signature
hello.app/Contents/MacOS/hello.dylib: replacing existing signature
Bundle hello.app
The final output shows hello.app (the macOS app executable) generated in the root, which you can launch (on Windows, you'll get hello.exe).
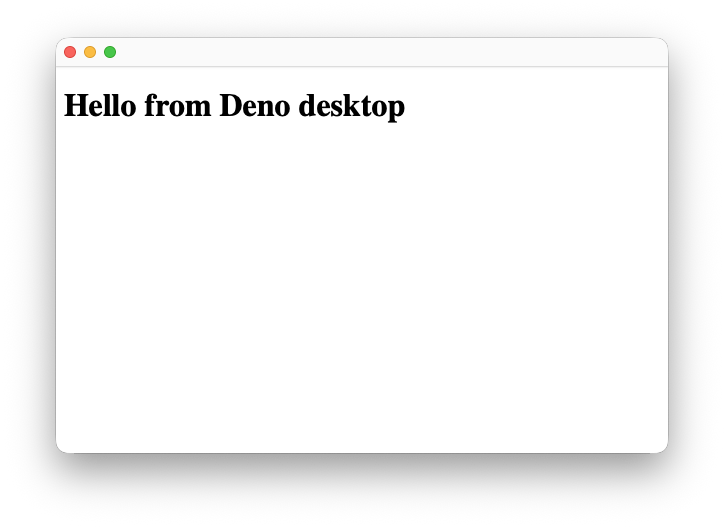
True to Deno's concept, a desktop app was generated out of the box with no additional modules or configuration.
Development Experience with Deno Desktop
#By launching with the HMR (Hot Module Replacement) option, you get a local development server that detects code changes and updates the app instantly:
deno desktop --hmr main.ts
⚠ deno desktop is experimental and subject to change
Compile main.ts to file:///Users/kondoumh/Library/Caches/deno/desktop/5f4a00908e99d886/hello.dylib

Embedded Files

hello.dylib
└── main.ts (422B)

Files: 1.9KB
Metadata: 1.38KB
Remote modules: 12B

Running desktop app with HMR (watching /Users/kondoumh/dev/deno-study/desktop/hello)
Runtime loaded successfully from: /Users/kondoumh/Library/Caches/deno/desktop/5f4a00908e99d886/hello.dylib
Runtime started
[desktop] dylib path: "/Users/kondoumh/Library/Caches/deno/desktop/5f4a00908e99d886/hello.dylib"
Listening on http://127.0.0.1:52958/
When you modify main.ts, the changes reflect in the app immediately after saving.
In Electron, HMR is not available out of the box and requires starting a development server separately with something like Forge.
UI Implemented via Local HTTP Service
#In Electron (with Forge, etc.), local servers are mainly used during development, and after distribution assets are typically loaded via file://. In contrast, Deno Desktop starts an internal local HTTP server even in the distributed binary, automatically assigning an available port and rendering the UI. The server is closed within the process and is not exposed externally, so you don't have to worry about port conflicts.
This design of "providing the same HTTP execution model for both development and built binaries" offers advantages:
- No behavioral differences between development and deployment
- Content behaves the same in the browser and the desktop
- Frameworks like Next.js run inside the desktop app unchanged
Launching DevTools
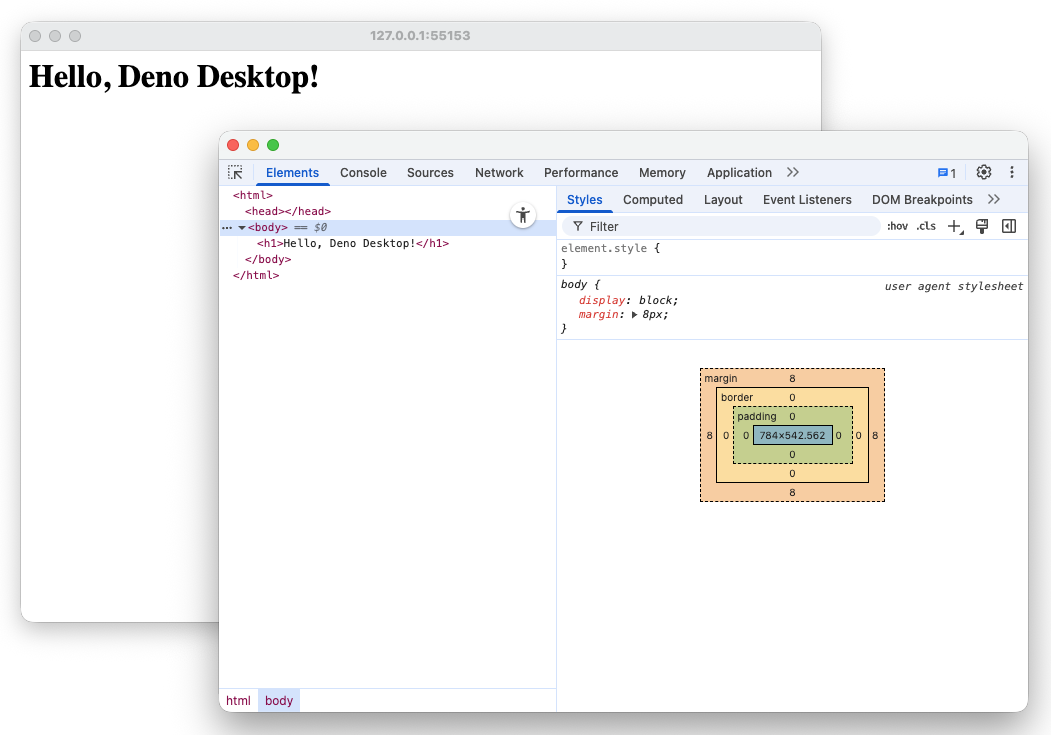
#Like Electron and Tauri, debugging with DevTools is possible. Just create a BrowserWindow and call the openDevtools method:
const win = new Deno.BrowserWindow({
  title: "My Deno Desktop App",
  width: 800,
  height: 600,
});

win.openDevtools();
Full DevTools support is currently available only when the backend is set to cef. Launch it like this:
deno desktop --hmr --backend=cef main.ts
Communication Between Backend and Frontend (Bindings)
#Electron's IPC requires bridging between render.js and main.js via preload.js, which can be quite cumbersome. In Deno Desktop, you can call functions bound to the BrowserWindow via the bindings global object. The Deno runtime and rendering backend run as threads or processes, and calls are made over channels within the process. This means you don't have to manage socket-based IPC directly, making the code clearer compared to Electron's ipcMain/ipcRenderer or Tauri's invoke.
Let's look at an actual code example:
const win = new Deno.BrowserWindow({
  title: "Bindings Test",
  width: 800,
  height: 600,
});

// ==========================================
// 1. Backend side: Register a function callable from the frontend
// ==========================================
win.bind("getSystemInfo", async (userName) => {
  console.log(`[Deno side] Called from frontend! Argument: ${userName}`);

  // Use Deno features to get OS information
  const denoVersion = Deno.version.deno;
  const os = Deno.build.os;

  // Simulate a somewhat heavy process (wait 0.5 seconds)
  await new Promise(resolve => setTimeout(resolve, 500));

  // Data to return to the frontend (anything that can be JSONified is fine)
  return {
    message: `Hello, ${userName}!`,
    os: os,
    denoVersion: denoVersion
  };
});

// ==========================================
// 2. Frontend side: Return the HTML for the UI
// ==========================================
Deno.serve(() => {
  const html = `
    <!DOCTYPE html>
    <html>
    <head>
      <meta charset="utf-8">
      <title>Bindings Test</title>
    </head>
    <body>
      <h1>Deno Desktop Bindings</h1>
      <button id="btn">Get System Info</button>
      <pre id="result">Results will appear here</pre>

      <script>
        // Handler for when the button is pressed
        document.querySelector('#btn').addEventListener('click', async () => {
          const resultArea = document.getElementById('result');
          resultArea.textContent = "Fetching...";

          try {
            // 💡 Call the backend function using bindings
            const data = await bindings.getSystemInfo("kondoumh");

            // Display the result on the screen
            resultArea.textContent = JSON.stringify(data, null, 2);
          } catch (error) {
            resultArea.textContent = "error: " + error.message;
          }
        });
      </script>
    </body>
    </html>
  `;

  return new Response(html, {
    headers: { "content-type": "text/html" },
  });
});
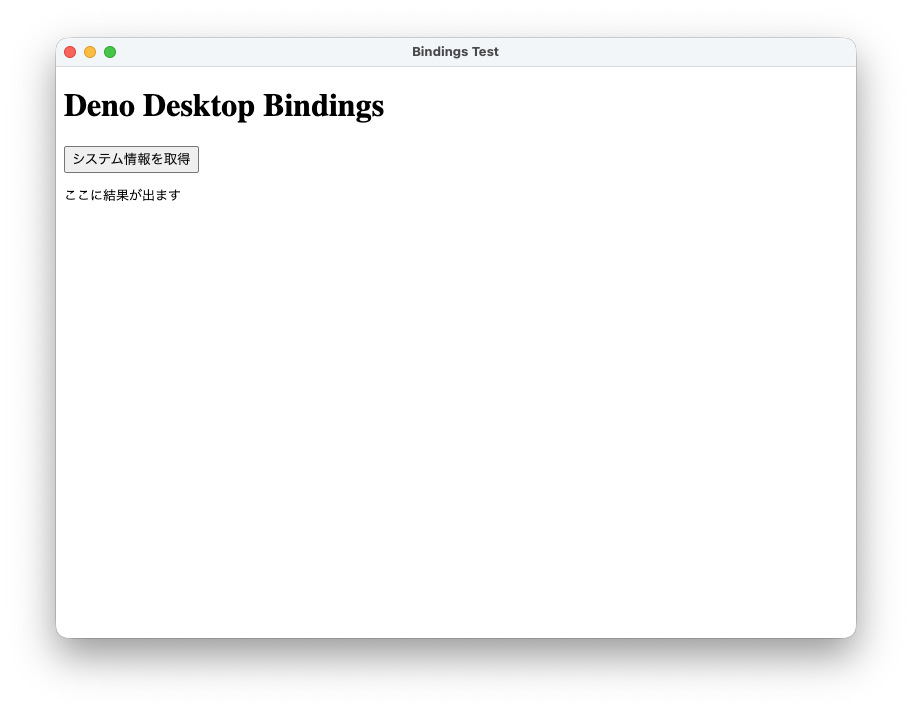
Here is the app screen. When you click the "Get System Info" button, it shows "Fetching..." for a moment and then displays the result.
And after the result is displayed:
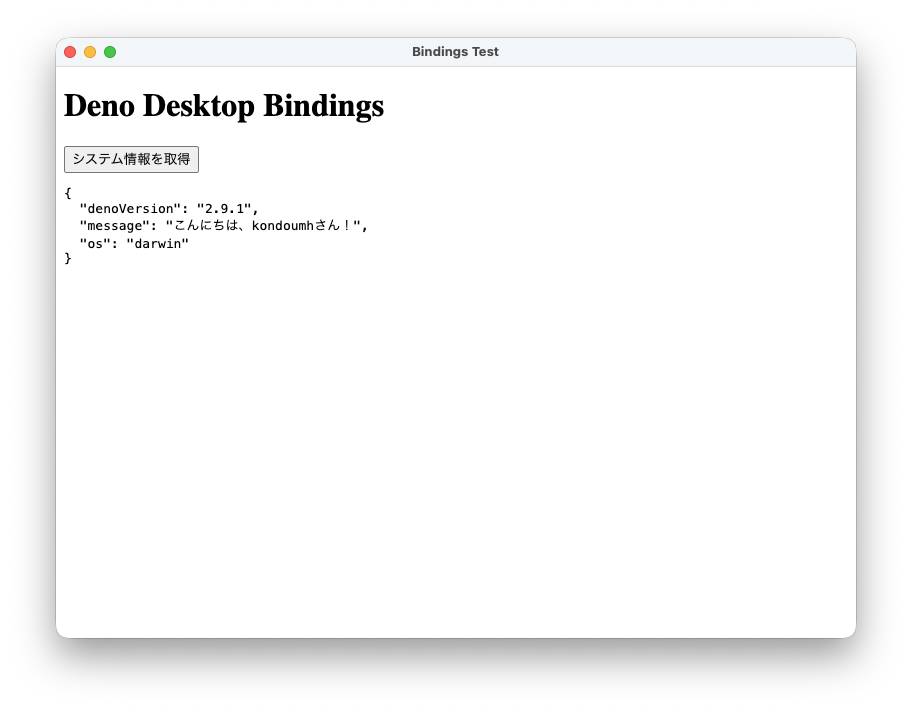
In the backend logs, you'll see:
[Deno side] Called from frontend! Argument: kondoumh
It's very simple. It's great to easily integrate native OS features with a web UI.
Using Menus
#Implementing an application menu:
- Define the menu object inside BrowserWindow's
setApplicationMenumethod and pass it. - Register an event listener on the BrowserWindow to implement behavior when a menu item is clicked.
The role values are the same as in Electron.
win.setApplicationMenu([
  {
    submenu: {
      label: "File",
      items: [
        {
          item: {
            label: "New",
            id: "new",
            accelerator: "CmdOrCtrl+N",
            enabled: true,
          },
        },
        {
          item: {
            label: "Open…",
            id: "open",
            accelerator: "CmdOrCtrl+O",
            enabled: true,
          },
        },
        "separator",
        {
          item: {
            label: "Save",
            id: "save",
            accelerator: "CmdOrCtrl+S",
            enabled: true,
          },
        },
        { role: { role: "quit" } },
      ],
    },
  },
  {
    submenu: {
      label: "Edit",
      items: [
        { role: { role: "undo" } },
        { role: { role: "redo" } },
        "separator",
        { role: { role: "cut" } },
        { role: { role: "copy" } },
        { role: { role: "paste" } },
      ],
    },
  },
]);

win.addEventListener("menuclick", (e) => {
  const detail = (e as CustomEvent).detail;
  switch (detail.id) {
    case "new":
      console.log("New clicked");
      break;
    case "open":
      console.log("Open clicked");
      break;
    case "save":
      console.log("Save clicked");
      break;
  }
});
Implementing a context menu. Create an array of Deno.MenuItem, then pass it to BrowserWindow's showContextMenu with coordinates:
const contextMenu: Deno.MenuItem[] = [
  { item: { label: "Copy", id: "copy", enabled: true } },
  { item: { label: "Paste", id: "paste", enabled: true } },
  "separator",
  { item: { label: "Properties…", id: "props", enabled: true } },
];

// Trigger from a right-click. The webview may not forward the browser
// `contextmenu` event, so handle the secondary mouse button on the window.
win.addEventListener("mousedown", (e) => {
  if (e.button === 2) {
    win.showContextMenu(e.clientX, e.clientY, contextMenu);
  }
});

win.addEventListener("contextmenuclick", (e) => {
  if (e.detail.id === "copy") { console.log("Copy clicked"); }
  if (e.detail.id === "paste") { console.log("Paste clicked"); }
  if (e.detail.id === "props") { console.log("Properties clicked"); }
});
Here, we're outputting logs on menu click events, but note that the logs appear in the terminal where the app was launched.
Development Using Frameworks
#We've seen samples using Deno.serve(), but Deno Desktop can be used with the following frameworks. Running deno desktop in the directory of these projects automatically detects the framework and sets up the app. Many modern frameworks are supported:
- Next.js
- Astro
- Fresh
- Remix
- Nuxt
- SvelteKit
- SolidStart
- TanStack Start
- Vite
It's a bit odd to use SSR while running locally, but as long as it works correctly and securely, that's fine!
Create a Next.js app:
deno run -A npm:create-next-app@latest
Move into the created project directory and run:
cd <project-dir>
deno desktop -A
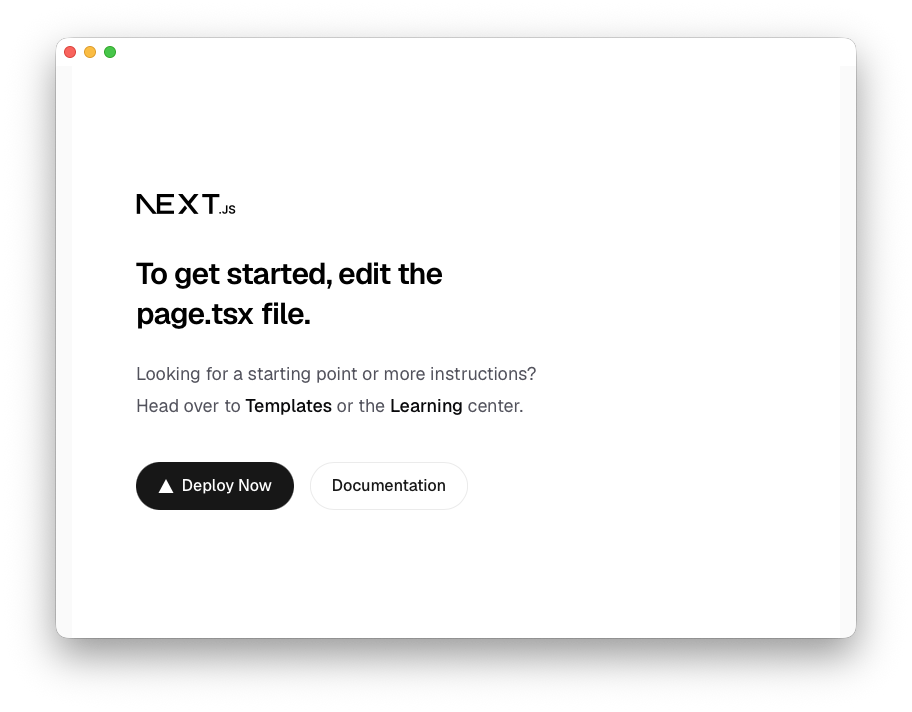
It's strange to see a Next.js app running entirely within the desktop without an external server.
Choosing the Backend
#The size of the distributed binary is important for desktop apps – smaller is always better.
Since Electron bundles Chromium, the installed binary can be around 300MB.
With Deno Desktop, using the OS's pre-installed WebView results in about 70MB. With CEF (Chromium), it's around 300MB.
With an OS-dependent WebView, cross-browser issues can occur where CSS and JS behavior subtly differ on Windows and Mac, requiring fixes and testing. WebView might be fine for fewer features, but as your feature set grows, the testing effort multiplies.
With Deno Desktop, you could start with the lightweight WebView, and if cross-browser issues become burdensome, switch to CEF – though it increases the distribution size a bit.
With Tauri, this area is waiting on the Servo-based custom WebView project Verso, but Deno's option to choose existing Chromium feels like a pragmatic decision at this point.
Comparison with Electron
#For use cases where you want to desktop-ify existing web apps, Deno Desktop is very compelling.
On the other hand, for advanced multi-view architectures like Electron's WebContentsView, Electron is currently more suitable. Examples include apps like VS Code or Figma that finely control multiple views.
Roughly summarizing:
- Single-window-focused + leveraging existing web assets: Deno Desktop is quite good
- Complex window/view management: Electron remains strong
The weakness in supporting multi-view architectures is the same with Tauri.
For more on Electron's WebContentsView architecture, see:
Conclusion
#That's it; I've tried out the Deno Desktop features end to end.
I'm honestly surprised that the desktop development experience is this polished out of the box. Having APIs like task trays, menus, and bindings ready from the start left a great impression.
Unlike Tauri, you can write the entire app side in TypeScript. I feel it's a great fit for adding menus, task trays, and integrating OS features on top of existing web apps. In a minimal setup, the desktop conversion itself shouldn't take more than an hour.
Tauri is also trying to onboard Rust-averse users by adding JavaScript APIs.
It could become a killer feature for Deno. I'm really looking forward to how it matures from experimental to stable.
As of July 6, 2026, the latest is 2.9.1. ↩︎