Nuxt3 - Unit Testing Part 1 - Setup & Mounting Components
Back to TopTo reach a broader audience, this article has been translated from Japanese.
You can find the original version here.
It's been quite a while since Nuxt3 was released. During this time, various improvements have been made, and it can now be said to have matured into a well-established framework.
However, for a while after its release, there was hardly any documentation on testing, leaving us to grope in the dark. As time passed and I happened to look at the official documentation, I noticed that there is now a wealth of testing utilities and documentation available. So, I'd like to take this opportunity to organize Nuxt3 testing over several posts.
This post is based on the information available as of Nuxt3.10.0 (released on 2024-01-30), focusing solely on unit testing.
The first part covers the setup of the testing utility and mounting the component to be tested.
Setup
#We will use the utility library @nuxt/test-utils provided officially by Nuxt.
Currently, it only supports Vitest as the testing framework for unit testing.
In unit tests running in a non-browser environment, a DOM emulator is usually required. The utility library supports happy-dom and jsdom.
Here, we'll set up using happy-dom.
npm install -D @nuxt/test-utils vitest @vue/test-utils happy-dom
Note that @vue/test-utils installed alongside is a utility for unit testing pure Vue, not Nuxt.
The utility library provides a Nuxt module, so we register it in nuxt.config.ts.
export default defineNuxtConfig({
  modules: [
    '@nuxt/test-utils/module' // Registering the Nuxt module
  ],
  typescript: {
    tsConfig: {
      compilerOptions: {
        types: ["vitest/globals"] // TypeScript support for globals
      }
    }
  }
})
Looking at the source code[1] of this Nuxt module, it seems to include Vite plugins for mock macro registration, root component stubs, etc.
Next, create a Vitest configuration file vitest.config.ts in the project root.
import { defineVitestConfig } from '@nuxt/test-utils/config'

export default defineVitestConfig({
  test: {
    environment: 'nuxt',
    globals: true // Use describe, test/expect, etc. without importing
  }
})
The key point is that we're using defineVitestConfig provided by the Nuxt utility library, not defineConfig provided by Vitest itself.
Here, we're constructing a Vitest configuration compatible with Nuxt.
Furthermore, the utility library provides a custom environment for Vitest, setting up a Nuxt-specific browser environment ($fetch, etc.)[2].
Above, we specified environment: nuxt to enable it for all tests.
Without this specification, individual handling of either of the following would be necessary to run unit tests in a Nuxt environment:
- Suffix the test file name with
.nuxt.(spec|test).ts - Attach a
// @vitest-environment nuxtcomment at the beginning of the test file
Although we're using the default happy-dom here, if you want to use jsdom, modify vitest.config.ts as follows.
export default defineVitestConfig({
  test: {
    environment: 'nuxt',
    globals: true,
+    environmentOptions: {
+      nuxt: {
+        domEnvironment: "jsdom"
+      }
+    }
  }
})
Mounting Components
#Let's write some tests. We'll start by simply mounting a component from the test code.
The following component will be the subject of our tests.
<script setup lang="ts">
  const counter = ref(0);
  const nuxtApp = useNuxtApp();
</script>

<template>
  <button @click="counter++">Count Up!!</button>
  <div data-testid="counter">{{ counter }}</div>
  <div data-testid="nuxt-version">{{ nuxtApp.versions.nuxt }}</div>
</template>
It's a simple component that increases the counter with each button click.
The unit test for this component can be written as follows.
import { mount, type VueWrapper } from '@vue/test-utils';
import Sample from '~/components/Sample.vue';

describe('Sample Component', () => {
  let wrapper: VueWrapper;
  afterEach(() => {
    wrapper?.unmount();
  });
  test('The value increases with each click', async () => {
    const wrapper = mount(Sample);
    await wrapper.get('button').trigger('click');
    expect(wrapper.get('[data-testid="counter"]').text()).toBe('1');
    await wrapper.get('button').trigger('click');
    expect(wrapper.get('[data-testid="counter"]').text()).toBe('2');
  });
  test('The Nuxt version is displayed correctly', async () => {
    const wrapper = mount(Sample);
    expect(wrapper.get('[data-testid="nuxt-version"]').text()).toBe('3.10.0');
  });
});
It's pretty straightforward, similar to what we've seen before. This test will pass.
Here, we're using mount provided by Vue Test Utils for mounting the component.
The second test verifies the display of the Nuxt app version.
This test passes because the Nuxt testing utility initializes the Nuxt app (NuxtApp) before executing the test[3].
While we haven't tested everything, it seems that most of the APIs provided by Nuxt, such as Composables, can be used in unit tests without needing to be mocked/stubbed (though depending on the test content, you might still want to mock them).
Mounting Asynchronous Components
#What about when the component to be tested has an asynchronous script setup?
Let's consider a case where we use Nuxt3's asynchronous API useFetch to fetch content.
<script setup lang="ts">
  const counter = ref(0);
  const nuxtApp = useNuxtApp();
  // Asynchronous processing
  const { data } = await useFetch('/api/foo');
</script>

// Omitted (same as before)
The tests mentioned earlier will fail for this component.
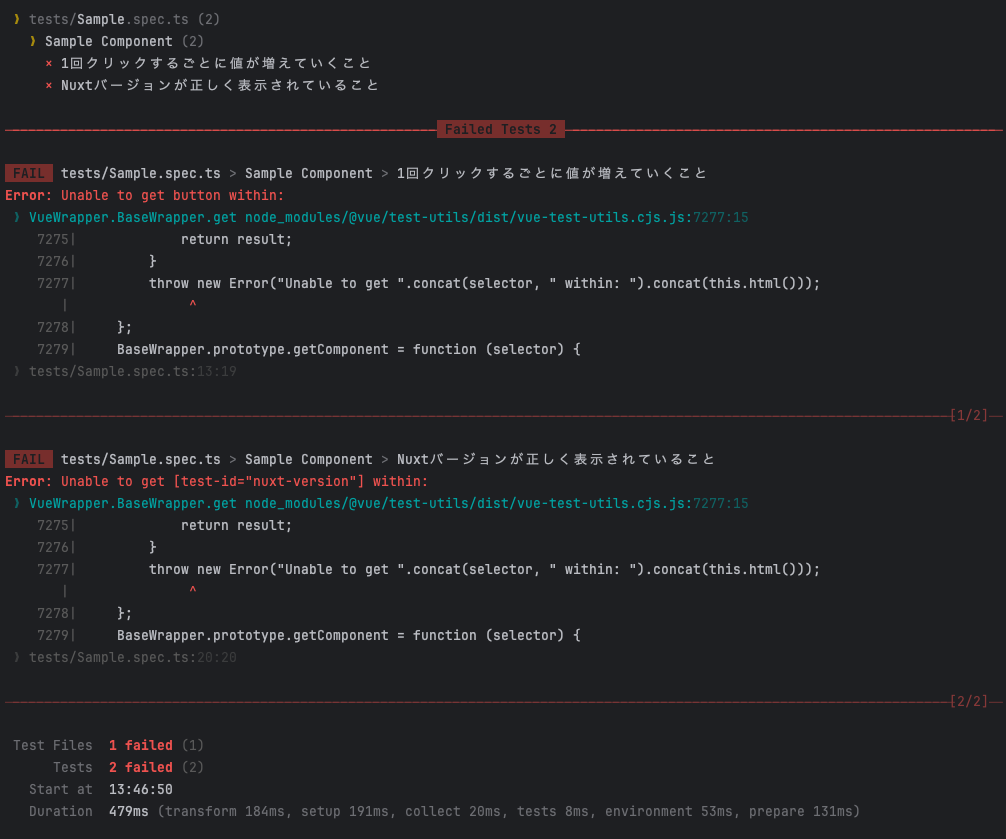
It seems the test is executed before the component is rendered. Executing flushPromise provided by Vue Test Utils does not solve the issue.
According to the Vue Test Utils documentation, in such cases of asynchronous setup, it is necessary to wrap with the built-in Suspense component.
Following the documentation, the modification looks like this (only the first case is shown for the same modification method).
test('The value increases with each click', async () => {
  const TestComponent = defineComponent({
    components: { Sample },
    template: '<Suspense><Sample /></Suspense>'
  });

  const wrapper = mount(TestComponent);
  await flushPromises();
  await wrapper.get('button').trigger('click');
  expect(wrapper.get('[data-testid="counter"]').text()).toBe('1');
  await wrapper.get('button').trigger('click');
  expect(wrapper.get('[data-testid="counter"]').text()).toBe('2');
});
The test will pass, but it's somewhat confusing.
Nuxt's testing utility provides mountSuspended (if using Testing Library, use renderSuspended) for such cases[4].
Using this, the test becomes as follows.
test('The value increases with each click', async () => {
  const wrapper = await mountSuspended(Sample);

  await wrapper.get('button').trigger('click');
  expect(wrapper.get('[data-testid="counter"]').text()).toBe("1")
  await wrapper.get('button').trigger('click');
  expect(wrapper.get('[data-testid="counter"]').text()).toBe("2")
})
Compared to the previous code, it's much simpler. mountSuspended internally wraps the component to be tested with the Suspense component.
Note that, unlike the synchronous mount, mountSuspended is an asynchronous function, so it's essential to await properly.
While mount from Vue Test Utils is sufficient for most cases, using mountSuspended for Nuxt unit tests seems to make test writing more straightforward and less confusing[5].
Conclusion
#This post introduced the setup method for Nuxt3's testing utility and how to mount test components.
Using the testing utility simplifies the setup process, allowing for easy writing of unit tests in a Nuxt environment.
In the next post, we will delve deeper into mocking for unit testing.
Source code (Nuxt module): https://github.com/nuxt/test-utils/blob/main/src/module.ts ↩︎
Source code (Vitest custom environment): https://github.com/nuxt/test-utils/blob/main/src/environments/vitest/index.ts ↩︎
Source code (Vitest setup script): https://github.com/nuxt/test-utils/blob/main/src/runtime/entry.ts ↩︎
Source code (mountSuspended): https://github.com/nuxt/test-utils/blob/main/src/runtime-utils/mount.ts ↩︎
Since it internally uses Vue Router, be cautious if you need to mock useRouter. ↩︎