Getting Started with SysML v2 Modeling Using the Free OSS Tool SysON (2) – Creating Packages
Back to TopTo reach a broader audience, this article has been translated from Japanese.
You can find the original version here.
In the previous article "Getting Started with SysML v2 Modeling Using the Free OSS Tool SysON (1) – First Steps with SysON", we installed SysON and displayed the home screen in a web browser.
In this article, let’s create a new project and packages.
This article uses Release 2025.8.0. Please note that the UI and behavior may differ in the latest version.
The home screen is also called the project browser screen. At the top of the project browser screen, icons for creating projects are lined up. Below that, a list of existing projects is displayed.
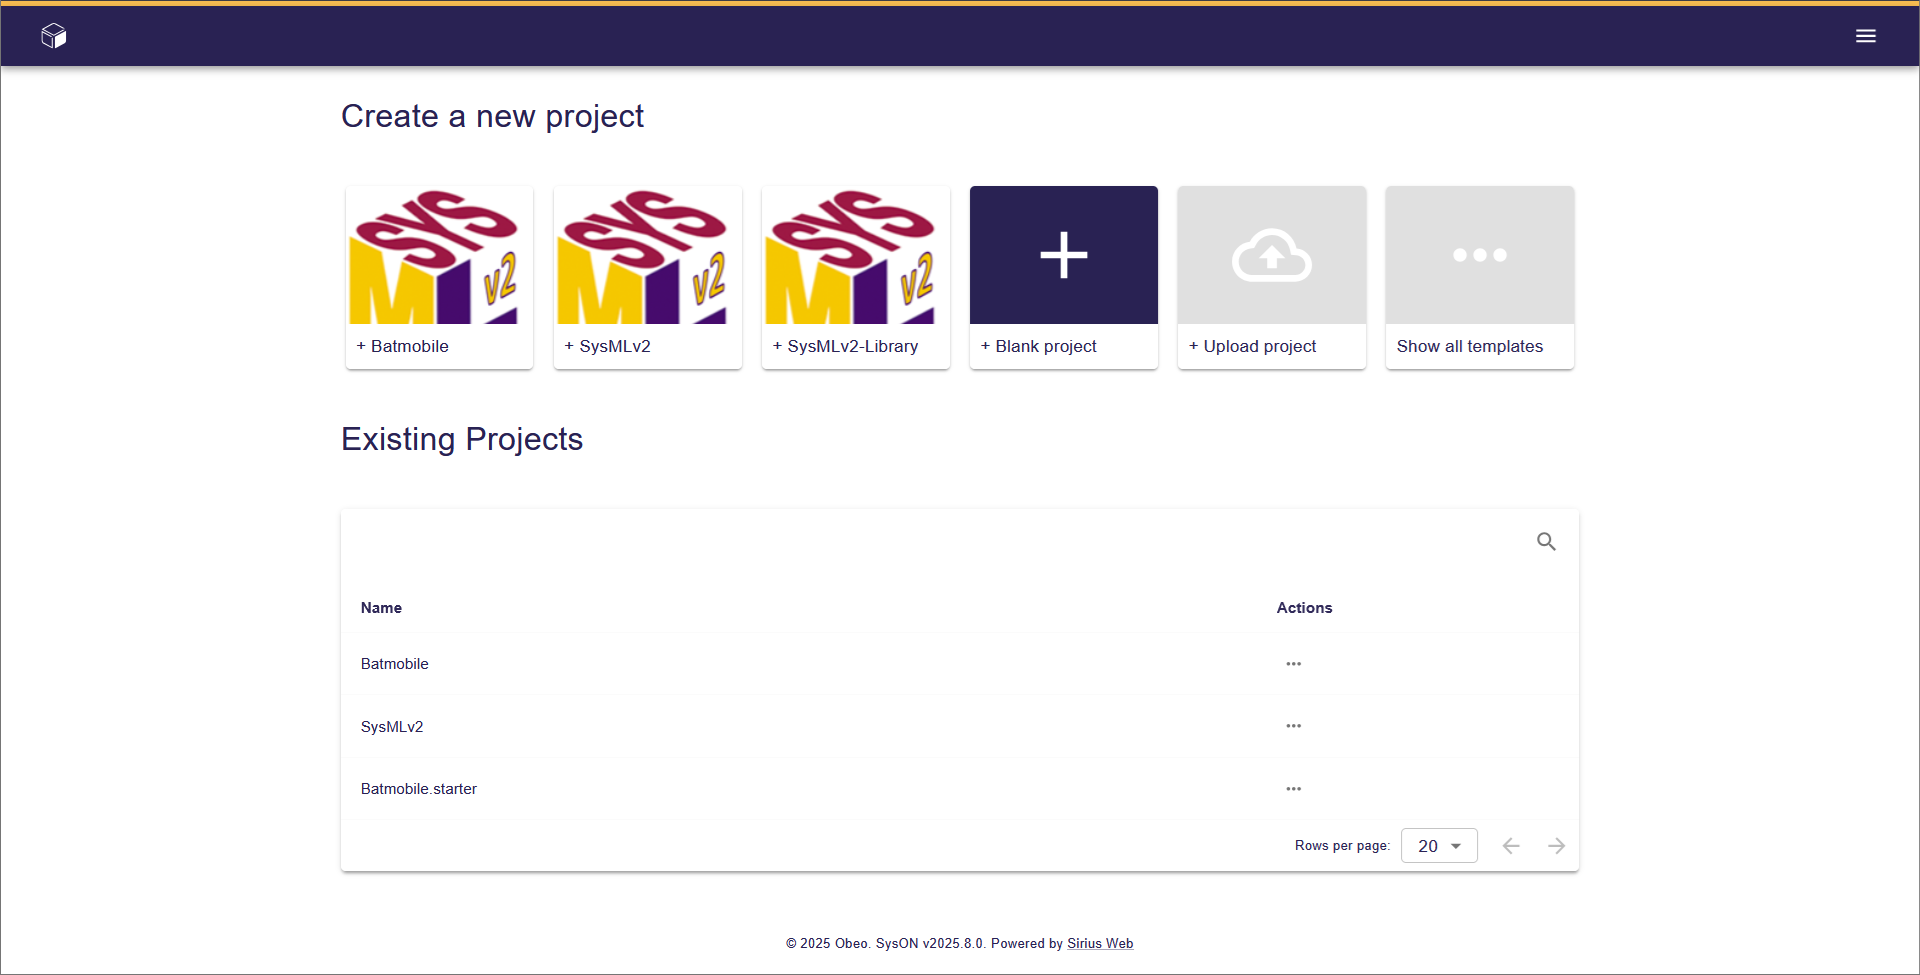
Creating a Project
#To create a new SysMLv2 project, select the icon labeled "SysMLv2" (the second from the left) in the "Create a new project" section (SysMLv2 template).
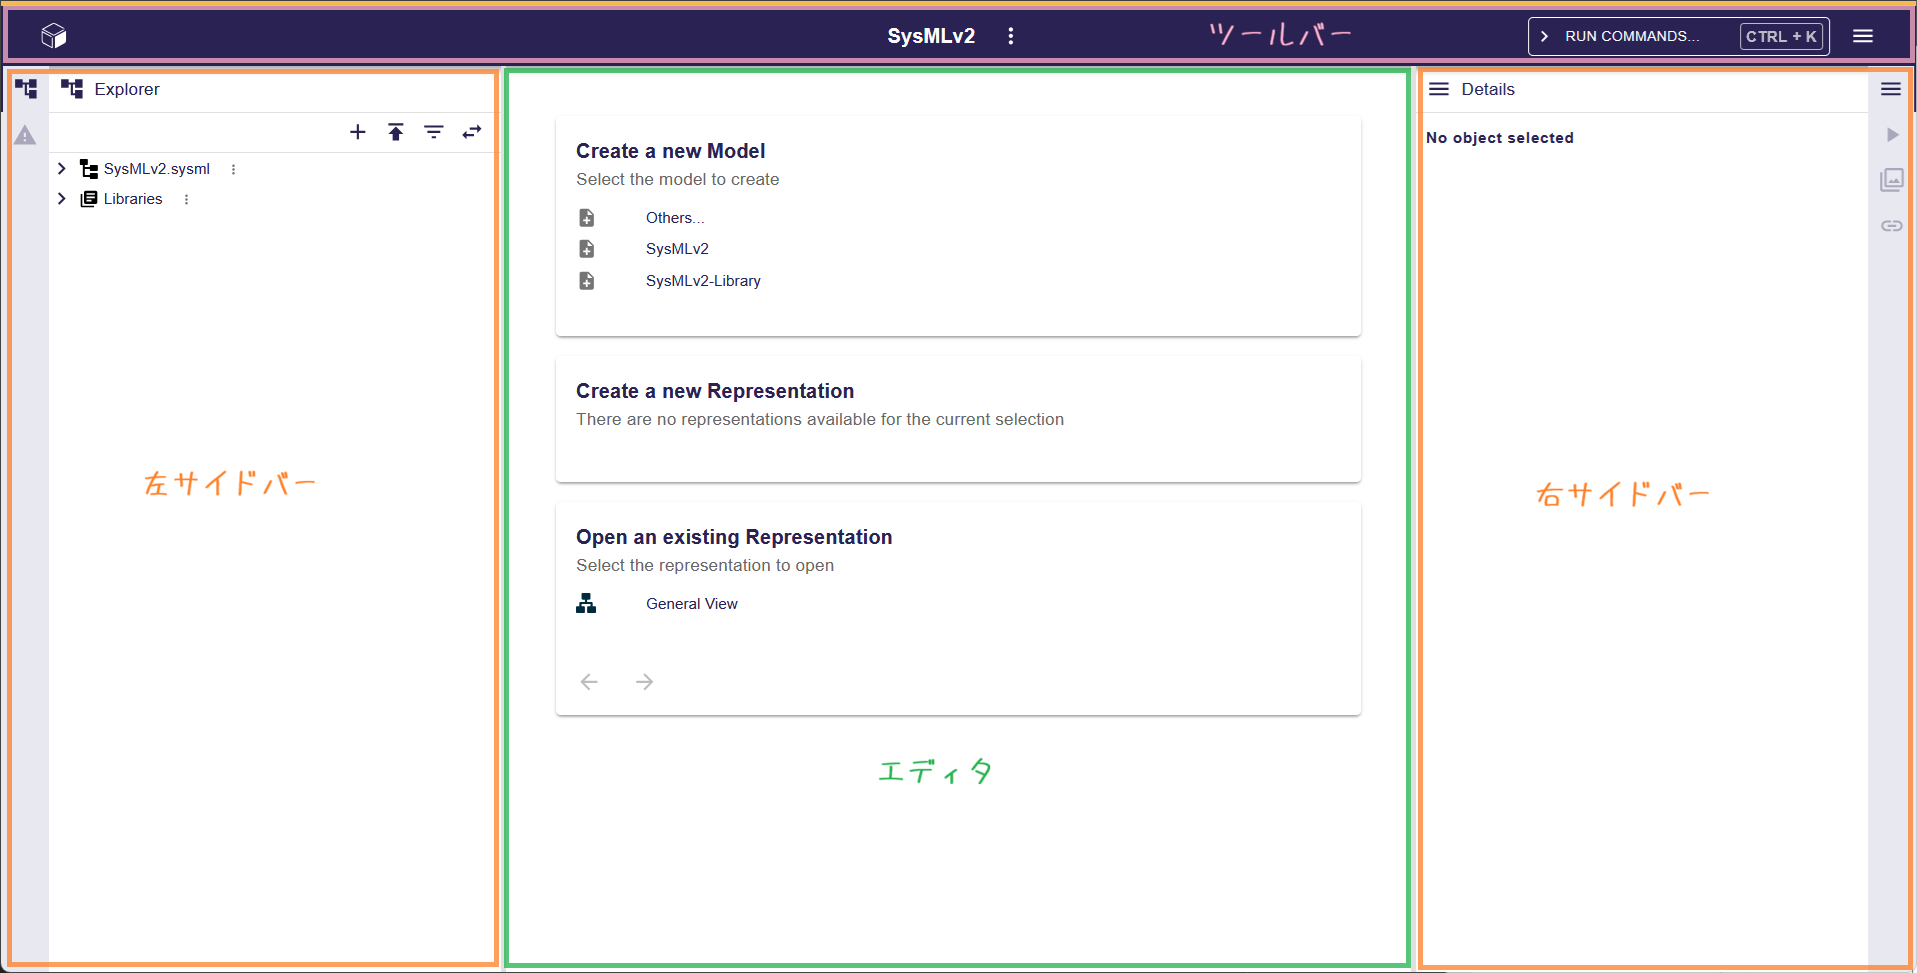
Once selected, the project editor screen will be displayed.
The editor screen consists of four parts: the "toolbar" at the top of the screen, the "left sidebar" on the left, the "right sidebar" on the right, and the "editor" between the sidebars.
Renaming the Project
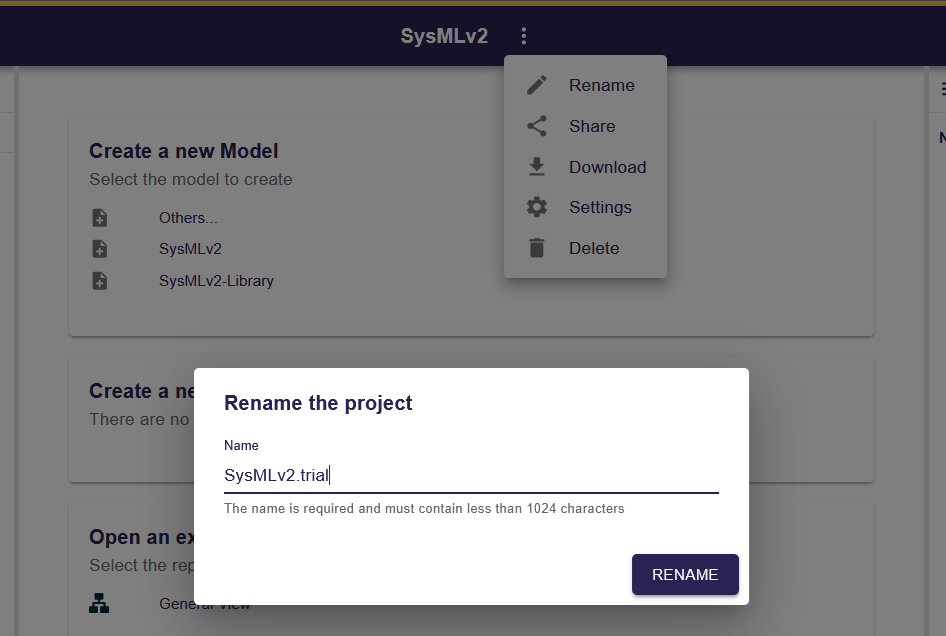
#The project name is "SysMLv2", located in the center of the toolbar.
First, let’s change the project name. Click the kebab button (...) next to the project name in the toolbar and select "Rename" to open the "Rename the project" dialog. This time, enter "SysMLv2.trial" and click the "RENAME" button.
Displaying a View
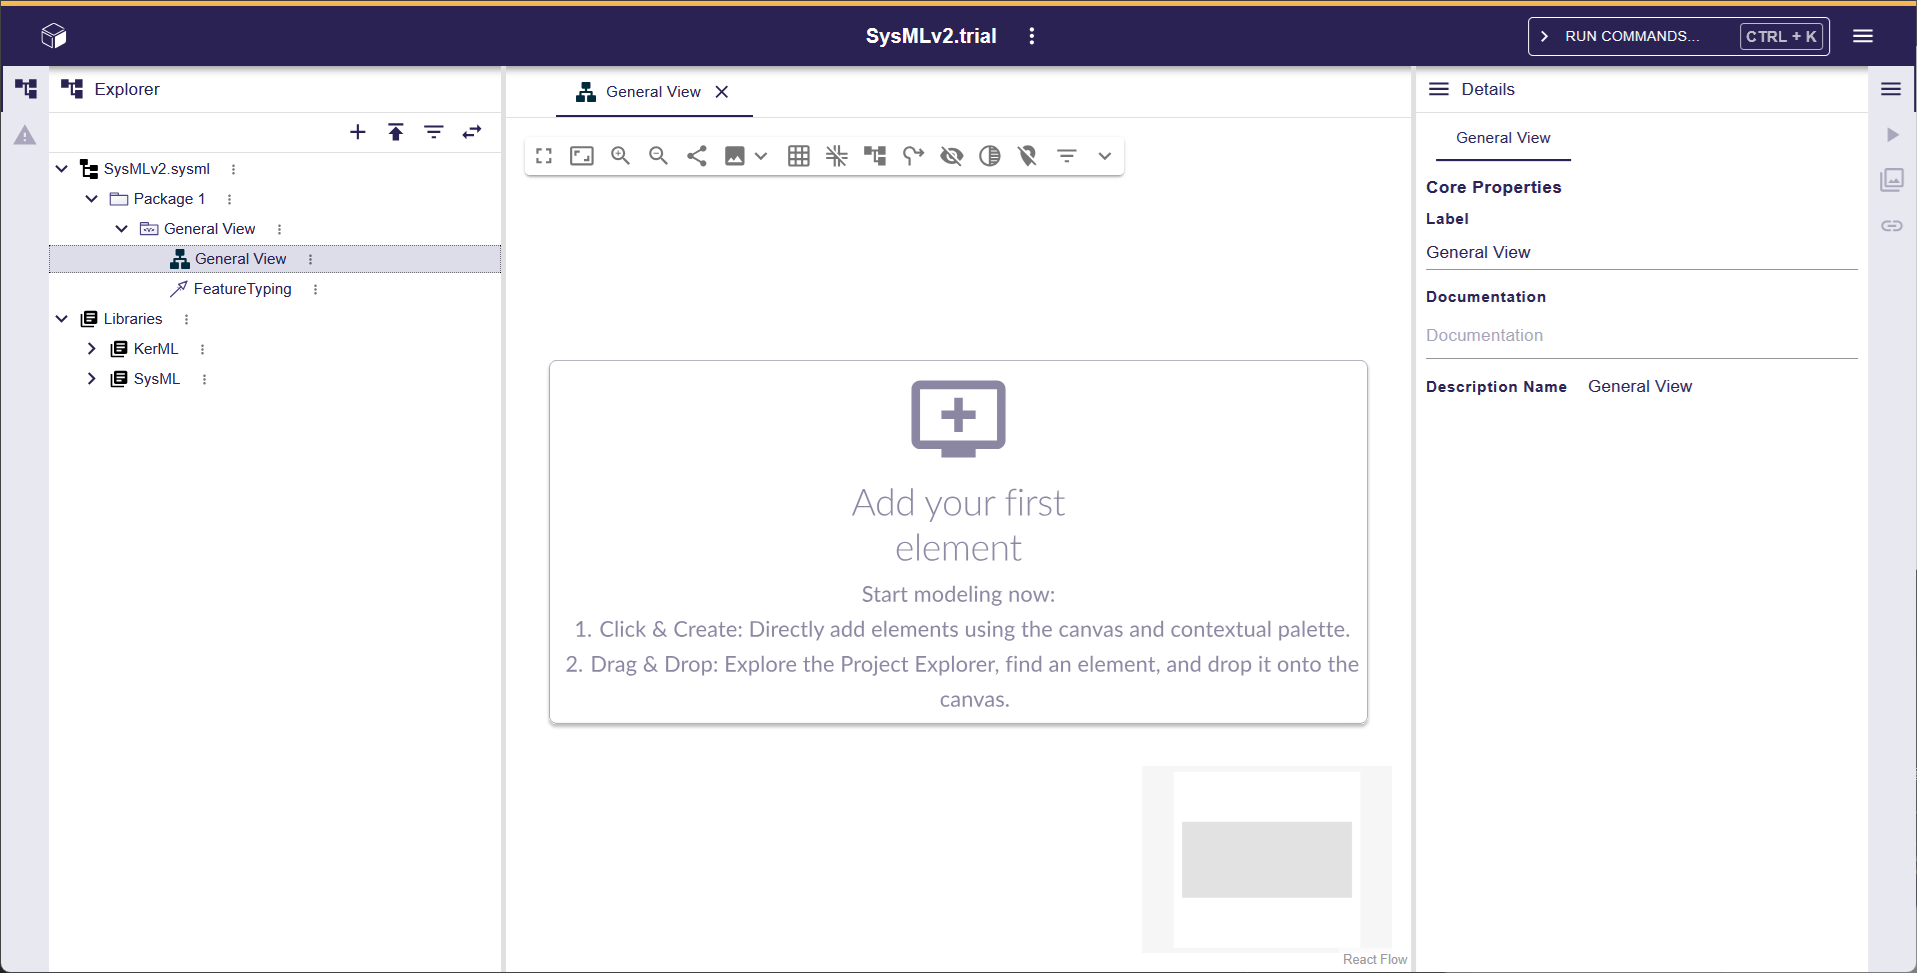
#When you select "General View" in the tree of the left sidebar, the editor displays a canvas for drawing diagrams. If you are creating a model using graphical notation, you will draw diagrams here.
Adding a View
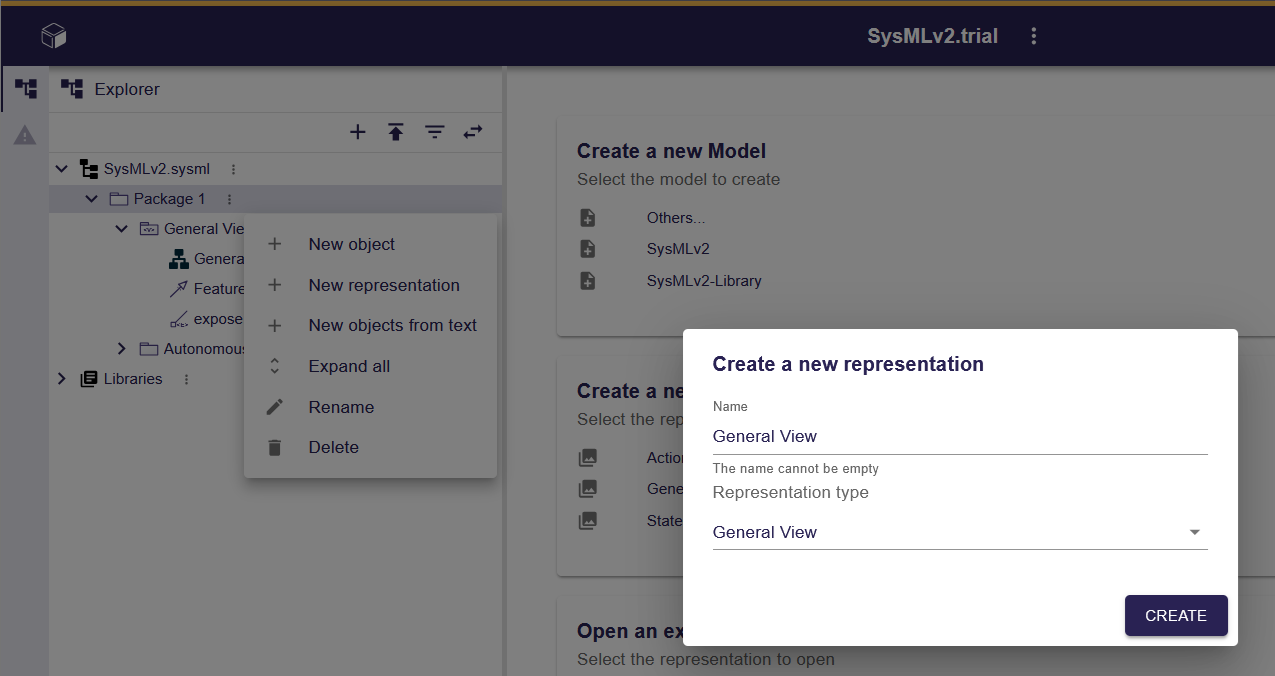
#If you want to add a new view, click the kebab icon (...) attached to an element such as a package in the left sidebar tree. From the context menu that appears, select "New representation" to open a dialog for adding a view. In this dialog, enter a name, specify the view type, and click the "CREATE" button to add the view.
Returning to the Project Browser Screen
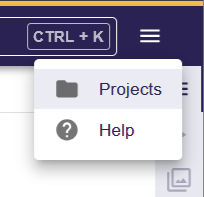
#To return to the project browser screen, click the hamburger button (≡) at the far right of the top toolbar and select "Projects".
You can also click the cube icon at the far left of the toolbar to return to the project browser screen.
Creating a New Package Element
#Let’s start by creating a Package.
Right-click on an empty area in the center editor to display a context menu listing the categories of elements that can be placed on the diagram.

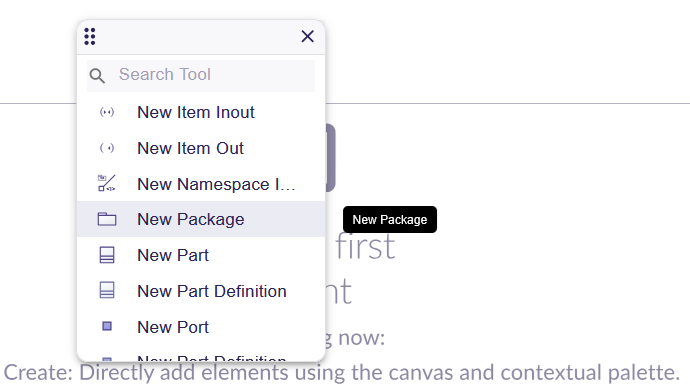
Select "Structure" to switch the context menu to a list of "Structure" elements that can be placed on the diagram, then choose "New Package".
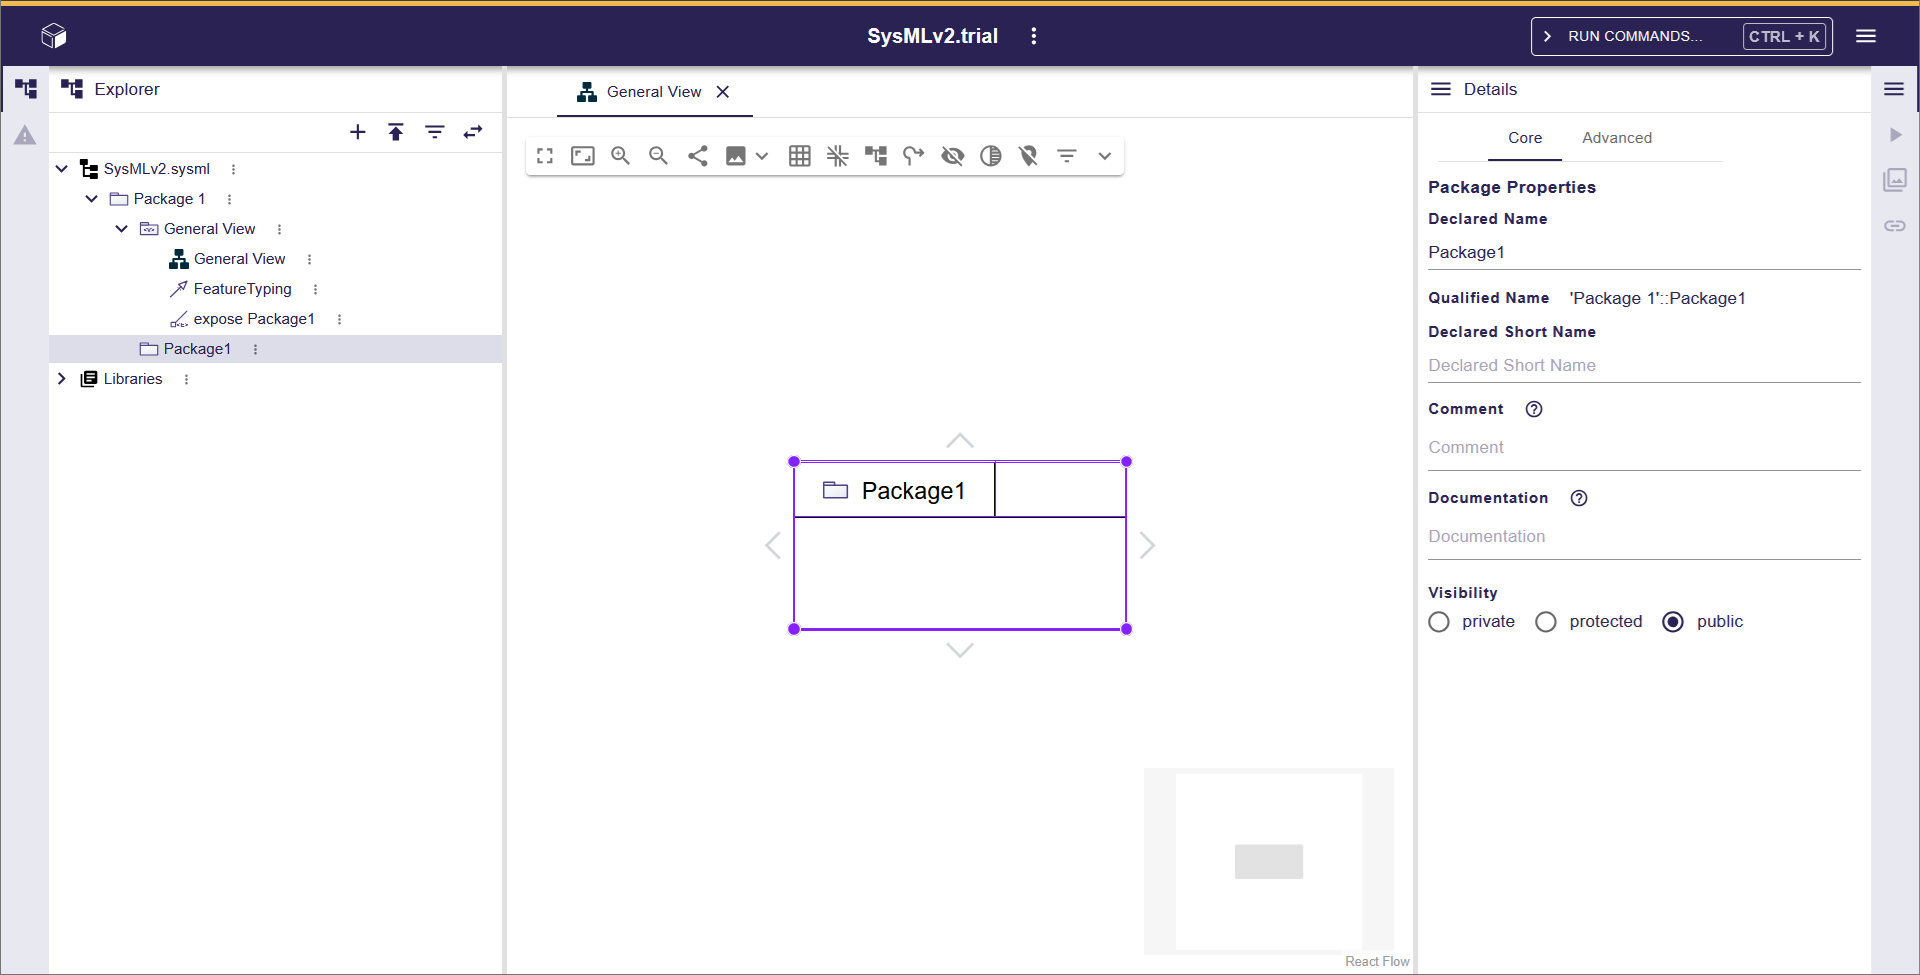
A Package element will then appear in the editor, and a corresponding Package element will be added to the tree in the left sidebar. Looking at the left sidebar tree at this point, you’ll see that the newly added "Package1" appears within the "Package1" that contains "General View". In the "Details" section of the right sidebar, "Declared Name" is also set to "Package1".
Now, add "Package2" in the same way you added "Package1".
Next, drag and drop "Package2" in the left sidebar tree into "Package1". Then, right-click on "Package1" to display the context menu.
In the context menu that appears, select "Related Elements" > "Add existing nested elements". Then, "Package2" will appear within "Package1".
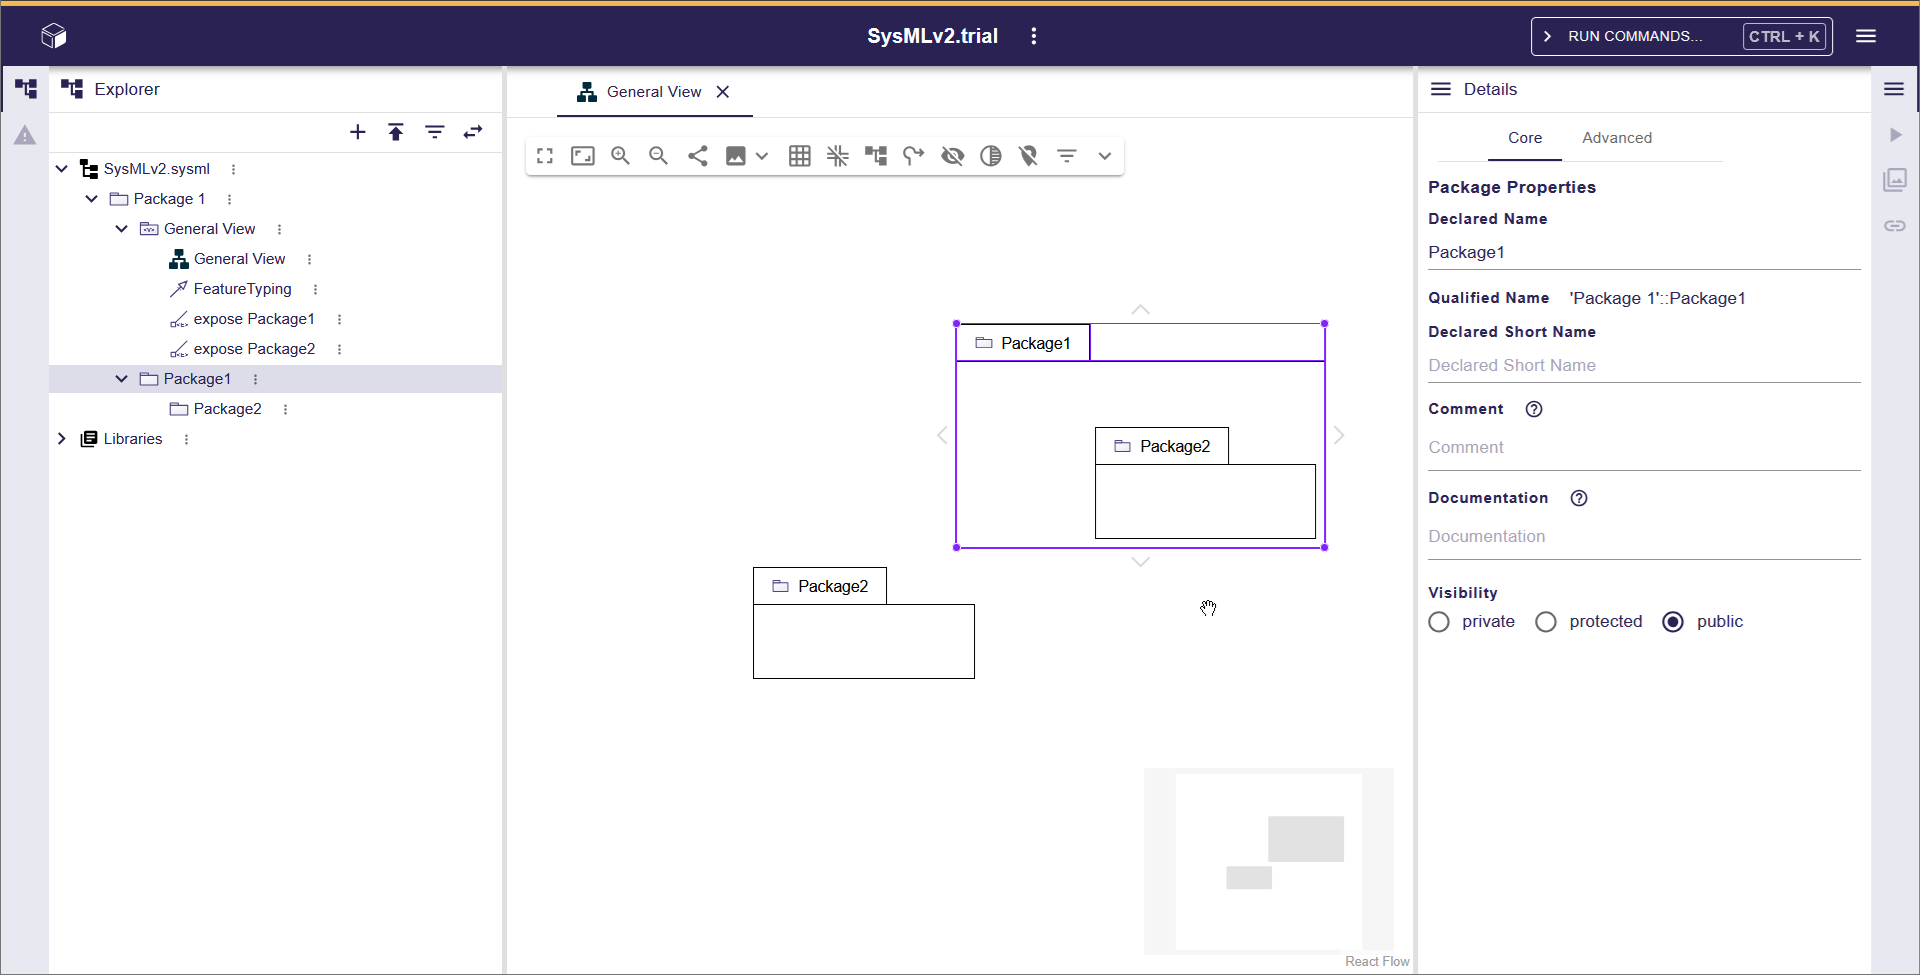
At this point, the "Package2" displayed outside of "Package1" remains unchanged.
According to the SysML v2 specification, it makes sense to display an owned-membership between "Package1" and "Package2". A future release might change this to display the owned-membership.
Removing a Package from a View
#In "General View", two instances of "Package2" are displayed. We will remove the "Package2" that is outside of "Package1" from the view.
With "Package2" selected, right-click to display the context menu. Among the icons at the top of the context menu, click the fourth one from the left, which shows a square with a diagonal slash.
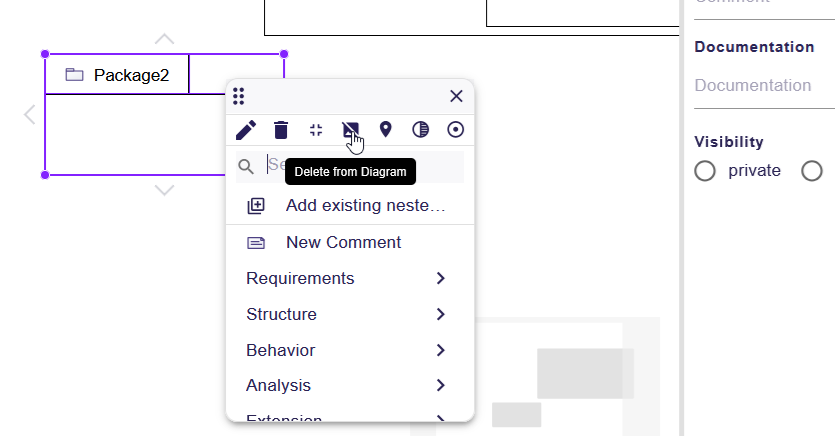
"Package2" is removed from the view, but remains in the left sidebar tree.
Placing a Package in a View
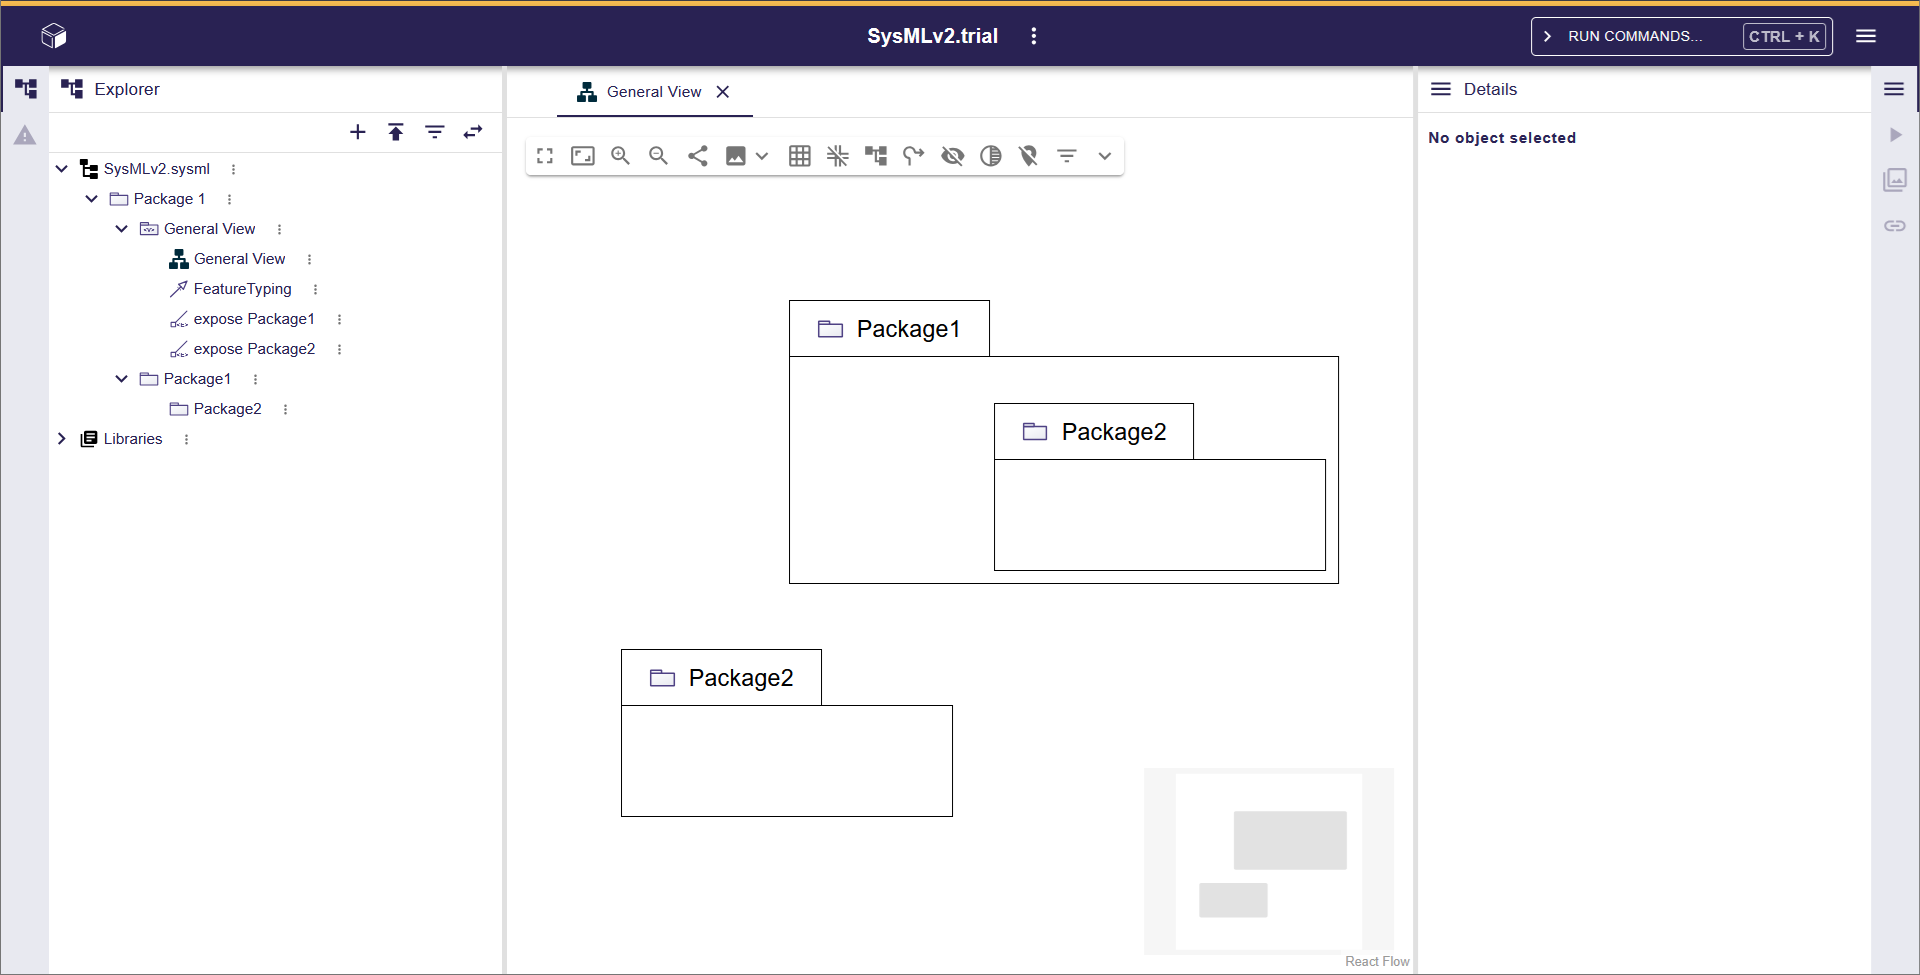
#Drag and drop "Package2" from the left sidebar tree into the editor.
"Package2" is displayed again in the view.
Importing a Package
#In the left sidebar tree, click the kebab icon (...) next to the Package. In the context menu that appears, select "New object" to open the "Create a new object" dialog. In the dialog’s "Object type" field, choose "Namespace Import".
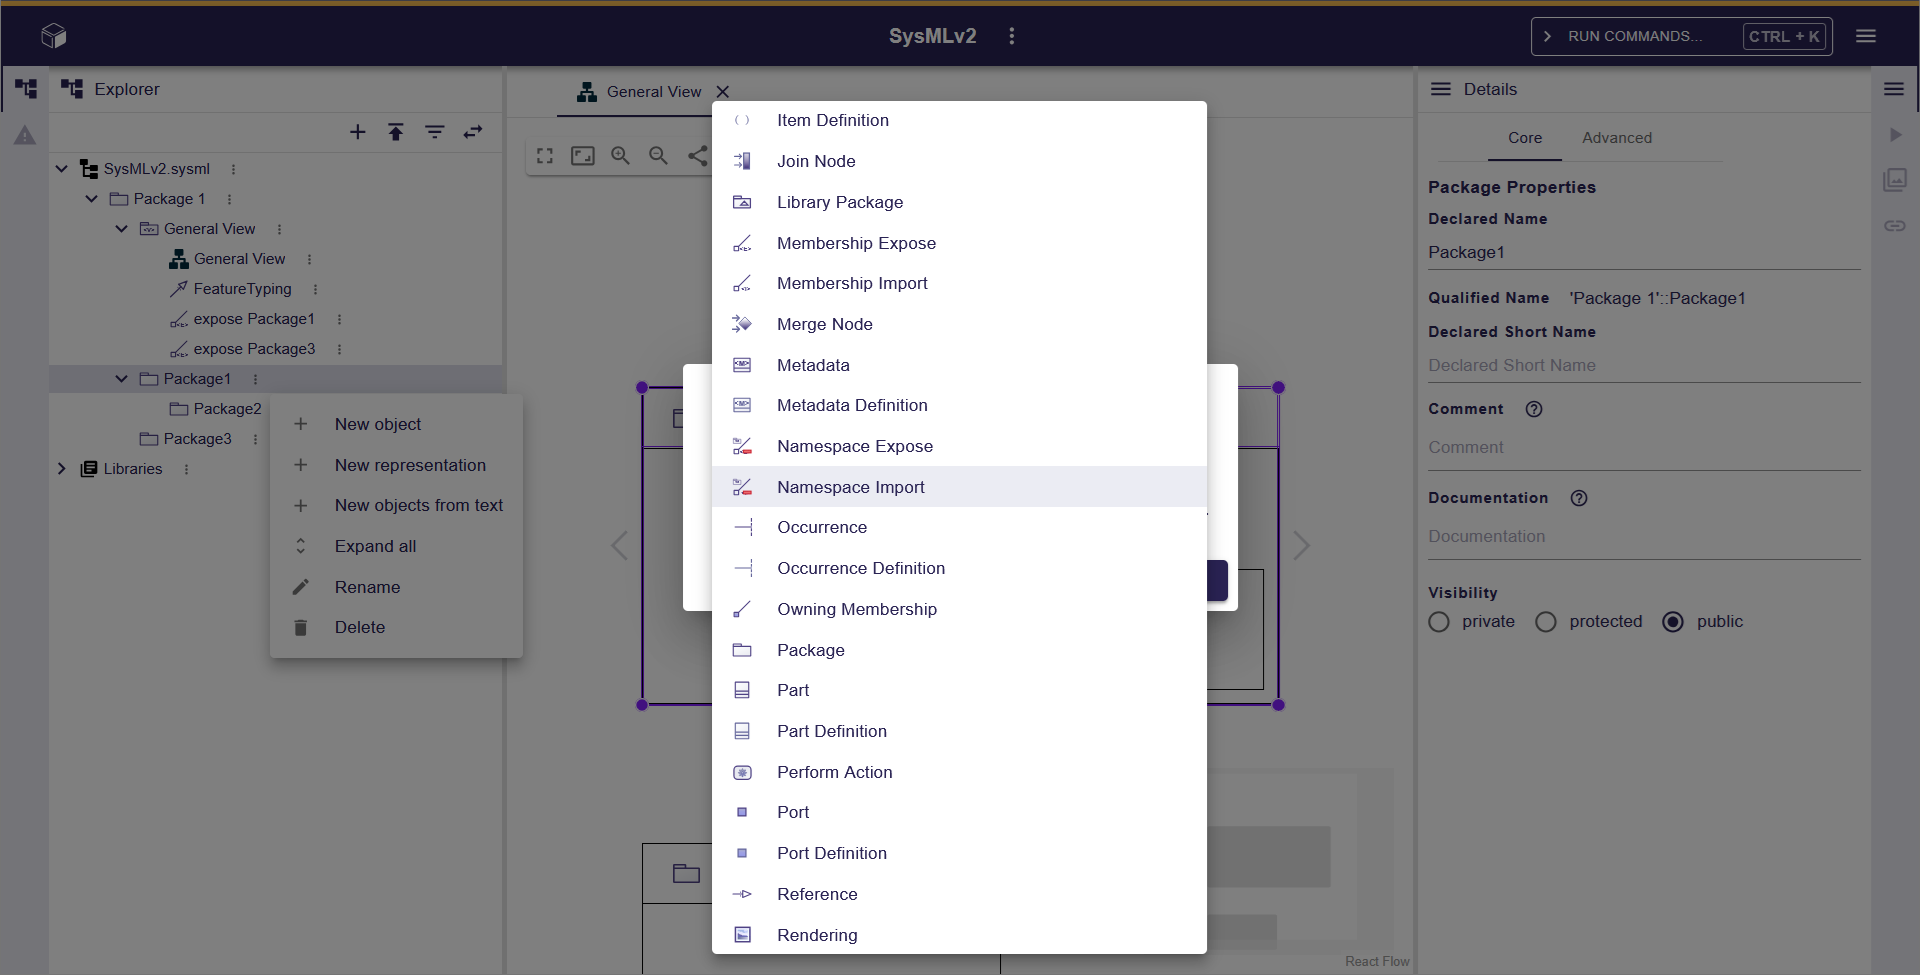
Then, in the tree, a "Namespace Import" is added under the previously selected Package. When you select the added "Namespace Import", the "Details" in the right sidebar displays its properties. In the "Imported Namespace" field in the "Details" displayed in the left sidebar, select the Package to import to complete the import configuration.
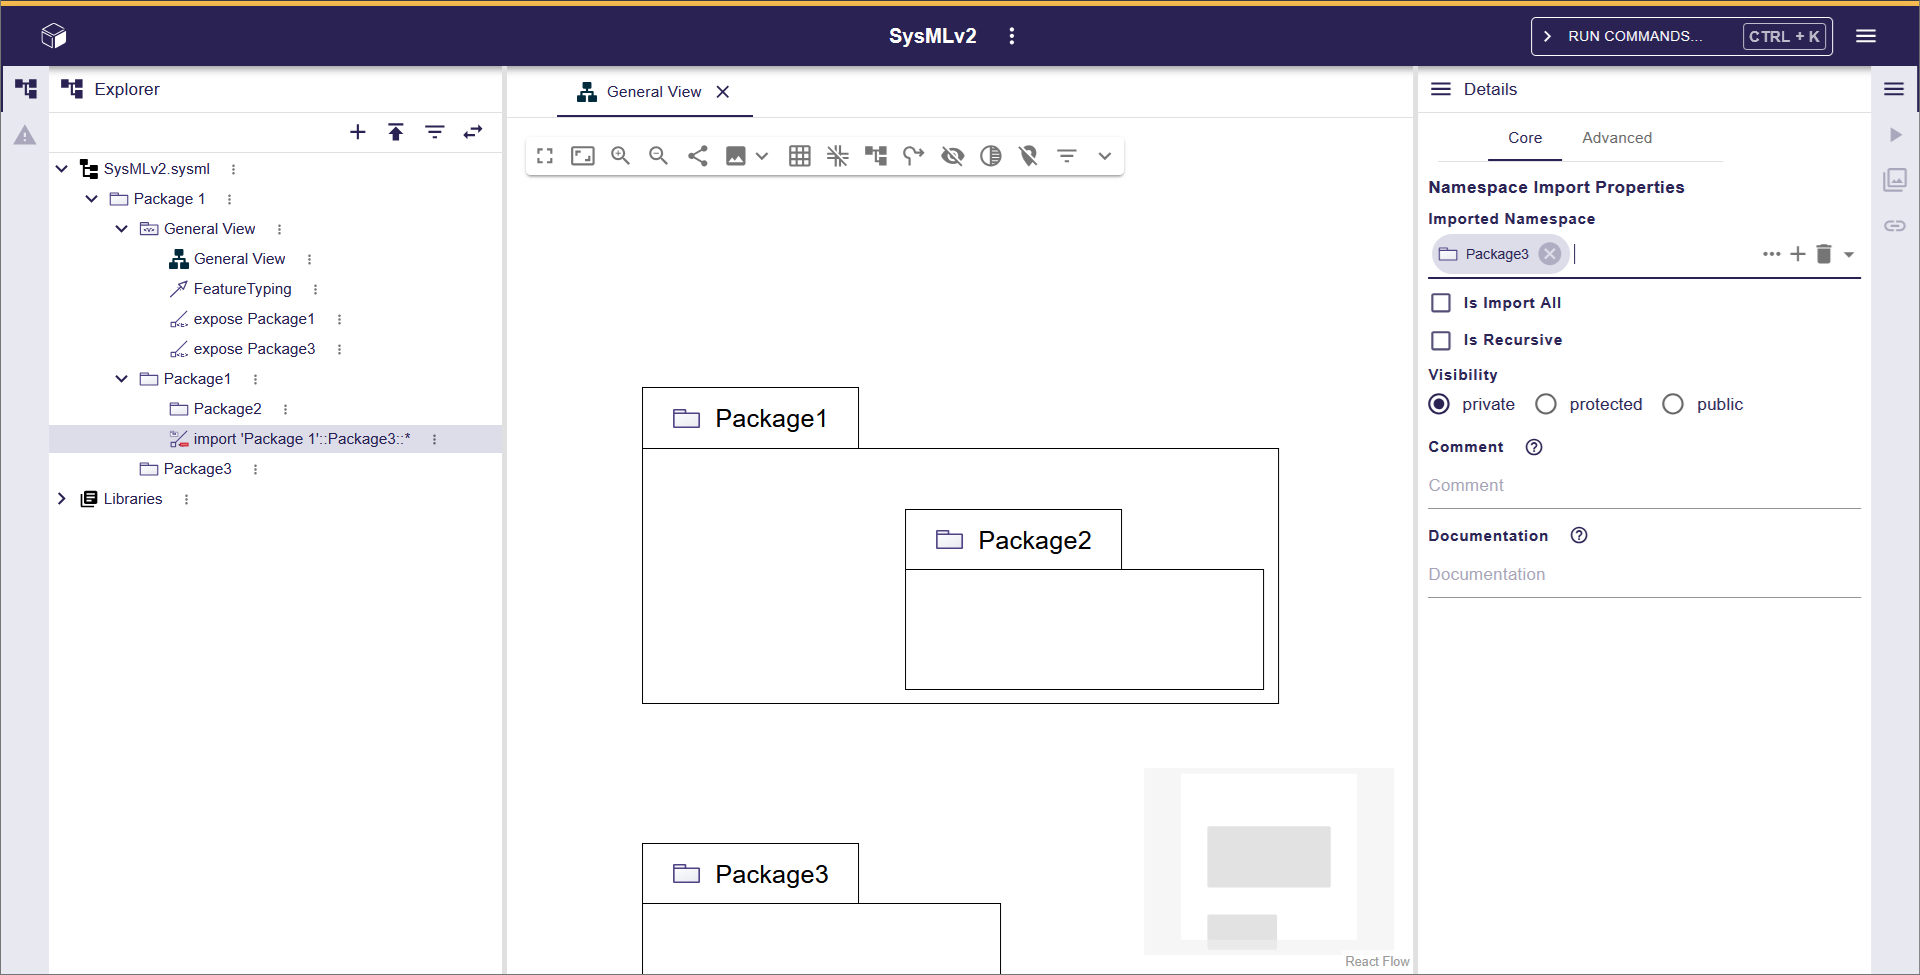
Right-click the Package in the diagram and choose "Related Elements" > "Add existing nested elements" from the context menu. The dashed package shown within the Package represents the import.
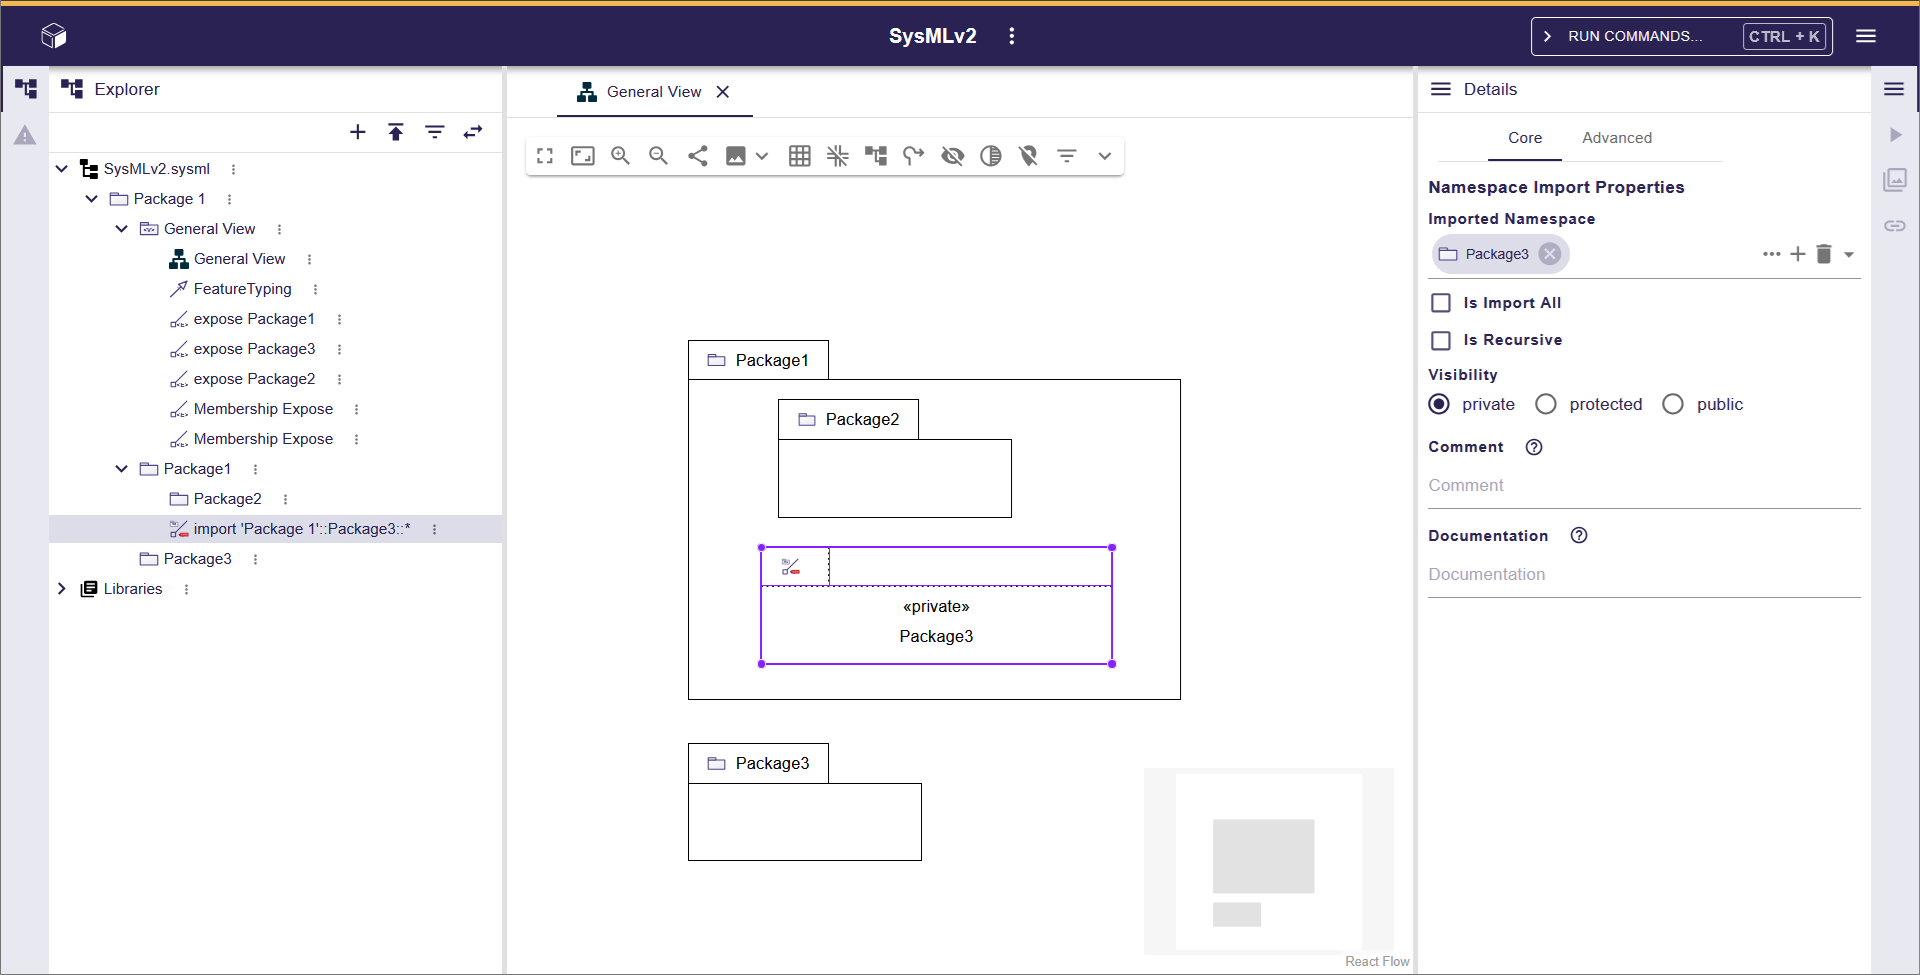
In the "Visibility" field in the "Details" of the left sidebar, you can change the visibility of the imported Package.
Deleting a Package from the Model
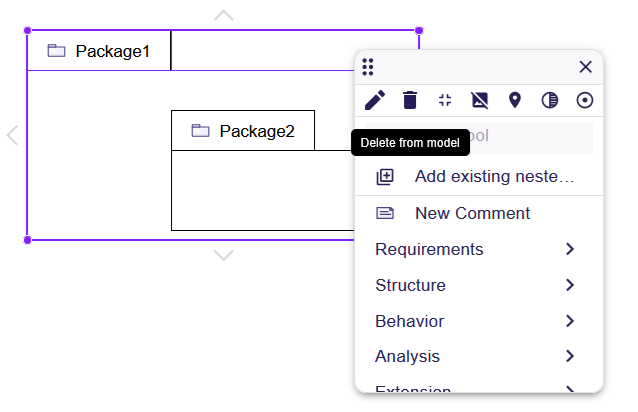
#Let’s delete "Package1" from the model.
Display the context menu using the same steps you used to remove "Package2" from the view. In the icons at the top of the context menu, click the second one from the left, which is the trash can icon.
A confirmation dialog will appear asking if you want to delete.
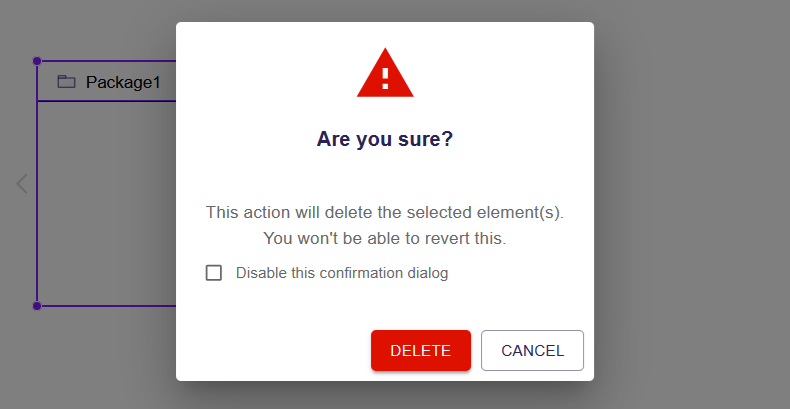
When you click the "DELETE" button, "Package1" and the "Package2" that was inside it are removed from the left sidebar tree, and both "Package1" and "Package2" disappear from the view.
Adding Packages Using Text Notation
#SysON can also handle the text notation, a feature of SysML v2.
In the left sidebar tree, click the kebab icon (...) to the right of "Package1" and select "New objects from text" from the displayed menu. Then, a dialog appears with the message "Enter or paste SysMLv2 text to create new objects in the model".

Enter the following into the dialog and click the "CREATE OBJECTS" button.
package Package2 {
	package 'Package 3' {
	}
}
package 'Package' {
}
In the left sidebar tree, "Package2", "Package 3", and "Package" are added. If you don’t want to add more, close the dialog by clicking the "CLOSE" button.
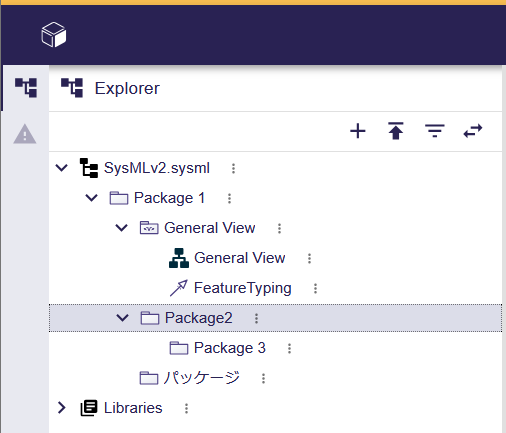
In text notation, by enclosing a package name in single quotes ('), you can use strings containing Japanese characters or spaces.
Next Time
#In this article, we created a new project and added packages.
Next time, we will create Part Definition elements.