Trying out JetBrains Junie (Getting Started)
Back to TopTo reach a broader audience, this article has been translated from Japanese.
You can find the original version here.
This article is Day 11 of the 2025 Summer Relay series. I'm Shiota, and when it comes to curry side dishes, I prefer rakkyo over fukujinzuke.
In April of this year, JetBrains publicly released the Junie AI agent. There are other AI agents as well, such as Claude Code and Cursor.
Since I frequently use IntelliJ IDEA in my day-to-day work, I wanted to write about JetBrains's Junie this time.
What is Junie
#Junie is an autonomous AI coding agent developed by JetBrains.
Previously, I used JetBrains's AI Assistant. There was also an article about AI Assistant on the Mamezou Developer Site in the past.
Unlike traditional code completion or prompt-based code generation, Junie is characterized by its ability to understand the context of the entire project and autonomously carry out everything from code generation to test execution.
I've written that, but it's hard to imagine, so let's keep the introduction brief and dive right into using Junie.
Note that Junie also supports IntelliJ IDEA Community Edition, so for this article I will be using the free tier of IntelliJ IDEA and Junie. There may be functional restrictions in the free tier, so I appreciate your understanding.
Junie also supports other JetBrains IDEs beyond IntelliJ IDEA, so you can use it in PyCharm, WebStorm, and the like. You can also use it in Android Studio provided by Google.
Installing Junie
#Assuming you already have IntelliJ IDEA installed, let's start by installing Junie.
It's quite simple. Launch IntelliJ IDEA, search for Junie in the Marketplace, and install the plugin. That's it.
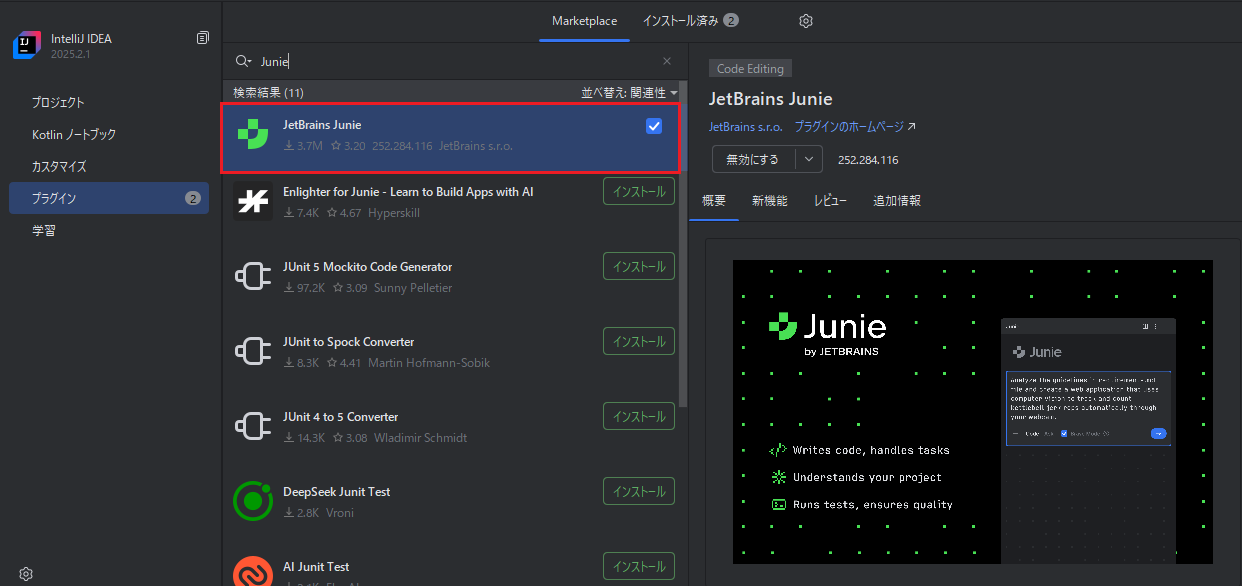
The version of IntelliJ IDEA I'm using is 2025.2.1. If you have trouble installing Junie, please check your IntelliJ IDEA version.
Preparing the Project
#After installing Junie, use Spring Initializr or a similar tool to prepare an empty project. Of course, it doesn't have to be a Spring Boot project; feel free to create any project supported by IntelliJ IDEA.
In this post, I'll develop a REST API Spring Boot application using Junie.
The project I prepared is, as you can see, almost empty.
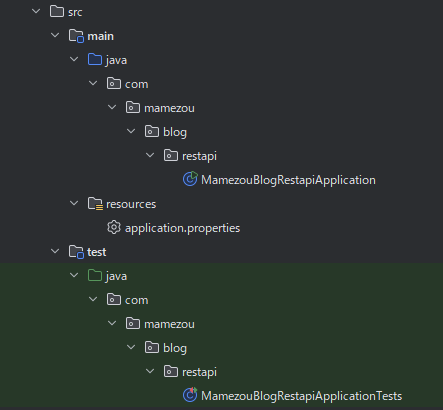
The build.gradle dependencies are also minimal. Starter libraries for Spring MVC and Spring Data JPA are not included.
dependencies {
  implementation 'org.springframework.boot:spring-boot-starter'
  compileOnly 'org.projectlombok:lombok'
  developmentOnly 'org.springframework.boot:spring-boot-devtools'
  annotationProcessor 'org.springframework.boot:spring-boot-configuration-processor'
  annotationProcessor 'org.projectlombok:lombok'
  testImplementation 'org.springframework.boot:spring-boot-starter-test'
  testRuntimeOnly 'org.junit.platform:junit-platform-launcher'
}
Before Using Junie
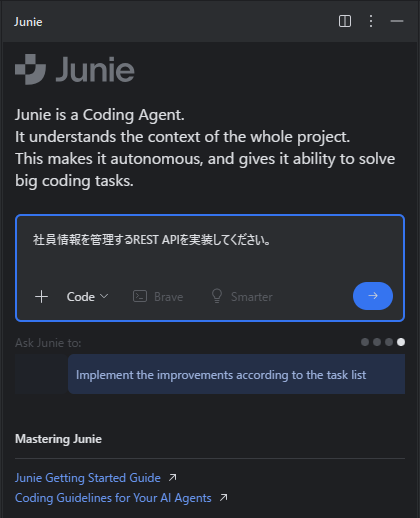
#Open the project you just created in IntelliJ IDEA. You should see a Junie icon in the right sidebar of IntelliJ IDEA; click it to display the Junie tool window.
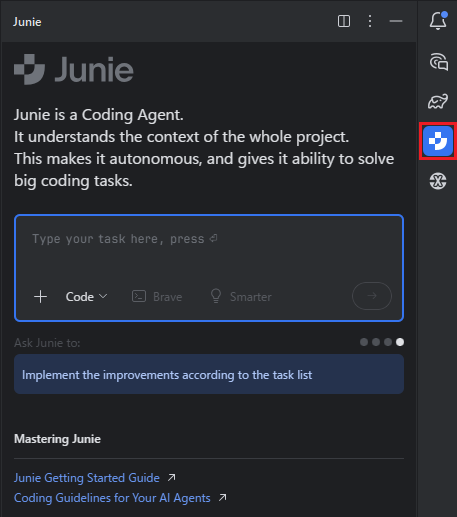
My first thought was, “Ah, I wonder if it supports Japanese?” It seems it does support Japanese. What a relief.
Junie's Operating Modes
#Junie has two operating modes: "Code Mode" and "Ask Mode."
| Operating Mode | Overview |
|---|---|
| Code Mode | A mode in which Junie autonomously performs code additions and edits, as well as test execution. |
| Ask Mode | A mode where you can "consult" with Junie in natural language about design and implementation strategies. |
From the official JetBrains site and blog, it seems they envision a workflow where you decide on a design strategy in Ask Mode, then implement and test in Code Mode. Due to time constraints, this post will cover only Code Mode.
Junie's LLM
#When I opened the settings to check Junie's LLM, OpenAI's GPT-5 was selected by default.
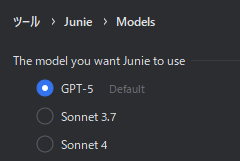
I won't change the Junie settings and will continue to use GPT-5 as is.
Trying Junie
#Now, let's experience how our project evolves by using Junie.
Without overthinking, I entered the prompt: Please implement a REST API to manage employee information.
Then, a plan of steps like the following was created, and Junie executed each step in order.
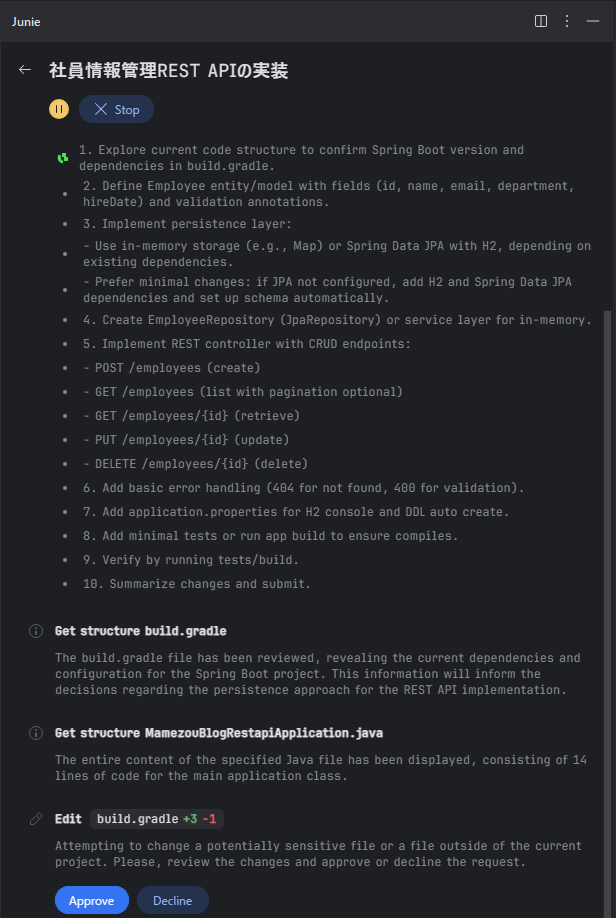
After clicking the Approve button several times and completing the build and test execution, you are notified that all steps are complete.
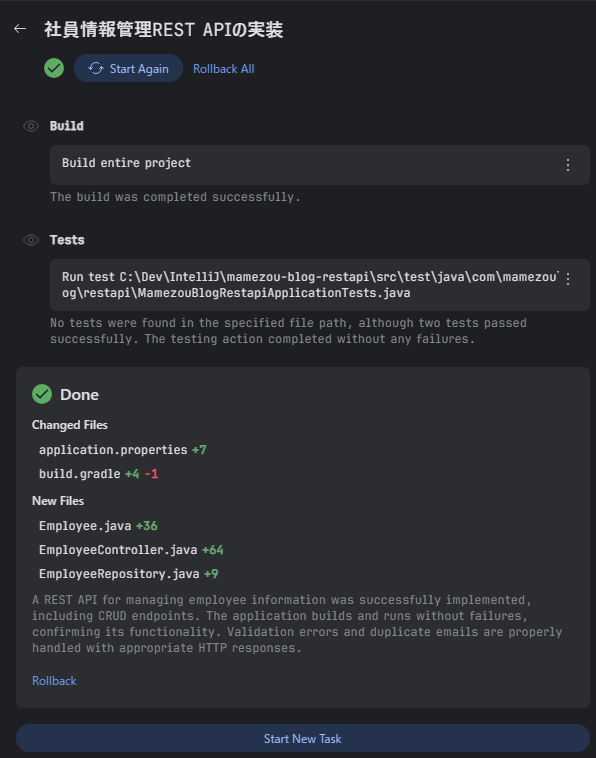
When I looked at the code that was actually generated, lo and behold, without giving detailed instructions, it had generated a full set of source code to handle employee information (the resource). In addition to the REST API, there are entity classes and repository interfaces.
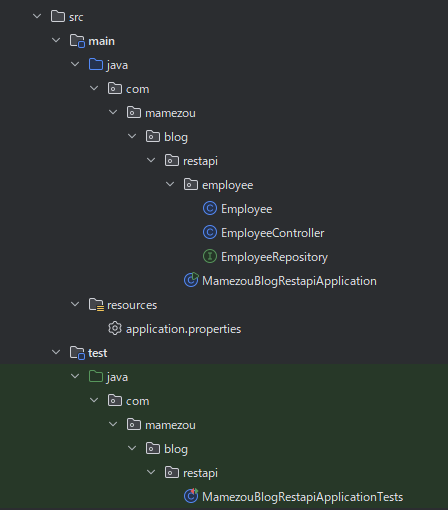
Here, I won't delve into the package structure or layering.
@Entity
@Table(name = "employees")
@Data
@NoArgsConstructor
@AllArgsConstructor
public class Employee {
  @Id
  @GeneratedValue(strategy = GenerationType.IDENTITY)
  private Long id;

  @NotBlank private String name;

  @Email
  @NotBlank
  @Column(unique = true)
  private String email;

  @NotBlank private String department;

  @PastOrPresent private LocalDate hireDate;
}
public interface EmployeeRepository extends JpaRepository<Employee, Long> {
  Optional<Employee> findByEmail(String email);
}
@RestController
@RequestMapping("/employees")
public class EmployeeController {

  // ---------- <omitted> ---------- //

  @PostMapping
  @ResponseStatus(HttpStatus.CREATED)
  public Employee create(@RequestBody @Valid Employee employee) {
    try {
      employee.setId(null);
      return repository.save(employee);
    } catch (DataIntegrityViolationException e) {
      throw new ResponseStatusException(HttpStatus.CONFLICT, "Email already exists");
    }
  }

  @GetMapping
  public List<Employee> list() {
    return repository.findAll();
  }

  @GetMapping("/{id}")
  public Employee get(@PathVariable Long id) {
    return repository
        .findById(id)
        .orElseThrow(() -> new ResponseStatusException(HttpStatus.NOT_FOUND));
  }

  @PutMapping("/{id}")
  public Employee update(@PathVariable Long id, @RequestBody @Valid Employee updated) {
    Employee existing =
        repository
            .findById(id)
            .orElseThrow(() -> new ResponseStatusException(HttpStatus.NOT_FOUND));

    // ---------- <omitted> ---------- //

    try {
      return repository.save(existing);
    } catch (DataIntegrityViolationException e) {
      throw new ResponseStatusException(HttpStatus.CONFLICT, "Email already exists");
    }
  }

  @DeleteMapping("/{id}")
  @ResponseStatus(HttpStatus.NO_CONTENT)
  public void delete(@PathVariable Long id) {
    if (!repository.existsById(id)) {
      throw new ResponseStatusException(HttpStatus.NOT_FOUND);
    }
    repository.deleteById(id);
  }
}
Of course, build.gradle and application.yaml were also updated.
dependencies {
    implementation 'org.springframework.boot:spring-boot-starter-web'
    implementation 'org.springframework.boot:spring-boot-starter-validation'
    implementation 'org.springframework.boot:spring-boot-starter-data-jpa'
    runtimeOnly 'com.h2database:h2'

    // ---------- <omitted> ---------- //
}
The build.gradle now includes dependencies for libraries like Spring MVC and Spring Data JPA, which were not present at the time of project creation.
spring:
  application:
    name: mamezou-blog-restapi
  datasource:
    url: jdbc:h2:mem:employees;DB_CLOSE_DELAY=-1;DB_CLOSE_ON_EXIT=FALSE
    driverClassName: org.h2.Driver
    username: sa
    password: ""
  jpa:
    hibernate:
      ddl-auto: update
  h2:
    console:
      enabled: true
      path: /h2-console
Also, although the application properties were originally in application.properties when the project was created, I changed it to application.yaml by my preference. This change was also made using Junie.
Adding Tests with Junie
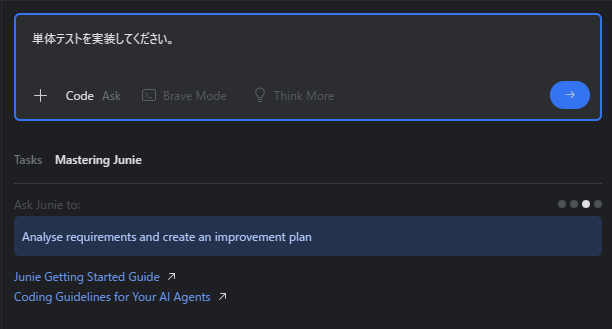
#At the stage described in "## Trying Junie," no test classes had been implemented. To add a test class, I entered the prompt: Please implement unit tests.
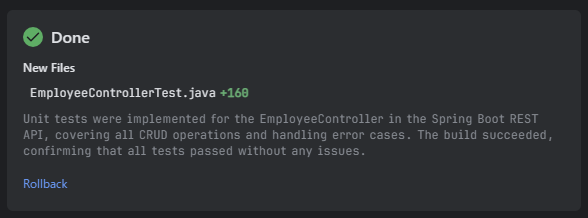
Sure enough, a test class for the EmployeeController class—namely EmployeeControllerTest—was added.
You can see that test methods for the REST API (handler methods) of the EmployeeController class have been implemented.
@WebMvcTest(EmployeeController.class)
class EmployeeControllerTest {

  @Autowired MockMvc mockMvc;
  @Autowired ObjectMapper objectMapper;

  @MockBean EmployeeRepository repository;

  private Employee sample(Long id) {
    return new Employee(id, "Taro Yamada", "taro@example.com", "IT", LocalDate.of(2020, 1, 1));
  }

  @Test
  @DisplayName("POST /employees - creates employee and returns 201")
  void create_success() throws Exception {
    Employee input = sample(null);
    Employee saved = sample(1L);

    when(repository.save(any(Employee.class))).thenReturn(saved);

    mockMvc
        .perform(
            post("/employees")
                .contentType(MediaType.APPLICATION_JSON)
                .content(objectMapper.writeValueAsString(input)))
        .andExpect(status().isCreated())
        .andExpect(jsonPath("$.id").value(1))
        .andExpect(jsonPath("$.email").value("taro@example.com"));
  }

  // ---------- <omitted> ---------- //

  @Test
  @DisplayName("GET /employees/{id} - returns employee or 404")
  void get_by_id() throws Exception {
    when(repository.findById(1L)).thenReturn(Optional.of(sample(1L)));
    when(repository.findById(99L)).thenReturn(Optional.empty());

    mockMvc
        .perform(get("/employees/1"))
        .andExpect(status().isOk())
        .andExpect(jsonPath("$.id").value(1));
    mockMvc.perform(get("/employees/99")).andExpect(status().isNotFound());
  }

  // ---------- <omitted later> ---------- //

}
Since entity classes and repository interfaces do not have behavior, it seems test classes for them were not generated.
It was confirmed that, after Junie generated the test classes, all tests passed. To be sure, I ran the tests again, and as you can see, all tests succeeded.

The MockBean annotation used in the test classes is deprecated and scheduled for removal in Spring Boot 3.4.0 and later. Instead, it is recommended to use the MockitoBean annotation.
Conclusion
#How was this look at JetBrains's Junie so far?
I have only used some of Junie's features, but I find it very convenient. If you regularly use IntelliJ IDEA in your development activities, I encourage you to install Junie and experience it for yourself. With a personal license starting at ¥1,540 per month, it won't be a big burden on your allowance.
In this post, I tried code generation in Junie's Code Mode. In the future, I plan to try combinations with Ask Mode and Brave Mode. Also, by placing .junie/guidelines.md in the project root and writing coding standards, it seems you can generate and edit code that conforms to them.
I plan to cover these topics in future posts.
Thank you very much for reading to the end.