Document Generation Techniques Using Markdown with JSDoc(+Docdash)
Back to TopTo reach a broader audience, this article has been translated from Japanese.
You can find the original version here.
This is the article for Day 9 of the Mamezou Developer Site Advent Calendar 2024.
I write notes during meetings, TODO lists, and technical memos in Markdown. The README in the root folder (top page) of the Git repository and this document are also written in Markdown. There are also task management tools that support Markdown.
I write more text in Markdown than in plain text.
Basically, I use my familiar editor (vim) to write, but once you get used to Markdown syntax, you can easily format documents, and since syntax highlighting color-codes the text, it's convenient because you can see the structure of the document at a glance.
In the editor, document formatting is not performed, but just having color-coding like in programming makes a huge difference in readability. At the end of editing, I use a Markdown viewer (described later) to check the formatted result.
Document Creation Using Markdown
#We often deliver software design documents to customers as Word documents, but in a certain project, there was no specification for the software design document format, and there was a request to view it online, so we wrote it in Markdown.
However, since it is a design document, we need to include UML diagrams and their explanations, but if we include everything in one file (one page), it becomes difficult to read. We wanted to create files for each chapter and write them in Markdown.
As requirements, we needed the following:
- Convert multiple Markdown files into HTML
- Generate API references from source files created in JavaScript
- Generate a table of contents and headings, allowing clicking on links to display the content of each chapter
As a sample, I created a 2D animation program called FizzBuzzBear that solves the FizzBuzz problem in JavaScript, and I will create a software manual (template) for it.
Document Display Using JSDoc
#JSDoc is used when creating API references for JavaScript, but it can also be used to write documents (called tutorials).
You write documents in Markdown format. You can link between documents (the linked Markdown document is automatically converted to the URL of the HTML document), and you can create headings. Since it is converted into static web pages, it can be referenced as online documentation.
With JSDoc, we can meet the above requirements, but the appearance is not quite satisfactory.
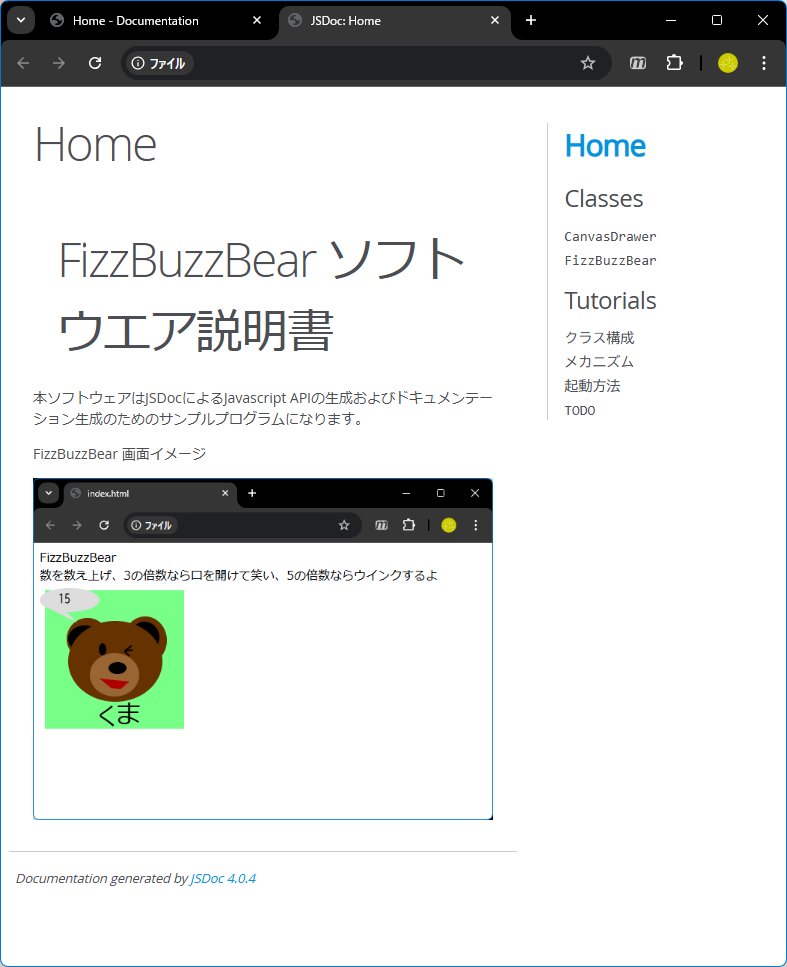
Sample of README (top page)
#- The table of contents is placed on the right side
- The header shows 'Home' 😞
- The table of contents for each document is displayed as 'Tutorials' 😞
- The table of contents is displayed in the order of the file names of each document 😞
- In the settings, we specify the correspondence between file names and display names when generating
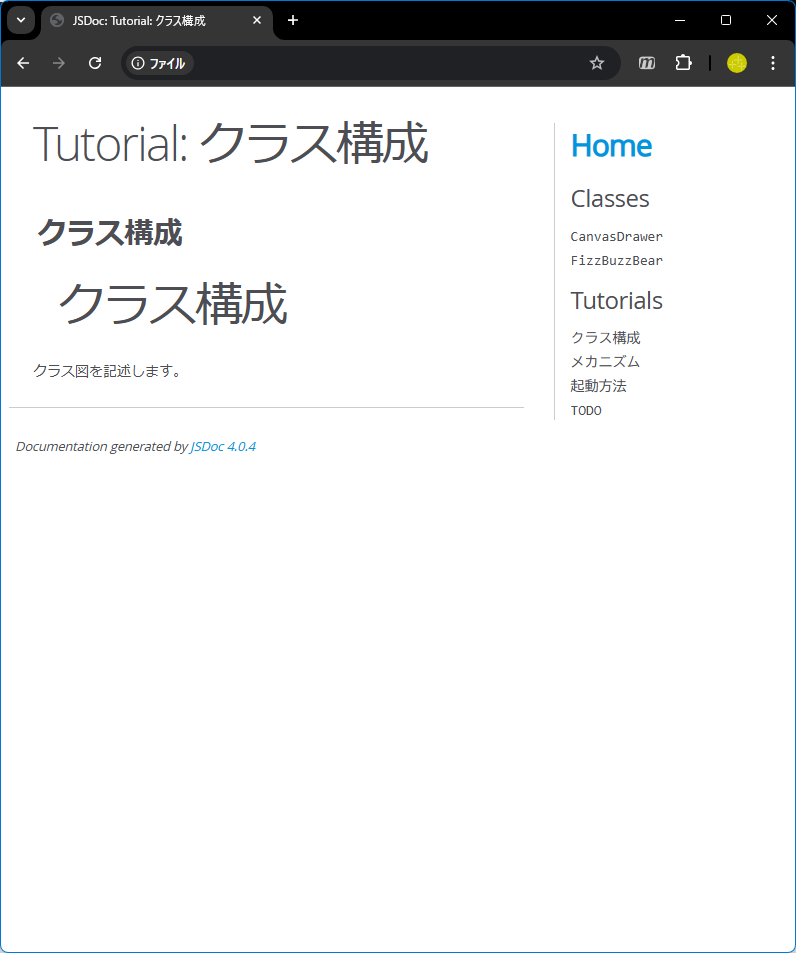
Sample of Document (tutorial)
#- The document is written as below, but the display is verbose 😞
class_structure.md
# Class Structure

We will describe the class diagram.
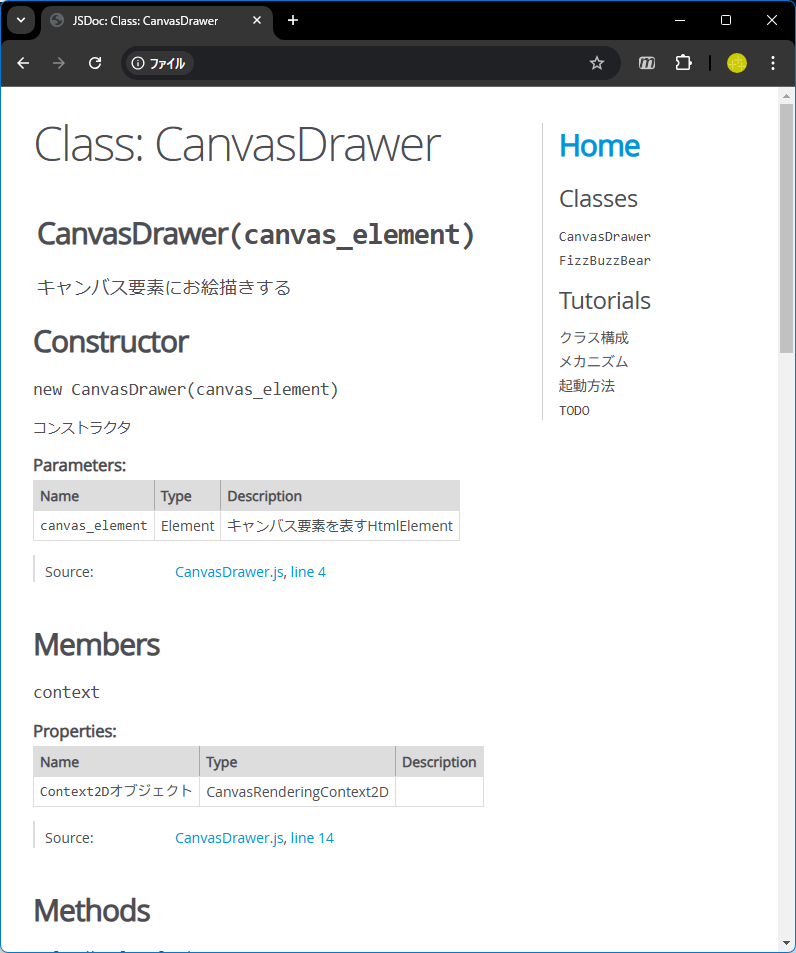
Sample of API Reference
#- The category names are large, and the property and method names are small and hard to understand 😞
Document Display Using Docdash
#There were several dissatisfaction points with the default template of JSDoc. To solve this, we use Docdash.
Docdash is a template that can be used with JSDoc. By using this template, you can change the appearance, and further customize it as you like.
With the default template of JSDoc being hard to read and not so great, using Docdash can resolve these issues.
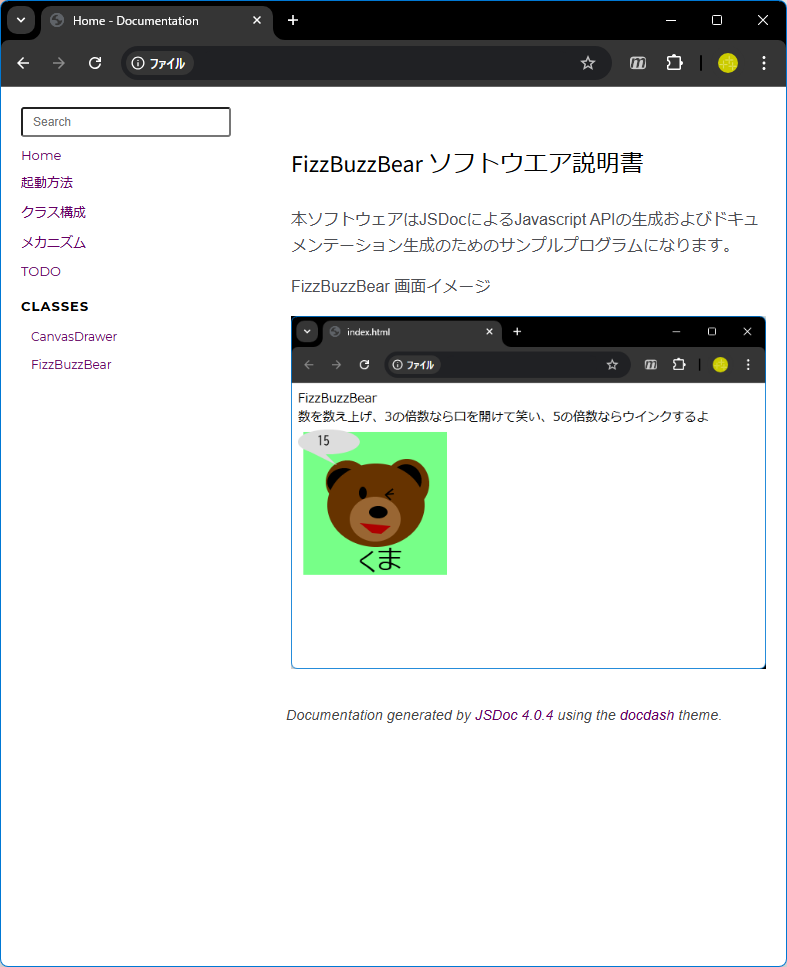
Sample of README (top page)
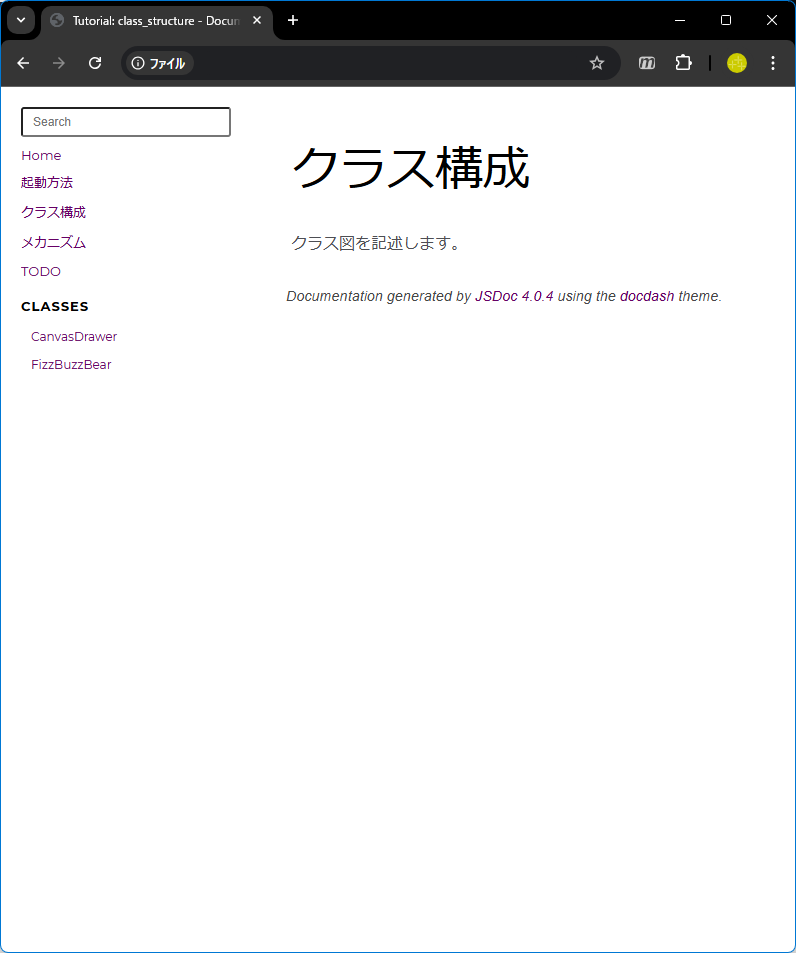
#- The table of contents is on the left side
- You can customize by using JavaScript, such as hiding the header 😊
- The table of contents can be displayed in the specified order 😊
Sample of Document (tutorial)
#- Displayed exactly as written in Markdown 😊
- I deleted the header using JavaScript
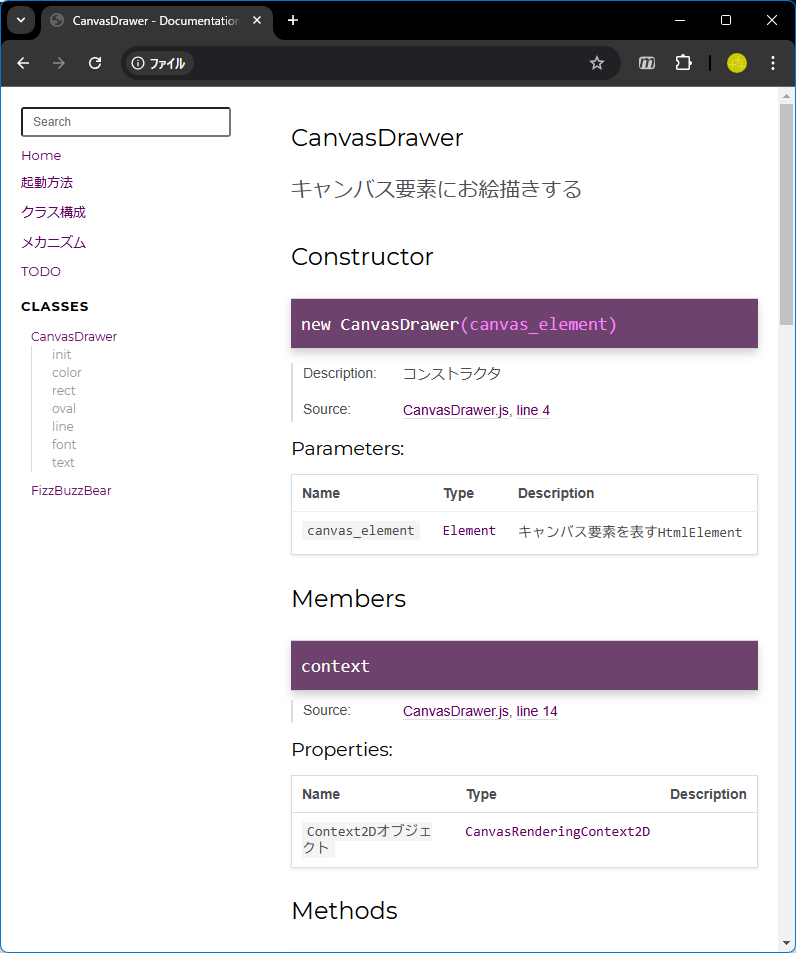
Sample of API Reference
#- Property and method names are easier to read 😊
- Method names are displayed in the left menu 😊
- You can switch display on/off via settings
- You can search APIs using the search box
- It can also be hidden
Installation and Execution
#Please install Node.js.
The installer is here.
Below are procedures targeting Windows. It seems that script execution errors occur with Windows PowerShell. Please use Command Prompt (cmd.exe) or Git Bash (bash.exe) on Windows.
Downloading the Sample App (FizzBuzzBear)
#curl -L -O https://github.com/shuji-morimoto/FizzBuzzBear/archive/refs/heads/main.zip
tar -xf main.zip
- Extracting the main.zip archive will create a FizzBuzzBear-main folder
Windows 10 Version 1809 (October 2018 Update) or later can use curl and tar, and tar can extract zip files.
Installing Necessary Modules
#cd FizzBuzzBear-main
set NODE_OPTIONS="--dns-result-order=ipv4first"
npm install
- The modules related to
JSDoc,Docdashspecified in package.json will be installed
In IPv6 environments, scripts may not download. In that case, specify set NODE_OPTIONS="--dns-result-order=ipv4first" to prioritize IPv4.
Generating Documents
#npm run docs
- Runs the
docsscript specified in package.json
Running the FizzBuzzBear App in the Browser
#start src/index.html
Opening the Software Design Document in the Browser
#start docs/_site/index.html
Note that it is unsuitable for PDF conversion or printing (there is no concept of paper size or page breaks).
Creating the Configuration File (jsdoc.json) Using the Docdash Template
#Details on configuring JSDoc are here
Details on the Docdash template configuration are here
{
    "source": {
        "include": ["./src"],
        "includePattern": ".+\\.js$"
    },
    "plugins": [
        // Specify the plugin for writing in Markdown
        "plugins/markdown"
    ],
    "templates": {
        "cleverLinks": true,
        "monospaceLinks": true,
        "default": {
            "includeDate": false,
            // Specify when loading various resources
            "staticFiles": {
                "include": ["./docs/articles"],
                "includePattern": ".+\\.(png|jpg|gif|ico|css|js)$"
            }
        }
    },
    "opts": {
        // Specify docdash as the template
        "template": "./node_modules/docdash",
        // Output destination
        "destination": "./docs/_site",
        // Specify the README file (top page display)
        "readme": "./docs/README.md",
        "encoding": "utf8",
        "recurse": true,
        // Specify the document folder
        "tutorials": "./docs/articles"
    },

    // Docdash settings
    "docdash": {
        "static": true,
        "sort": false,
        "sectionOrder": [
             "Classes",
             "Modules",
             "Externals",
             "Events",
             "Namespaces",
             "Mixins",
             "Interfaces"
        ],
        "search": true,
        "commonNav": false,
        "collapse": true,
        "wrap": false,
        "typedefs": true,
        "navLevel": 0,
        "private": false,
        // Specify scripts and stylesheets applied to each document
        // Since they are loaded from the converted HTML file,
        // specify them if you want to manipulate the DOM
        "scripts": [
            "scripts/local_settings.css",
            "scripts/local_settings.js"
        ],
        // Setting of headings
        "menu": {
            // Since xxxx.md files become tutorial-xxxx.html,
            // specify the converted HTML file name in href
            "How to Run": {
                "href":"tutorial-run_app.html",
                "target":"_self",
                "class":"menu-item",
                "id":"website_link"
            },
            "Class Structure": {
                "href":"tutorial-class_structure.html",
                "target":"_self",
                "class":"menu-item",
                "id":"website_link"
            },
            "Mechanism": {
                "href":"tutorial-mechanism.html",
                "target":"_self",
                "class":"menu-item",
                "id":"website_link"
            },
            "TODO": {
                "href":"tutorial-todo.html",
                "target":"_self",
                "class":"menu-item",
                "id":"website_link"
            }
        }
    }
}
h1.page-title {
    display: none;
}
- Hides elements that match the above
if (window.location.pathname.split('/').pop().startsWith('tutorial-')) {
    var h = document.querySelector("html > body > div#main > section > header");
    if (h != null) {
        h.style.display = "none";
    }
}
- When the resource name starts with 'tutorial-', hides the elements matching the selector in that document
Displaying Markdown Documents in the Browser
#When I want to check the formatted result of Markdown, I use Markdown Viewer to view it in the browser (Chrome). It seems to support various browser extensions.
If you enable this extension, you can drag and drop Markdown files into the browser, and they will be formatted and displayed.
If you set autoreload to true in Content Options, the results will be reflected in the browser when you edit and save in the editor. It seems to remember the current display position, so you don't have to scroll, which is convenient. Also, it seems you can generate a table of contents.

