【C#】WPF与MVVM:从“入门第一步”到实战Tips!〜桌面应用开发实践笔记〜
Back to Top为了覆盖更广泛的受众,这篇文章已从日语翻译而来。
您可以在这里找到原始版本。
本文是夏季接力连载2025的第12篇文章。
好久不见。我是小川。
最近在开发中使用了WPF,所以想以备忘录的形式记录一些针对初学者的开发技巧。
WPF(Windows Presentation Foundation)是Windows桌面应用开发的可选方案之一。
首先,我们将直观地介绍作为构建UI逻辑的主要方法——代码隐藏(Code-Behind)和MVVM(Model-View-ViewModel)。
引入DI(Dependency Injection)后,一边自以为理解了一些概念,一边总结C#的便利功能和陷阱等备忘录。
代码隐藏与MVVM
#二者时常被拿来比较,并讨论各自的优缺点。
代码隐藏就像“建造房屋所使用的工具和手工操作”,MVVM则像“房屋结构及管线和布线的设计图绘制方式”。
应根据项目规模和复杂度来采用MVVM的设计。
要理解WPF,第一步是先了解代码隐藏。
代码隐藏
#概述
#代码隐藏是将UI布局写在XAML(.xaml)中,将其运行逻辑写在C#(.xaml.cs)中。
因为它指的是位于XAML背后的代码,所以称为代码隐藏(Code-Behind)。
示例
#来实现一个简单的计数器应用。
<Window
    x:Class="CounterSample.MainWindow"
    xmlns="http://schemas.microsoft.com/winfx/2006/xaml/presentation"
    xmlns:x="http://schemas.microsoft.com/winfx/2006/xaml"
    xmlns:d="http://schemas.microsoft.com/expression/blend/2008"
    xmlns:local="clr-namespace:CounterSample"
    xmlns:mc="http://schemas.openxmlformats.org/markup-compatibility/2006"
    Title="Counter"
    Width="250"
    Height="150"
    mc:Ignorable="d">
    <Grid>
        <StackPanel HorizontalAlignment="Center" VerticalAlignment="Center">
            <TextBlock x:Name="CounterTextBlock" FontSize="30" Text="0" />
            <Button Click="CountUpButton_Click" Content="Count up" />
        </StackPanel>
    </Grid>
</Window>
using System.Windows;

namespace CounterSample
{
    public partial class MainWindow : Window
    {
        private int _count = 0;

        public MainWindow()
        {
            InitializeComponent();
        }
        private void CountUpButton_Click(object sender, RoutedEventArgs e)
        {
            _count++;
            CounterTextBlock.Text = _count.ToString();
        }
    }
}
特点是通过名称直接引用并操作UI元素(x:Name="CounterTextBlock")。
WPF的代码隐藏中,像public partial class MainWindow这样会带有partial。
这是为了将从XAML自动生成的代码与开发者编写的代码合并为同一个类。
实际上,编译时会生成一个名为MainWindow.g.i.cs的文件,其中会自动添加XAML的元素定义和InitializeComponent。
正因为有了partial,才能将这些文件和MainWindow.xaml.cs视为同一个类。
通过上述代码,我们已经完成了计数器应用程序。

MVVM
#概述
#MVVM是一种将UI与业务逻辑分离的设计模式。
它将应用程序划分为以下三个组件:
- Model:负责应用程序的数据和业务逻辑。
- View:即UI本身。通过XAML编写,向用户显示信息并接收输入。
- ViewModel:在View和Model之间起到桥梁作用,将应在View中显示的数据以属性的形式公开,并将来自View的操作作为命令接收。
示例
#尝试实现同样的计数器应用。
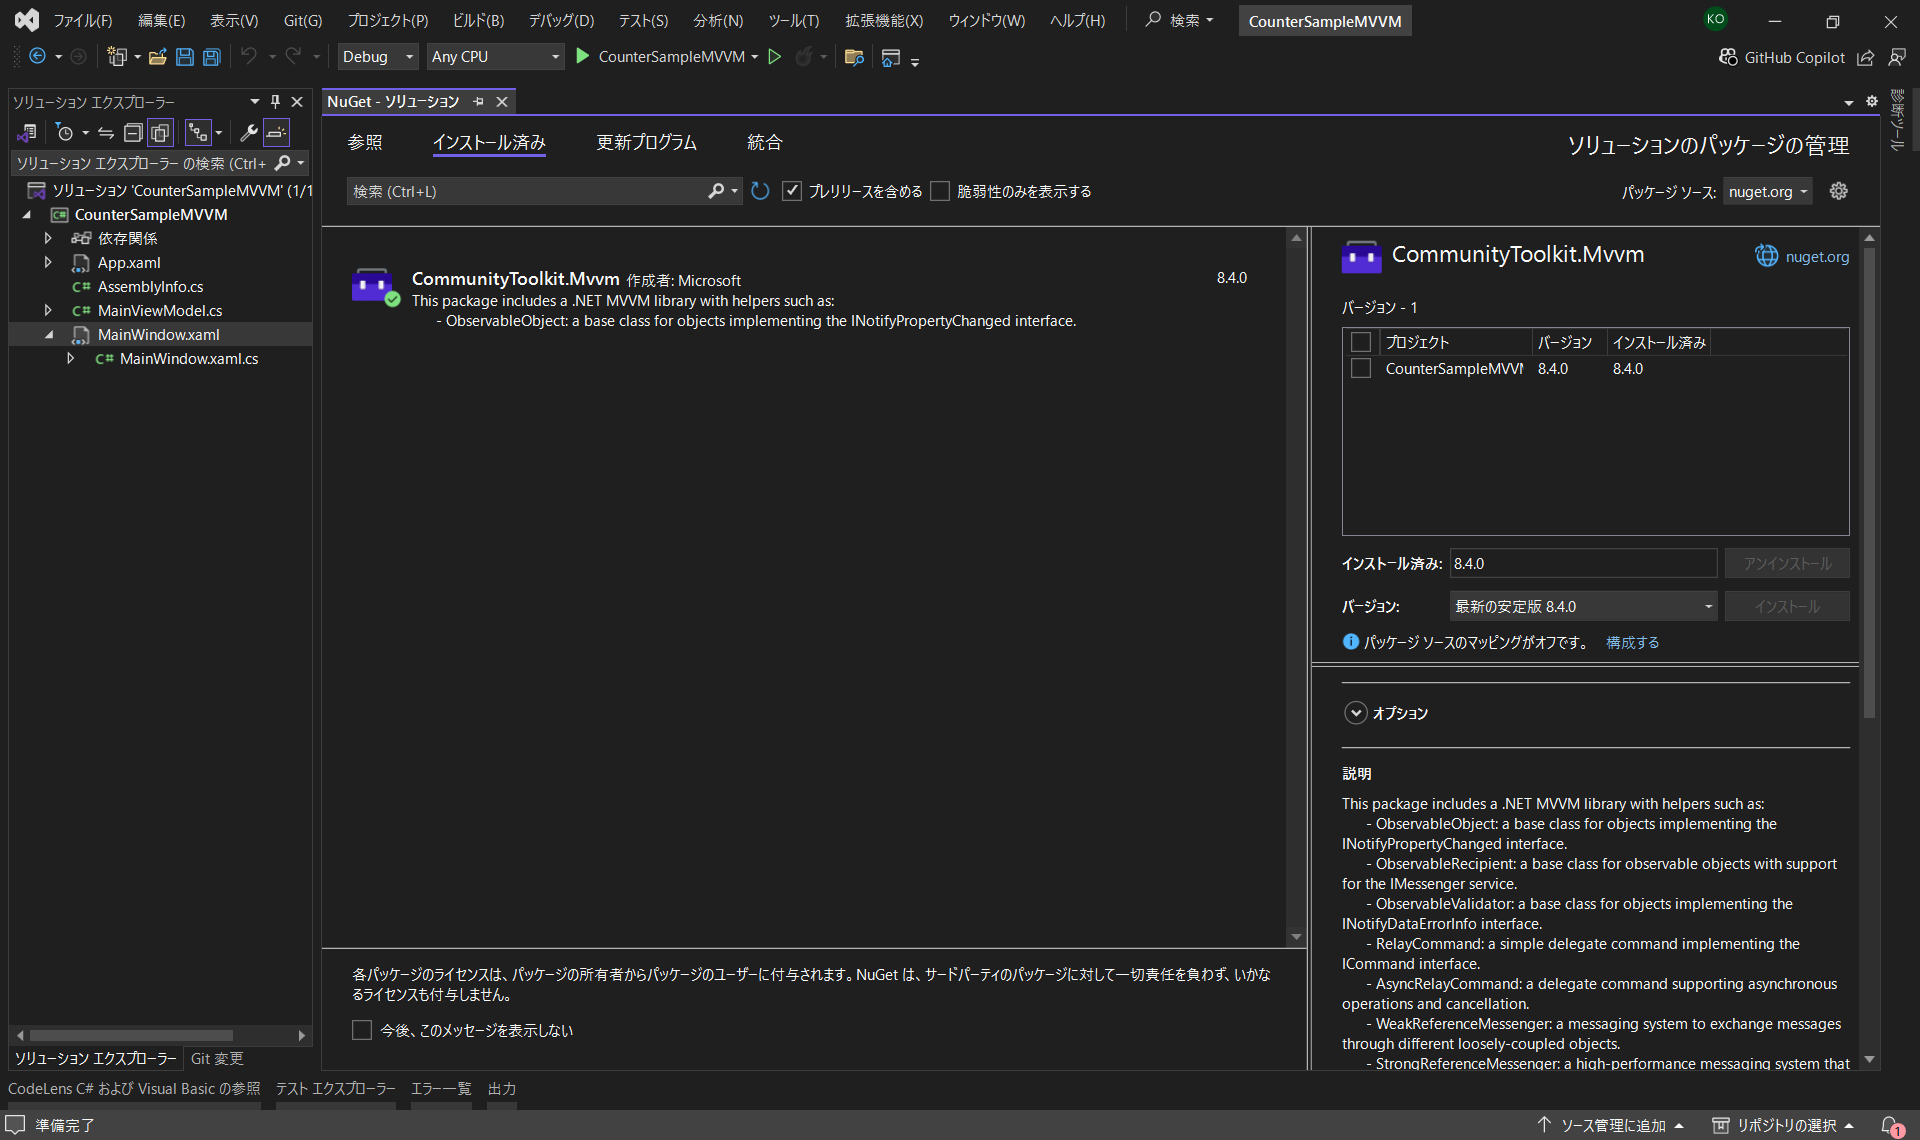
在编写示例代码之前,需要先引入CommunityToolkit.Mvvm。
引入MVVMToolkit
CommunityToolkit.Mvvm是Microsoft官方的MVVM辅助库。它能自动生成INotifyPropertyChanged和ICommand的实现。
对于手写会显得冗长的OnPropertyChanged调用和RelayCommand的实现,可以省略。
请通过NuGet添加CommunityToolkit.Mvvm。
- View
<Window
    x:Class="CounterSample.MainWindow"
    xmlns="http://schemas.microsoft.com/winfx/2006/xaml/presentation"
    xmlns:x="http://schemas.microsoft.com/winfx/2006/xaml"
    xmlns:d="http://schemas.microsoft.com/expression/blend/2008"
    xmlns:local="clr-namespace:CounterSample"
    xmlns:mc="http://schemas.openxmlformats.org/markup-compatibility/2006"
    Title="Counter"
    Width="250"
    Height="150"
    mc:Ignorable="d">
    <Window.DataContext>
        <local:MainViewModel />
    </Window.DataContext>

    <Grid>
        <StackPanel HorizontalAlignment="Center" VerticalAlignment="Center">
            <TextBlock FontSize="30" Text="{Binding Count}" />
            <Button Command="{Binding CountUpCommand}" Content="Count up" />
        </StackPanel>
    </Grid>
</Window>
using System.Windows;

namespace CounterSample
{
    public partial class MainWindow : Window
    {
        public MainWindow()
        {
            InitializeComponent();
        }
    }
}
- ViewModel
using CommunityToolkit.Mvvm.ComponentModel;
using CommunityToolkit.Mvvm.Input;

namespace CounterSample
{
    public partial class MainViewModel : ObservableObject
    {
        [ObservableProperty]
        private int count = 0;

        [RelayCommand]
        private void CountUp()
        {
            Count++;
        }
    }
}
在MVVM中,不再需要Click事件或x:Name,而是使用Binding。
由于UI(View)和逻辑(ViewModel)被分离,重用性提高,测试也更加容易。
下面补充说明View(XAML)和ViewModel(C#)是如何关联的。
<TextBlock Text="{Binding Count}" />
<Button Command="{Binding CountUpCommand}" />
[ObservableProperty]
private int count = 0;
[RelayCommand]
private void CountUp()
{
    Count++;
}
这种关联是通过CommunityToolkit.Mvvm提供的Attribute(用[ ]包裹的部分)进行代码自动生成。
-
数据(Count)的关联
XAML中的{Binding Count}是“显示名为Count的公开属性的值”的指示。
ViewModel中的[ObservableProperty]会基于private int count字段,在编译时自动生成一个名为public int Count的属性,并包含值更改时通知UI的功能。 -
操作(CountUp)的关联
XAML中的{Binding CountUpCommand}是“执行名为CountUpCommand的命令”的指示。
ViewModel的[RelayCommand]会基于private void CountUp()方法,自动生成一个名为public ICommand CountUpCommand的命令。
咦,顺便说一下示例代码里好像没有Model?
对于仅仅保持计数的简单示例,就没必要专门拆分Model。
然而,把本应写在Model中的代码写到ViewModel里,是常见的错误,需要注意。
ViewModel始终只是View和Model之间的桥梁,当你开始在其中写很多代码时,就要怀疑其职责是否恰当。
示例Ver2
#我们来给计数器应用添加重置功能。
并且创建一个服务来保存/加载计数器的值。
- Model
namespace CounterSample.Models
{
    internal class CounterModel(int initialValue = 0)
    {
        public int Value { get; private set; } = initialValue;
        public void Increment() => Value++;
        public void Reset() => Value = 0;
        public void SetValue(int value) => Value = value;
    }
}
- Service
using CounterSample.Models;

namespace CounterSample.Services
{
    internal class CounterStorageService
    {
        private int _storedValue;

        public void Save(CounterModel model)
        {
            _storedValue = model.Value;
        }

        public void Load(CounterModel model)
        {
            model.SetValue(_storedValue);
        }
    }
}
- ViewModel
using CommunityToolkit.Mvvm.ComponentModel;
using CommunityToolkit.Mvvm.Input;
using CounterSample.Models;
using CounterSample.Services;

namespace CounterSample.ViewModels
{
    internal partial class CounterViewModel : ObservableObject
    {
        private readonly CounterStorageService _service;
        private readonly CounterModel _model = new();

        [ObservableProperty]
        private int count;

        public CounterViewModel(CounterStorageService service)
        {
            _service = service;
            Count = _model.Value;
        }

        [RelayCommand]
        private void CountUp()
        {
            _model.Increment();
            Count = _model.Value;
        }

        [RelayCommand]
        private void Reset()
        {
            _model.Reset();
            Count = _model.Value;
        }

        [RelayCommand]
        private void Save()
        {
            _service.Save(_model);
        }

        [RelayCommand]
        private void Load()
        {
            _service.Load(_model);
            Count = _model.Value;
        }
    }
}
- View
<Window
    x:Class="CounterSample.MainWindow"
    xmlns="http://schemas.microsoft.com/winfx/2006/xaml/presentation"
    xmlns:x="http://schemas.microsoft.com/winfx/2006/xaml"
    xmlns:d="http://schemas.microsoft.com/expression/blend/2008"
    xmlns:local="clr-namespace:CounterSample"
    xmlns:mc="http://schemas.openxmlformats.org/markup-compatibility/2006"
    Title="Counter"
    Width="250"
    Height="150"
    mc:Ignorable="d">
    <Grid>
        <StackPanel HorizontalAlignment="Center" VerticalAlignment="Center">
            <TextBlock HorizontalAlignment="Center" FontSize="30" Text="{Binding Count}" />
            <StackPanel HorizontalAlignment="Center" Orientation="Horizontal">
                <Button Margin="2" Command="{Binding CountUpCommand}" Content="Count up" />
                <Button Margin="2" Command="{Binding ResetCommand}" Content="Reset" />
                <Button Margin="2" Command="{Binding SaveCommand}" Content="Save" />
                <Button Margin="2" Command="{Binding LoadCommand}" Content="Load" />
            </StackPanel>
        </StackPanel>
    </Grid>
</Window>
using CounterSample.Services;
using CounterSample.ViewModels;
using System.Windows;

namespace CounterSample
{
    public partial class MainWindow : Window
    {
        private readonly CounterStorageService _service = new();
        public MainWindow()
        {
            InitializeComponent();
            DataContext = new CounterViewModel(_service);
        }
    }
}
功能添加后,代码量虽然增加了,但各个类的职责分离,使得维护看起来更加容易。
运行后,变成了一个稍微丰富一些的计数器呢。

DI
#这个示例已经很合适了,所以来尝试使用DI(Dependency Injection)。
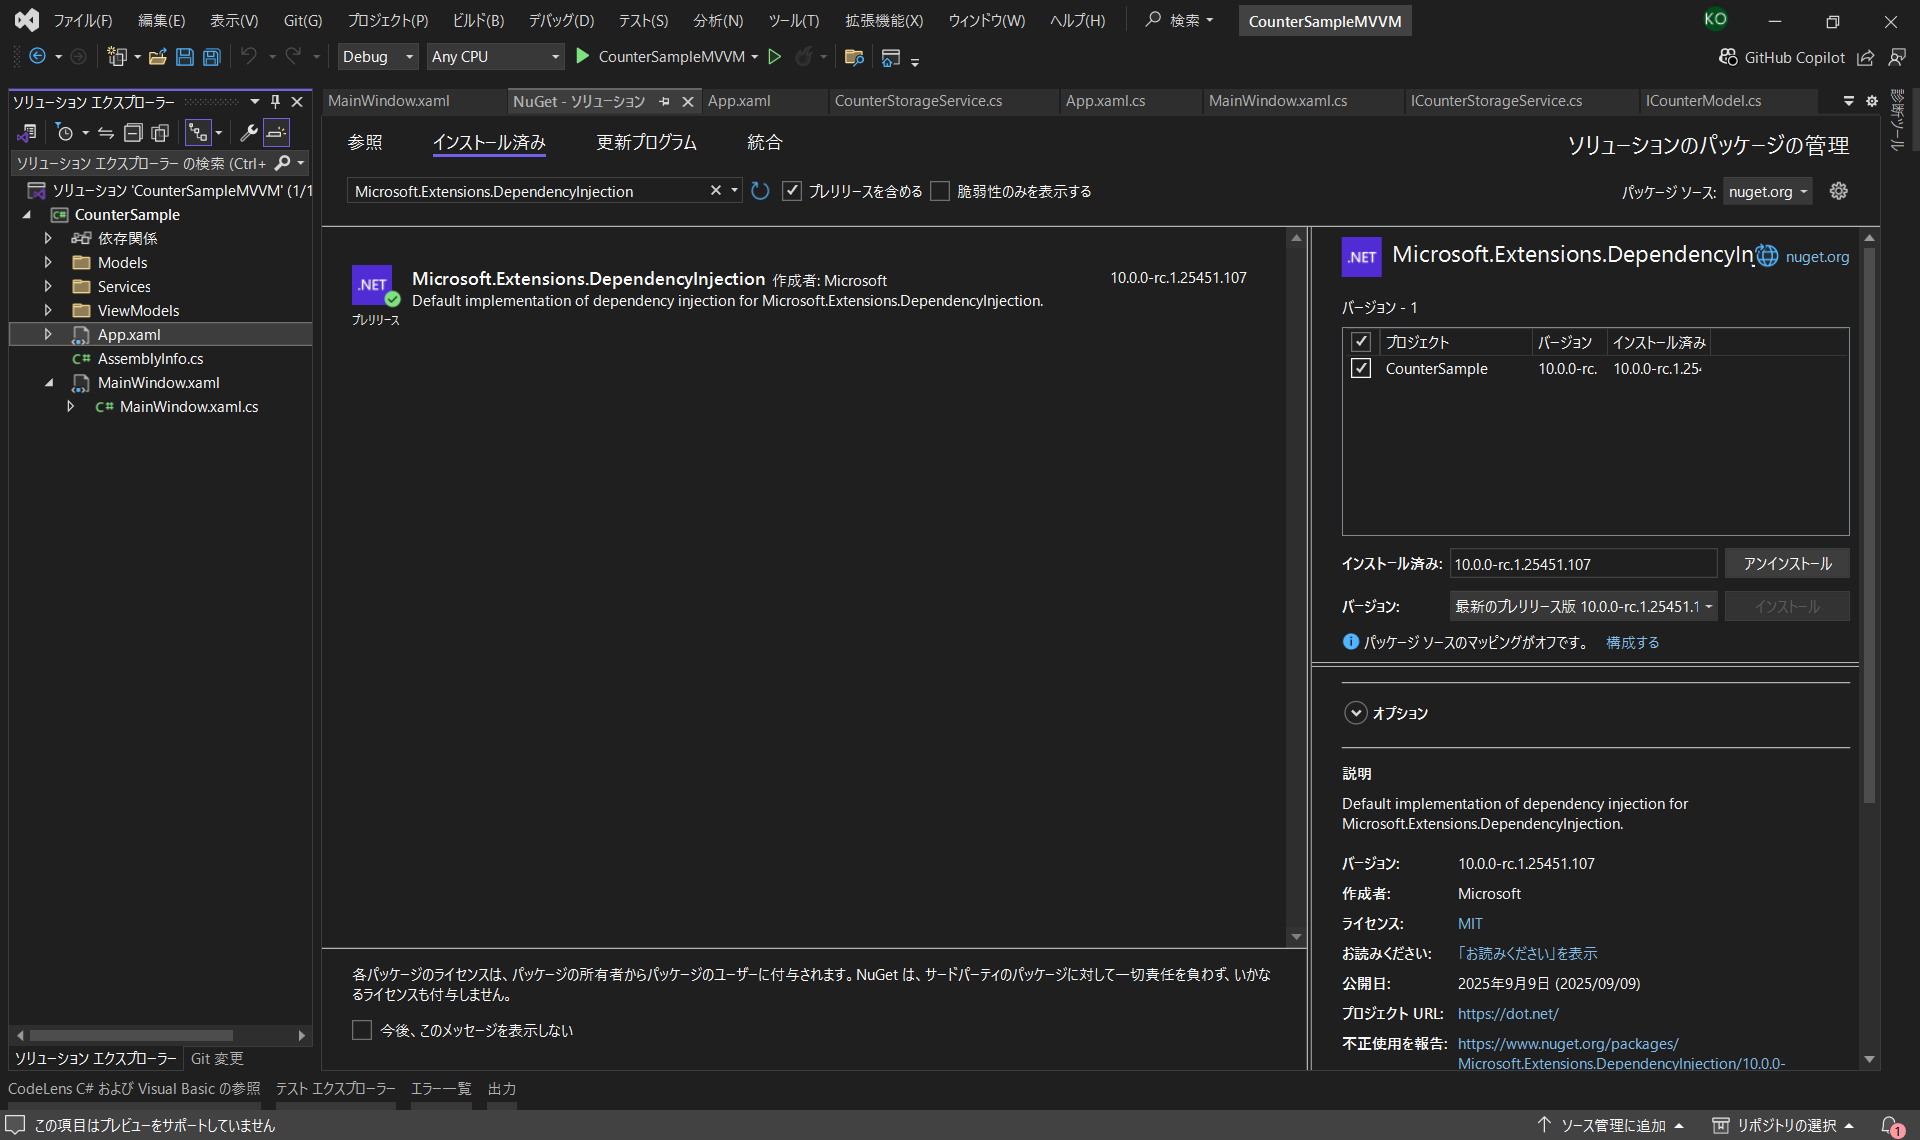
引入DependencyInjection
在WPF中要活用MVVM,使用基于Microsoft.Extensions.DependencyInjection的DI非常方便。
引入DI后,可以在需要的地方轻松传递ViewModel和服务,使测试和维护更容易。
只需在ServiceCollection中注册服务和ViewModel,然后从ServiceProvider中获取,即可解决依赖关系。
无需在View或其他ViewModel中直接new。
请通过NuGet添加Microsoft.Extensions.DependencyInjection。
示例Ver3
#在示例Ver2的基础上,创建引入DI的示例。
将CounterStorageService和CounterViewModel注册为服务。
为了学习后文提到的实例生命周期,通过StartupUri启动App.xaml(无需更改)并在代码中启动两个窗口来试验。
using CommunityToolkit.Mvvm.DependencyInjection;
using CounterSample.Services;
using CounterSample.ViewModels;
using Microsoft.Extensions.DependencyInjection;
using System.Windows;

namespace CounterSample
{
    public partial class App : Application
    {
        protected override void OnStartup(StartupEventArgs e)
        {
            base.OnStartup(e);

            // ServiceCollection でサービスを登録
            ServiceCollection services = new();
            services.AddSingleton<CounterStorageService>();
            services.AddTransient<CounterViewModel>();

            // Ioc.Default に登録
            Ioc.Default.ConfigureServices(services.BuildServiceProvider());

            // もう1つWindowを起動
            MainWindow window = new();
            window.Show();
        }
    }
}
从Ioc.Default获取已注册的服务。当请求CounterViewModel实例时,由于其构造函数需要CounterStorageService,会从DI容器中拿到该实例。
using CommunityToolkit.Mvvm.DependencyInjection;
using CounterSample.ViewModels;
using System.Windows;

namespace CounterSample
{
    public partial class MainWindow : Window
    {
        public MainWindow()
        {
            InitializeComponent();
            DataContext = Ioc.Default.GetRequiredService<CounterViewModel>();
        }
    }
}
private readonly CounterStorageService _service = new();
public MainWindow()
{
    InitializeComponent();
    DataContext = new CounterViewModel(_service);
}
运行后效果如下。

咦,虽然是不同的窗口,但最后保存的内容却能在另一个窗口中加载?
秘密就在服务注册时的代码里。
services.AddSingleton<CounterStorageService>();
不同的注册方法有不同的生命周期。
| 方法 | 生命周期 |
|---|---|
| AddSingleton | 在整个应用程序中只有一个实例 |
| AddScoped | 在一次请求过程中只有一个实例 |
| AddTransient | 每次都创建新的实例 |
由于使用AddSingleton注册,服务实例在应用程序内是唯一的,因此各窗口看到的是相同的内部值。
如果改为AddTransient,则会有以下行为。

在如下场景中,AddScoped会提供相同的实例。
// 在构造函数中请求Service和Fuga
Hoge(Service service, Fuga fuga)
// 在构造函数中请求Service
Fuga(Service service)

// 服务注册
var services = new ServiceCollection();
services.AddScoped<Service>(); // 以Scoped注册
services.AddTransient<Hoge>();
services.AddTransient<Fuga>();
var provider = services.BuildServiceProvider();

// 请求Hoge,此时Hoge和Fuga接收到的Service实例相同
var hoge = provider.GetRequiredService<Hoge>();
Ioc.Default是一个静态容器,整个应用程序都在一个根作用域内运行。因此,当从Ioc.Default获取实例时,AddScoped的行为与AddSingleton完全相同。
就这样,我们与示例的时间告一段落。
因为这是示例,所以没有拆分接口等。
本想加入测试代码以示有用,但会过于冗长,因而放弃了。
C#的WPF开发踩过的坑一览
#以下只是备忘录,可能有参考价值,也可能没有。
LINQ
#我本人不喜欢SQL,所以一开始觉得LINQ相当难读。
关于LINQ,开发者网站上有详细文章,请参见以下链接。
职场不迷路!C#的LINQ附示例代码彻底攻略
简单介绍一些常用方法。
虽然会有不适感,但其行为实际上和方法名一致。
Where
#var numbers = new[] { 1, 2, 3, 4, 5 };
var even = numbers.Where(n => n % 2 == 0);
Console.WriteLine(string.Join(",", even)); // 2,4
First/FirstOrDefault
#var words = new[] { "apple", "banana", "cherry" };
var first = words.First(); // "apple"
var startsWithB = words.FirstOrDefault(w => w.StartsWith("b")); // "banana"
var notFound = words.FirstOrDefault(w => w.StartsWith("z")); // null
Select/SelectMany
#var names = new[] { "Alice", "Bob" };
var lengths = names.Select(n => n.Length); // [5, 3]
var groups = new[] { new[] {1,2}, new[] {3,4} };
var flat = groups.SelectMany(g => g); // [1,2,3,4]
GroupBy
#var fruits = new[] { "apple", "apricot", "banana", "blueberry" };
var grouped = fruits.GroupBy(f => f[0]);
foreach (var g in grouped)
{
Console.WriteLine($"{g.Key}: {string.Join(",", g)}");
}
// a: apple, apricot
// b: banana, blueberry
Any/All
#var numbers = new[] { 1, 2, 3 };
bool hasEven = numbers.Any(n => n % 2 == 0); // true
bool allPositive = numbers.All(n => n > 0); // true
IEnumerable的延迟评估
#关于LINQ,也介绍一个踩过的坑。
LINQ基本是“延迟评估”,如果不调用ToList()或ToArray()来确定结果,可能会得到意料之外的结果。
var numbers = new List<int> { 1, 2, 3 };
var query = numbers.Where(n => n > 1); // 未调用ToList()

// 此时修改列表
numbers.Add(4);

// 在此处评估查询
Console.WriteLine(string.Join(",", query)); // 2,3,4
WPF的Dispatcher
#Invoke与BeginInvoke的区别上,曾出现应该更新的UI却没更新的情况。
若需同步处理,应使用Invoke;但由于耗时操作会导致UI卡顿,所以避免使用于重处理。
// Invoke:调用方会阻塞直到完成
Dispatcher.Invoke(() =>
{
    Console.WriteLine("UI更新:等待完成");
});
Console.WriteLine("←此行一定在UI更新后执行");

// BeginInvoke:仅发起请求然后继续
Dispatcher.BeginInvoke(() =>
{
    Console.WriteLine("UI更新:异步执行");
});
Console.WriteLine("←此行可能在UI更新前先执行");
Nullable
#从C#8.0开始引入了可空引用类型(nullable)。
无需时刻编写null检查,编译时可确保安全性。
string notNull = "hello";  // 不允许为null
string? canBeNull = null;  // 允许为null

// notNull = null; // 编译错误
关于[NotNullWhen]属性
使用System.Diagnostics.CodeAnalysis.NotNullWhen可以向编译器传达方法的返回值与参数的null关系。
使用此机制,可以在省略多余的null检查的同时,安全地编写代码。
using System.Diagnostics.CodeAnalysis;

bool TryGetValue([NotNullWhen(true)] out string? value)
{
    value = DateTime.Now.Second % 2 == 0 ? "even" : null;
    return value != null;
}

if (TryGetValue(out var text))
{
    // 编译器已理解text不为null,因此可以安全使用
    Console.WriteLine(text.Length);
}
总结
#虽然是第一次接触WPF和C#,但发现有很多有趣的东西。
开始时遇到不少坎,但逐步理解后,便渐渐理顺,变得轻松起来。
还有很多不知道的东西,但希望能慢慢深入学习。
内容有些杂乱,但如果本文能对您有所帮助,我将不胜荣幸。
以上,辛苦了。