[C#] WPF and MVVM: From the 'First Step' to Real-World Tips! ~ Practical Notes on Desktop Application Development ~
Back to TopTo reach a broader audience, this article has been translated from Japanese.
You can find the original version here.
This article is Day 12 of the Summer Relay Series 2025.
Long time no see. I’m Ogawa.
Since I recently worked with WPF in development, I’d like to jot down some beginner-level development tips as a memo.
WPF (Windows Presentation Foundation) is one of the options for Windows desktop application development.
First, we’ll straightforwardly cover the two main methods for creating UI logic: code-behind and MVVM (Model-View-ViewModel).
By introducing DI (Dependency Injection) and gaining some insights, I hope to compile a memo of handy C# features and pitfalls.
Code-Behind and MVVM
#They are occasionally compared, and their merits and demerits are debated.
Code-behind is like “the tools and manual labor used to build a house,” whereas MVVM is like “the blueprints for the structure, plumbing, and wiring of a house.”
Introduce an MVVM design according to the scale and complexity.
As a first step to understanding WPF, it’s important to first know code-behind.
Code-Behind
#Overview
#In code-behind, the UI layout is described in XAML (.xaml), and its behavior logic is written in C# (.xaml.cs).
It’s called code-behind (Code-Behind) because it literally refers to the code behind the XAML.
Sample
#Let’s implement a simple count-up application.
<Window
    x:Class="CounterSample.MainWindow"
    xmlns="http://schemas.microsoft.com/winfx/2006/xaml/presentation"
    xmlns:x="http://schemas.microsoft.com/winfx/2006/xaml"
    xmlns:d="http://schemas.microsoft.com/expression/blend/2008"
    xmlns:local="clr-namespace:CounterSample"
    xmlns:mc="http://schemas.openxmlformats.org/markup-compatibility/2006"
    Title="Counter"
    Width="250"
    Height="150"
    mc:Ignorable="d">
    <Grid>
        <StackPanel HorizontalAlignment="Center" VerticalAlignment="Center">
            <TextBlock x:Name="CounterTextBlock" FontSize="30" Text="0" />
            <Button Click="CountUpButton_Click" Content="Count up" />
        </StackPanel>
    </Grid>
</Window>
using System.Windows;

namespace CounterSample
{
    public partial class MainWindow : Window
    {
        private int _count = 0;

        public MainWindow()
        {
            InitializeComponent();
        }
        private void CountUpButton_Click(object sender, RoutedEventArgs e)
        {
            _count++;
            CounterTextBlock.Text = _count.ToString();
        }
    }
}
The characteristic here is directly referencing and manipulating a UI element (x:Name="CounterTextBlock") by its name.
In WPF code-behind, ‘partial’ is attached—as in public partial class MainWindow.
This is to combine the code auto-generated from XAML and the code written by the developer into a single class.
In fact, when you build, a file called MainWindow.g.i.cs is generated, and the XAML element definitions and InitializeComponent are automatically added.
The presence of ‘partial’ allows these files and MainWindow.xaml.cs to be treated as the same class.
With the code above, you have created a count-up application.

MVVM
#Overview
#MVVM is a design pattern for separating the UI and business logic.
It divides an application into the following three components.
- Model: Responsible for the application’s data and business logic.
- View: The UI itself. Written in XAML, it displays information to the user and receives input.
- ViewModel: Acts as a bridge between the View and the Model, exposing properties for data that should be displayed in the View and receiving operations from the View as commands.
Sample
#Let’s implement a similar count-up application.
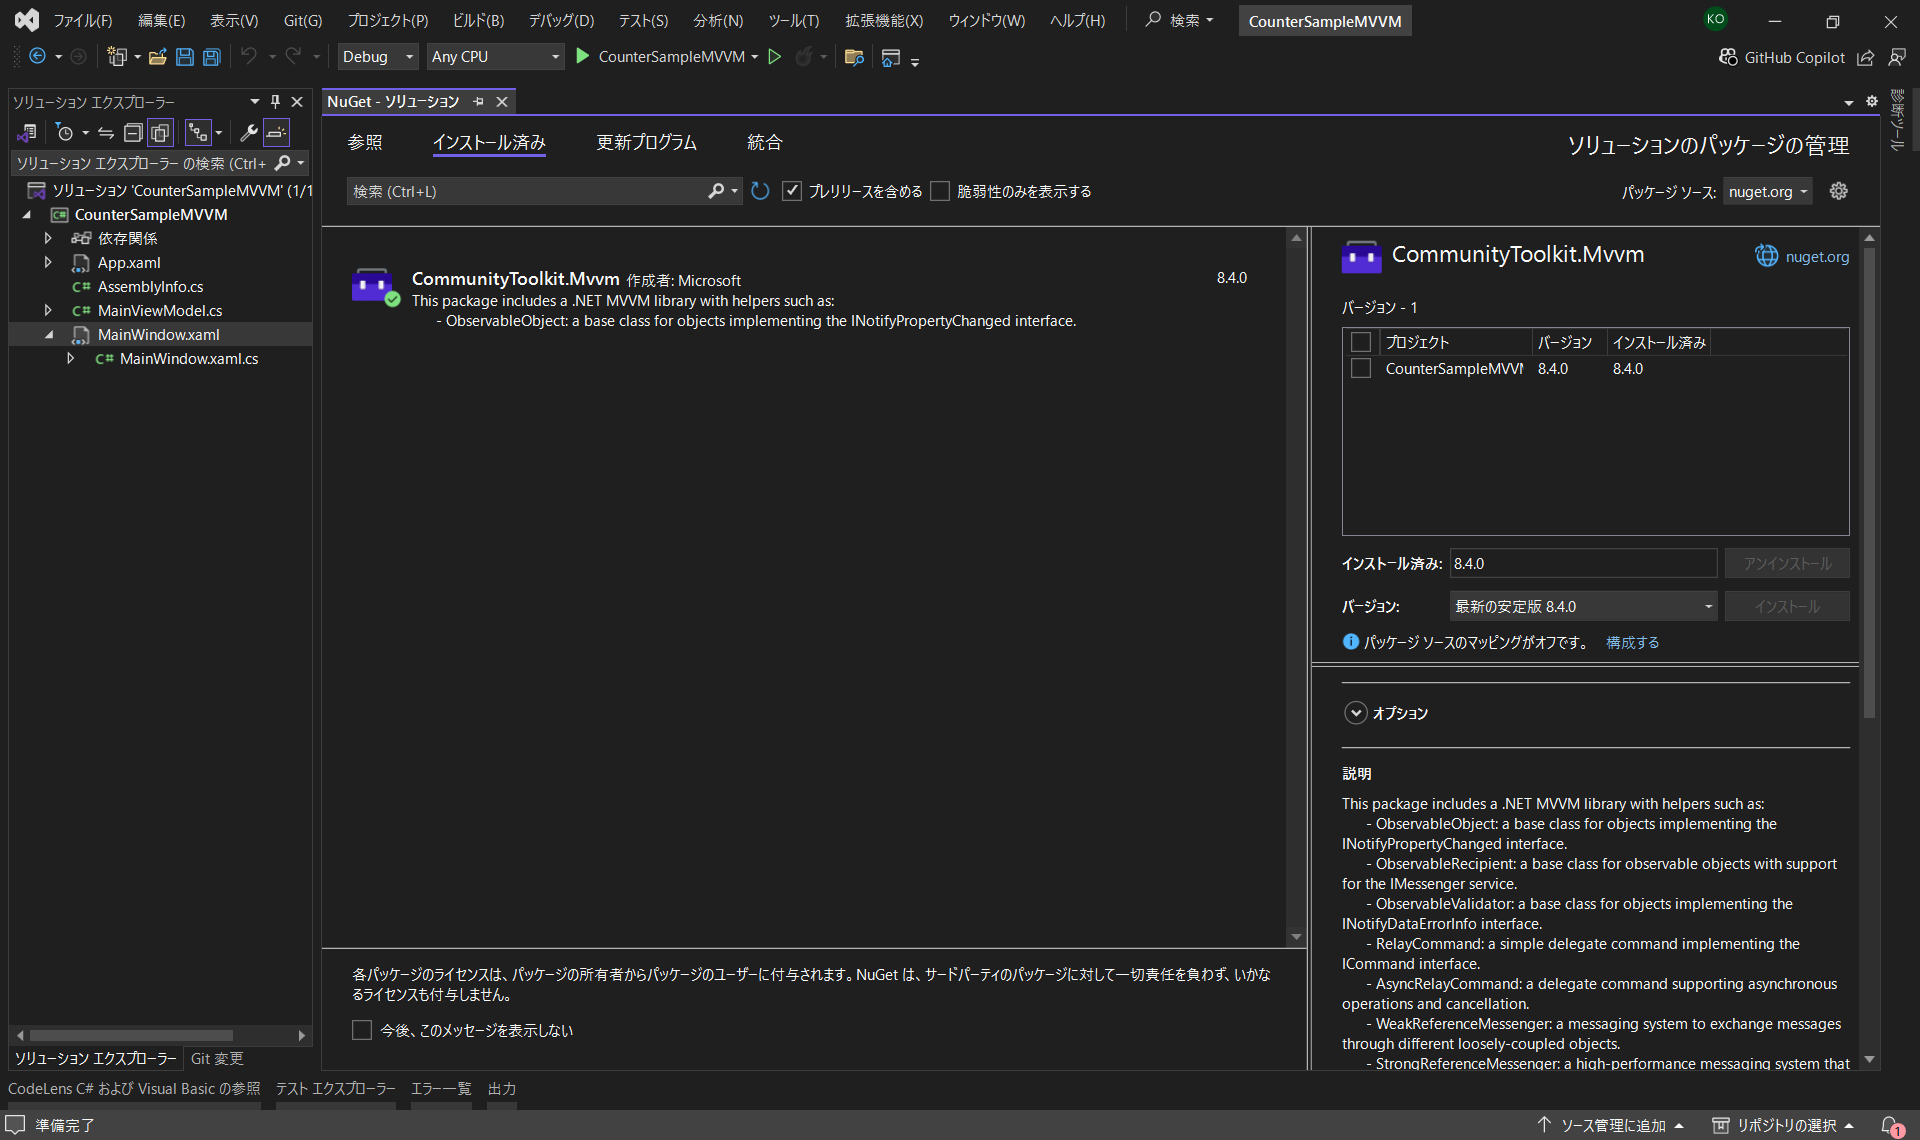
As a preparatory step before writing the sample code, we will introduce CommunityToolkit.Mvvm.
Introducing MVVMToolkit
CommunityToolkit.Mvvm is Microsoft’s official MVVM helper library.
It automatically generates implementations of INotifyPropertyChanged and ICommand.
It lets you omit repetitive boilerplate code such as calls to OnPropertyChanged and implementations of RelayCommand.
Add CommunityToolkit.Mvvm from NuGet.
- View
<Window
    x:Class="CounterSample.MainWindow"
    xmlns="http://schemas.microsoft.com/winfx/2006/xaml/presentation"
    xmlns:x="http://schemas.microsoft.com/winfx/2006/xaml"
    xmlns:d="http://schemas.microsoft.com/expression/blend/2008"
    xmlns:local="clr-namespace:CounterSample"
    xmlns:mc="http://schemas.openxmlformats.org/markup-compatibility/2006"
    Title="Counter"
    Width="250"
    Height="150"
    mc:Ignorable="d">
    <Window.DataContext>
        <local:MainViewModel />
    </Window.DataContext>

    <Grid>
        <StackPanel HorizontalAlignment="Center" VerticalAlignment="Center">
            <TextBlock FontSize="30" Text="{Binding Count}" />
            <Button Command="{Binding CountUpCommand}" Content="Count up" />
        </StackPanel>
    </Grid>
</Window>
using System.Windows;

namespace CounterSample
{
    public partial class MainWindow : Window
    {
        public MainWindow()
        {
            InitializeComponent();
        }
    }
}
- ViewModel
using CommunityToolkit.Mvvm.ComponentModel;
using CommunityToolkit.Mvvm.Input;

namespace CounterSample
{
    public partial class MainViewModel : ObservableObject
    {
        [ObservableProperty]
        private int count = 0;

        [RelayCommand]
        private void CountUp()
        {
            Count++;
        }
    }
}
With MVVM, you no longer need click events or x:Name; instead, you use Binding.
Since the UI (View) and logic (ViewModel) are separated, reusability increases and testing becomes easier.
Let’s explain how the View (XAML) and the ViewModel (C#) collaborate.
<TextBlock Text="{Binding Count}" />
<Button Command="{Binding CountUpCommand}" />
[ObservableProperty]
private int count = 0;
[RelayCommand]
private void CountUp()
{
    Count++;
}
This collaboration is achieved through code generation provided by the attributes (the parts enclosed in [ ]) from CommunityToolkit.Mvvm.
-
Data (Count) binding
In XAML,{Binding Count}instructs to “display the value of the public property named Count.”
The[ObservableProperty]in the ViewModel automatically generates, at compile time, apublic int Countproperty based on theprivate int countfield. It also includes functionality to notify the UI when the value changes. -
Operation (CountUp) binding
In XAML,{Binding CountUpCommand}instructs to “execute the command named CountUpCommand.”
The[RelayCommand]in the ViewModel automatically generates apublic ICommand CountUpCommandbased on theprivate void CountUp()method.
Huh, now that you mention it, there’s no Model in the sample code, right?
For a simple sample that just keeps a count, there’s no need to separate the Model.
However, it’s a common mistake to put code that belongs in the Model into the ViewModel, so be careful.
Remember that the ViewModel should only act as a bridge between the View and the Model—if you find yourself stuffing a lot of logic into it, question whether it’s taking on too many responsibilities.
Sample Ver.2
#Let’s add a reset feature to the count-up application.
We’ll also create a service to save and load the counter’s value.
- Model
namespace CounterSample.Models
{
    internal class CounterModel(int initialValue = 0)
    {
        public int Value { get; private set; } = initialValue;
        public void Increment() => Value++;
        public void Reset() => Value = 0;
        public void SetValue(int value) => Value = value;
    }
}
- Service
using CounterSample.Models;

namespace CounterSample.Services
{
    internal class CounterStorageService
    {
        private int _storedValue;

        public void Save(CounterModel model)
        {
            _storedValue = model.Value;
        }

        public void Load(CounterModel model)
        {
            model.SetValue(_storedValue);
        }
    }
}
- ViewModel
using CommunityToolkit.Mvvm.ComponentModel;
using CommunityToolkit.Mvvm.Input;
using CounterSample.Models;
using CounterSample.Services;

namespace CounterSample.ViewModels
{
    internal partial class CounterViewModel : ObservableObject
    {
        private readonly CounterStorageService _service;
        private readonly CounterModel _model = new();

        [ObservableProperty]
        private int count;

        public CounterViewModel(CounterStorageService service)
        {
            _service = service;
            Count = _model.Value;
        }

        [RelayCommand]
        private void CountUp()
        {
            _model.Increment();
            Count = _model.Value;
        }

        [RelayCommand]
        private void Reset()
        {
            _model.Reset();
            Count = _model.Value;
        }

        [RelayCommand]
        private void Save()
        {
            _service.Save(_model);
        }

        [RelayCommand]
        private void Load()
        {
            _service.Load(_model);
            Count = _model.Value;
        }
    }
}
- View
<Window
    x:Class="CounterSample.MainWindow"
    xmlns="http://schemas.microsoft.com/winfx/2006/xaml/presentation"
    xmlns:x="http://schemas.microsoft.com/winfx/2006/xaml"
    xmlns:d="http://schemas.microsoft.com/expression/blend/2008"
    xmlns:local="clr-namespace:CounterSample"
    xmlns:mc="http://schemas.openxmlformats.org/markup-compatibility/2006"
    Title="Counter"
    Width="250"
    Height="150"
    mc:Ignorable="d">
    <Grid>
        <StackPanel HorizontalAlignment="Center" VerticalAlignment="Center">
            <TextBlock HorizontalAlignment="Center" FontSize="30" Text="{Binding Count}" />
            <StackPanel HorizontalAlignment="Center" Orientation="Horizontal">
                <Button Margin="2" Command="{Binding CountUpCommand}" Content="Count up" />
                <Button Margin="2" Command="{Binding ResetCommand}" Content="Reset" />
                <Button Margin="2" Command="{Binding SaveCommand}" Content="Save" />
                <Button Margin="2" Command="{Binding LoadCommand}" Content="Load" />
            </StackPanel>
        </StackPanel>
    </Grid>
</Window>
using CounterSample.Services;
using CounterSample.ViewModels;
using System.Windows;

namespace CounterSample
{
    public partial class MainWindow : Window
    {
        private readonly CounterStorageService _service = new();
        public MainWindow()
        {
            InitializeComponent();
            DataContext = new CounterViewModel(_service);
        }
    }
}
Although the amount of code increased as we added features, the responsibilities are clearly separated by class, making maintenance easier.
When you run it, you get a slightly more feature-rich counter.

DI
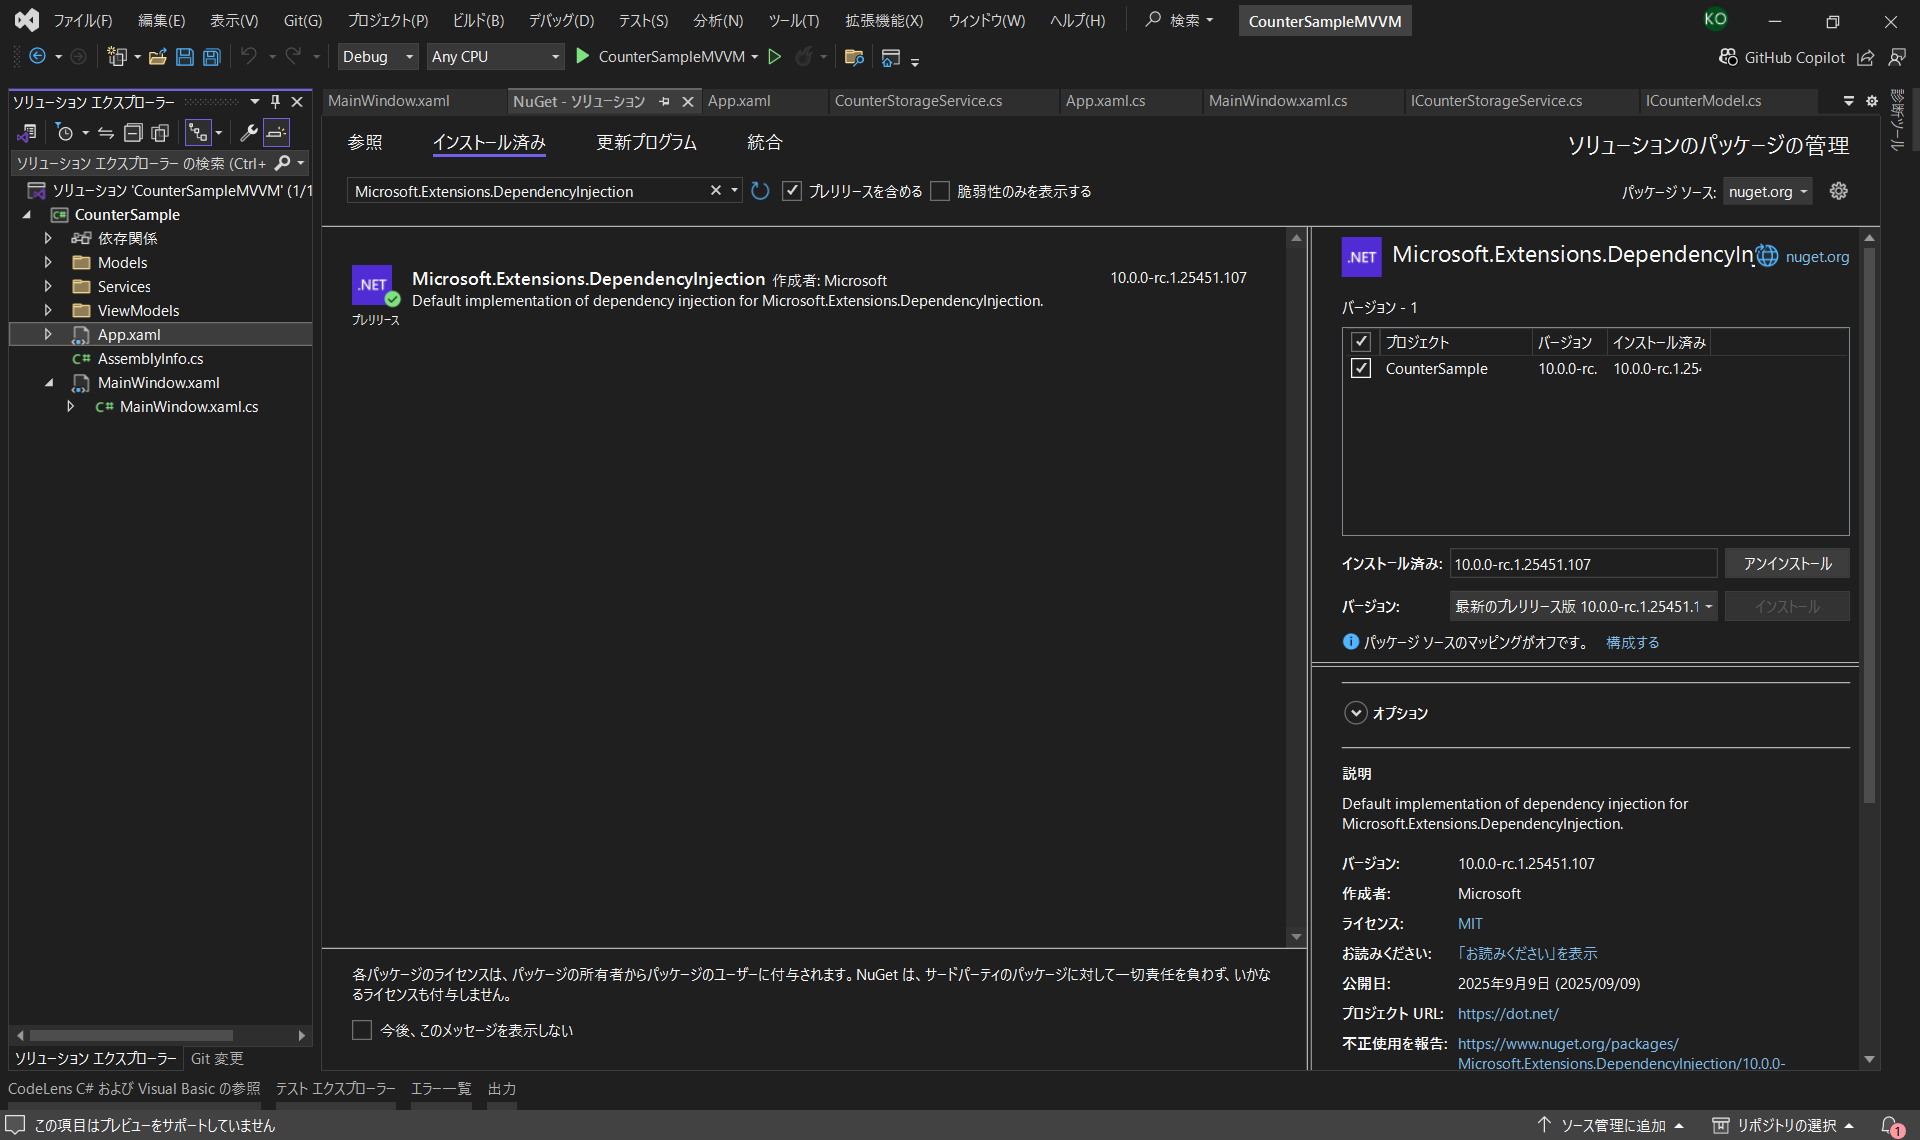
#The sample is just right, so let’s try using DI (Dependency Injection).
Introducing DependencyInjection
If you’re using MVVM in WPF, DI with Microsoft.Extensions.DependencyInjection is convenient.
By introducing DI, you can easily pass ViewModels and services wherever needed, making testing and maintenance easier.
You can resolve dependencies simply by registering services and ViewModels with a ServiceCollection and retrieving them from a ServiceProvider.
This eliminates the need to directly new them in Views or other ViewModels.
Add Microsoft.Extensions.DependencyInjection from NuGet.
Sample Ver.3
#Let’s create a sample that introduces DI based on Sample Ver.2.
Register CounterStorageService and CounterViewModel as services.
To learn the lifecycle of instances, we’ll start two windows: one via StartupUri in App.xaml (no changes needed) and another from code.
using CommunityToolkit.Mvvm.DependencyInjection;
using CounterSample.Services;
using CounterSample.ViewModels;
using Microsoft.Extensions.DependencyInjection;
using System.Windows;

namespace CounterSample
{
    public partial class App : Application
    {
        protected override void OnStartup(StartupEventArgs e)
        {
            base.OnStartup(e);

            // ServiceCollection でサービスを登録
            ServiceCollection services = new();
            services.AddSingleton<CounterStorageService>();
            services.AddTransient<CounterViewModel>();

            // Ioc.Default に登録
            Ioc.Default.ConfigureServices(services.BuildServiceProvider());

            // もう1つWindowを起動
            MainWindow window = new();
            window.Show();
        }
    }
}
Retrieve the registered services from Ioc.Default.
When you request an instance of CounterViewModel, it sees that CounterStorageService is needed in the constructor and pulls that instance from the DI container.
using CommunityToolkit.Mvvm.DependencyInjection;
using CounterSample.ViewModels;
using System.Windows;

namespace CounterSample
{
    public partial class MainWindow : Window
    {
        public MainWindow()
        {
            InitializeComponent();
            DataContext = Ioc.Default.GetRequiredService<CounterViewModel>();
        }
    }
}
private readonly CounterStorageService _service = new();
public MainWindow()
{
    InitializeComponent();
    DataContext = new CounterViewModel(_service);
}
When you run it, it looks like this.

Huh, even though it’s a different window, the one you last Saved is loaded in the other window?
The secret is in the code when registering the service.
services.AddSingleton<CounterStorageService>();
The lifecycle differs depending on the method you call.
| Method | Lifecycle |
|---|---|
| AddSingleton | A single instance for the entire application |
| AddScoped | One instance per request |
| AddTransient | A new instance each time |
Since it was registered with AddSingleton, the service instance is the only one in the application, so both windows see the same internal stored value.
Changing to AddTransient results in the following behavior.

AddScoped will give the same instance in situations like the following:
// Constructor requests Service and Fuga
Hoge(Service service, Fuga fuga)
// Constructor requests Service
Fuga(Service service)

// Service registration
var services = new ServiceCollection();
services.AddScoped<Service>(); // Registered as Scoped
services.AddTransient<Hoge>();
services.AddTransient<Fuga>();
var provider = services.BuildServiceProvider();

// When requesting Hoge, the Service instances received by Hoge and Fuga are the same
var hoge = provider.GetRequiredService<Hoge>();
Ioc.Default is a static container that runs the entire application in a single root scope.
Therefore, when retrieving instances from Ioc.Default, AddScoped behaves exactly the same as AddSingleton.
And that wraps up our time with the sample.
Since it’s just a sample, we haven’t introduced interfaces or similar abstractions.
I wanted to include test code to demonstrate usefulness, but I gave up because it would be too long.
List of Pitfalls in C# WPF Development
#The following is just a memo for my own reference, so it may or may not be useful to you.
LINQ
#I hate SQL, so at first it was quite difficult to read.
For more details on LINQ, please refer to the in-depth article on the developer site below.
Don’t Get Lost on the Job! A Comprehensive Guide to C# LINQ with Sample Code
I’ll briefly introduce the ones I often use.
I have an unjust aversion to it, but the methods generally do what their names suggest.
Where
#var numbers = new[] { 1, 2, 3, 4, 5 };
var even = numbers.Where(n => n % 2 == 0);
Console.WriteLine(string.Join(",", even)); // 2,4
First/FirstOrDefault
#var words = new[] { "apple", "banana", "cherry" };
var first = words.First(); // "apple"
var startsWithB = words.FirstOrDefault(w => w.StartsWith("b")); // "banana"
var notFound = words.FirstOrDefault(w => w.StartsWith("z")); // null
Select/SelectMany
#var names = new[] { "Alice", "Bob" };
var lengths = names.Select(n => n.Length); // [5, 3]
var groups = new[] { new[] {1,2}, new[] {3,4} };
var flat = groups.SelectMany(g => g); // [1,2,3,4]
GroupBy
#var fruits = new[] { "apple", "apricot", "banana", "blueberry" };
var grouped = fruits.GroupBy(f => f[0]);
foreach (var g in grouped)
{
Console.WriteLine($"{g.Key}: {string.Join(",", g)}");
}
// a: apple, apricot
// b: banana, blueberry
Any/All
#var numbers = new[] { 1, 2, 3 };
bool hasEven = numbers.Any(n => n % 2 == 0); // true
bool allPositive = numbers.All(n => n > 0); // true
Deferred Execution in IEnumerable
#As we’re on the topic of LINQ, I’ll introduce a trap I fell into.
Since LINQ is essentially “deferred execution,” you can end up with unintended results if you don’t materialize the query with ToList() or ToArray().
var numbers = new List<int> { 1, 2, 3 };
var query = numbers.Where(n => n > 1); // Not calling ToList()

// Modify the list here
numbers.Add(4);

// Query is evaluated at this point
Console.WriteLine(string.Join(",", query)); // 2,3,4
WPF Dispatcher
#There were cases where the UI that was supposed to be updated wasn’t updating due to the difference between Invoke and BeginInvoke.
If you want synchronous processing, use Invoke, and avoid using it for heavy tasks since it will block the UI.
// Invoke: The caller is blocked until completion
Dispatcher.Invoke(() =>
{
    Console.WriteLine("UI update: wait until completion");
});
Console.WriteLine("<- This is always executed after the UI update");

// BeginInvoke: Just queue the request and proceed
Dispatcher.BeginInvoke(() =>
{
    Console.WriteLine("UI update: executed asynchronously");
});
Console.WriteLine("<- This may be executed before the UI update");
Nullable
#Nullable was introduced in C# 8.0 and later.
You no longer need to write null checks everywhere, and you can ensure safety at compile time.
string notNull = "hello";  // null not allowed
string? canBeNull = null;  // null allowed

// notNull = null; // Compile-time error
[NotNullWhen] Attribute
Using System.Diagnostics.CodeAnalysis.NotNullWhen, you can inform the compiler about null relationships between a method’s return value and its parameters.
With this mechanism, you can omit extra null checks while writing safer code.
using System.Diagnostics.CodeAnalysis;

bool TryGetValue([NotNullWhen(true)] out string? value)
{
    value = DateTime.Now.Second % 2 == 0 ? "even" : null;
    return value != null;
}

if (TryGetValue(out var text))
{
    // The compiler knows text is not null here, so it's safe to use
    Console.WriteLine(text.Length);
}
Summary
#Although I was new to WPF and C#, I found there are many interesting things.
I stumbled at first, but as I understood each aspect one by one, it gradually became clearer and easier.
There’s still a lot I don’t know, but I hope to deepen my understanding at a comfortable pace.
This turned out a bit miscellaneous, but I hope this article is helpful in some way.
That’s all for now—thank you for reading.