Getting Started with VS Code! Clear & Practical C# Development Environment Setup [2025 Edition Manual]
Back to TopTo reach a broader audience, this article has been translated from Japanese.
You can find the original version here.
Everyone, what do you use for C# development? At work you probably use Visual Studio Professional, and for personal projects Visual Studio Community is the standard, right?
The standard tool for C# development is Visual Studio, but you might be wondering if you can develop C# in VS Code as well. When I looked into it, I found that indeed you can.
In this article, I’ll explain how to set up a C# development environment in VS Code. Basically, you just install extensions and run some commands.
I hope this will be helpful for those who are familiar with VS Code and want to use it for C# development, as well as for those considering using VS Code because Visual Studio is expensive.
Download and Install VS Code
#First, download and install VS Code from the official site.
Download Visual Studio Code - Mac, Linux, Windows
Install Extensions
#After installing VS Code, next is to install the extensions.
Let’s launch VS Code right away. By the way, here’s a reference article on installing extensions. It’s an official Microsoft article.
First, click the Extensions icon in VS Code.

A search box will appear, so type C#.
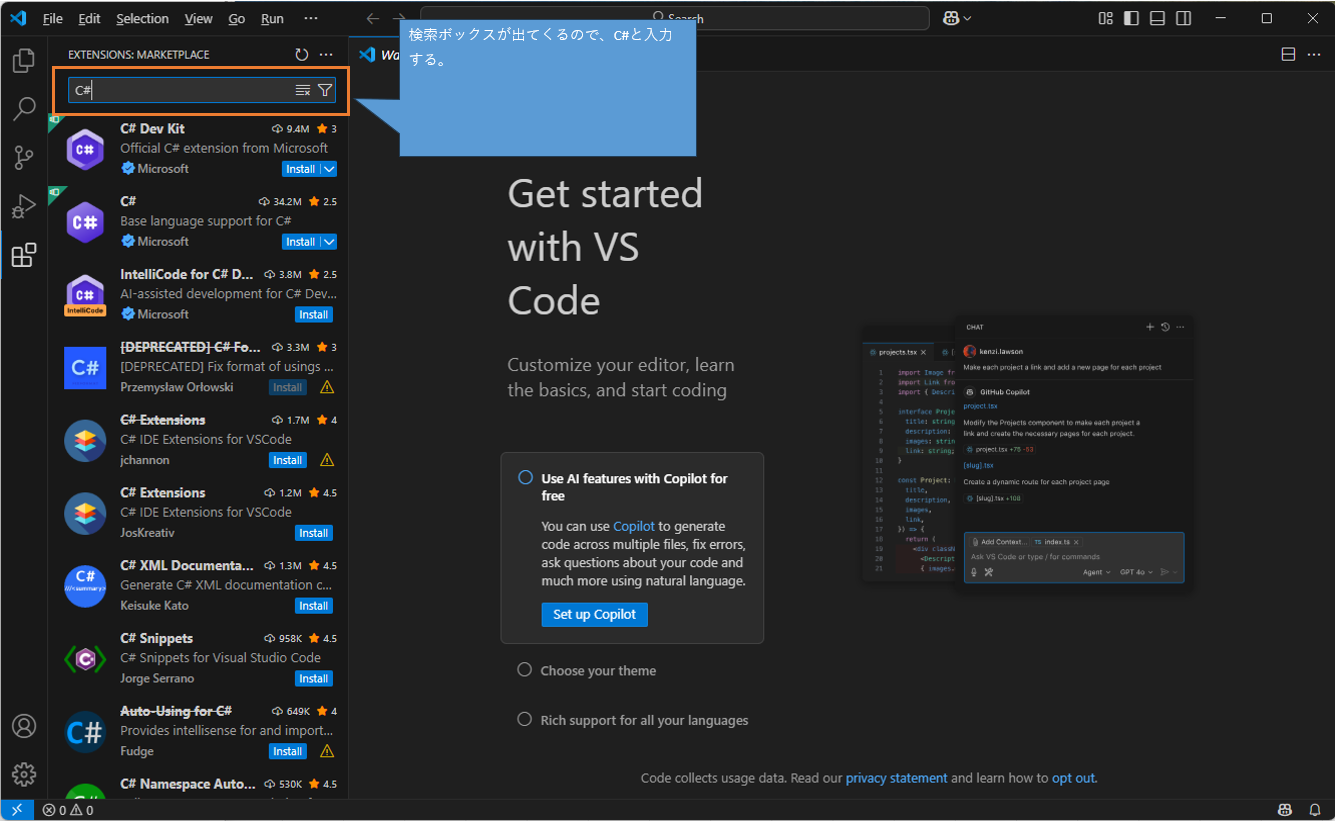
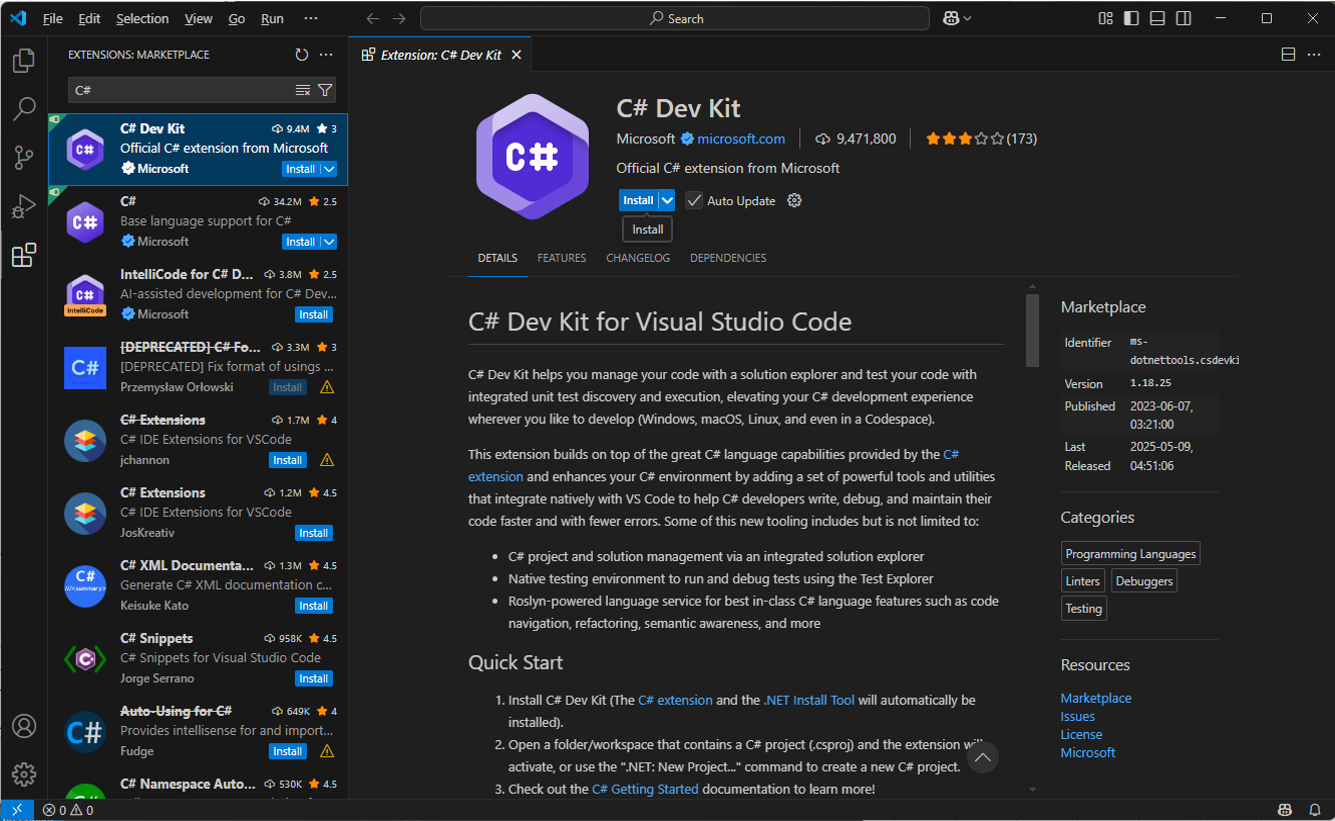
When the search results appear, select C# Dev Kit and click the Install button.
Next, install IntelliCode for C# Dev Kit. IntelliCode is more powerful than IntelliSense. C# and Visual Studio are well known for their powerful IntelliSense code completion, but there’s an even more advanced version.
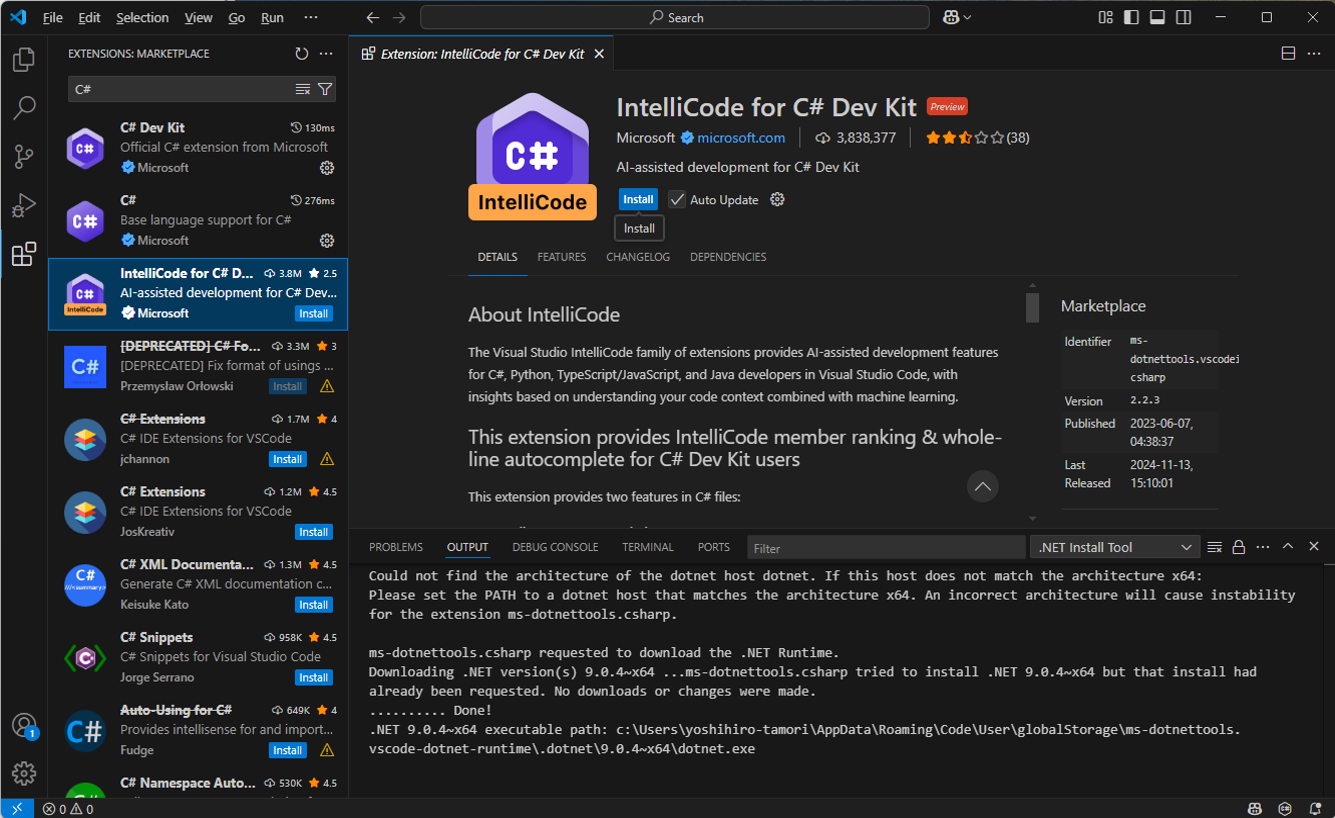
For details, please read this article.
https://qiita.com/yossy6954/items/f4c8b5f5f8f4c7a843c6
Next, select Command Palette from the View menu.
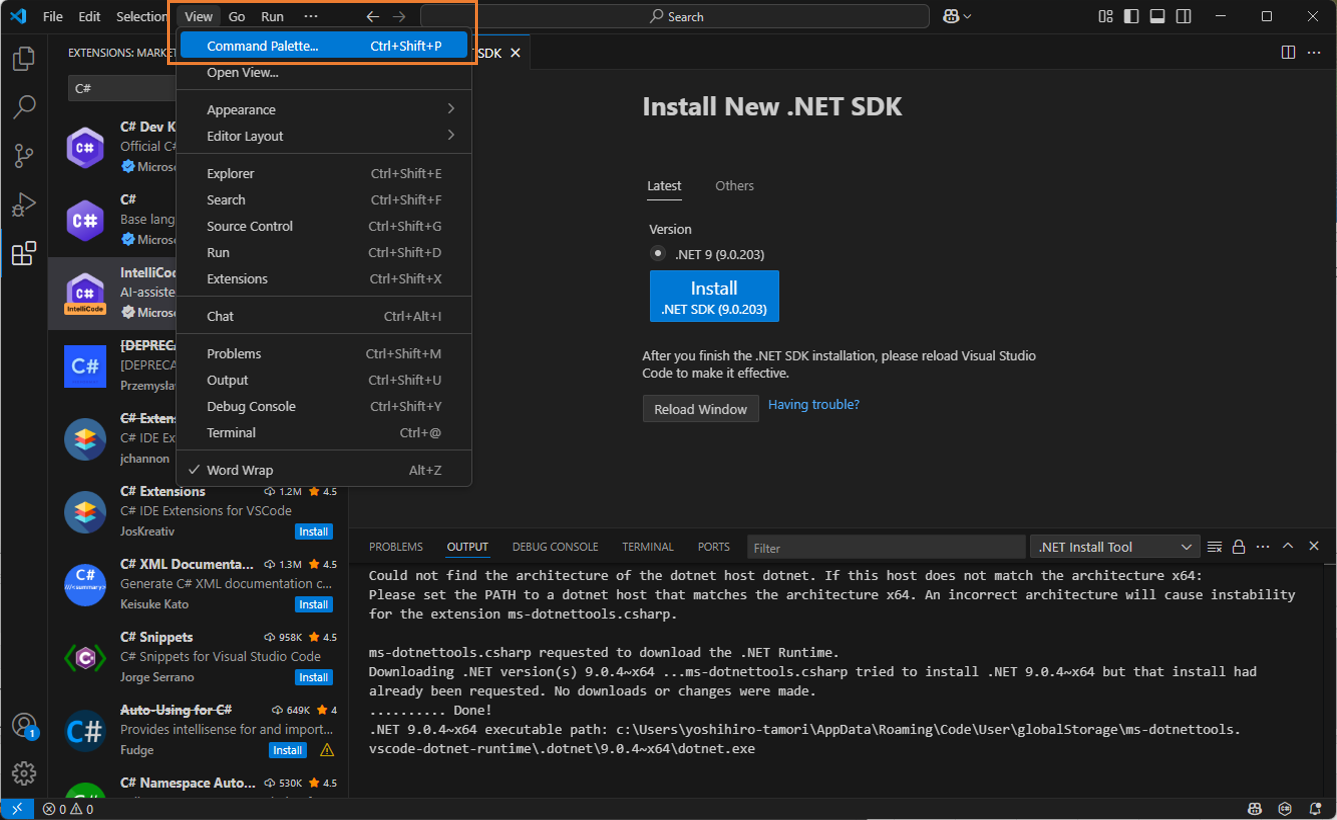
Type .NET: Install New and look for .NET: Install New .NET SDK.
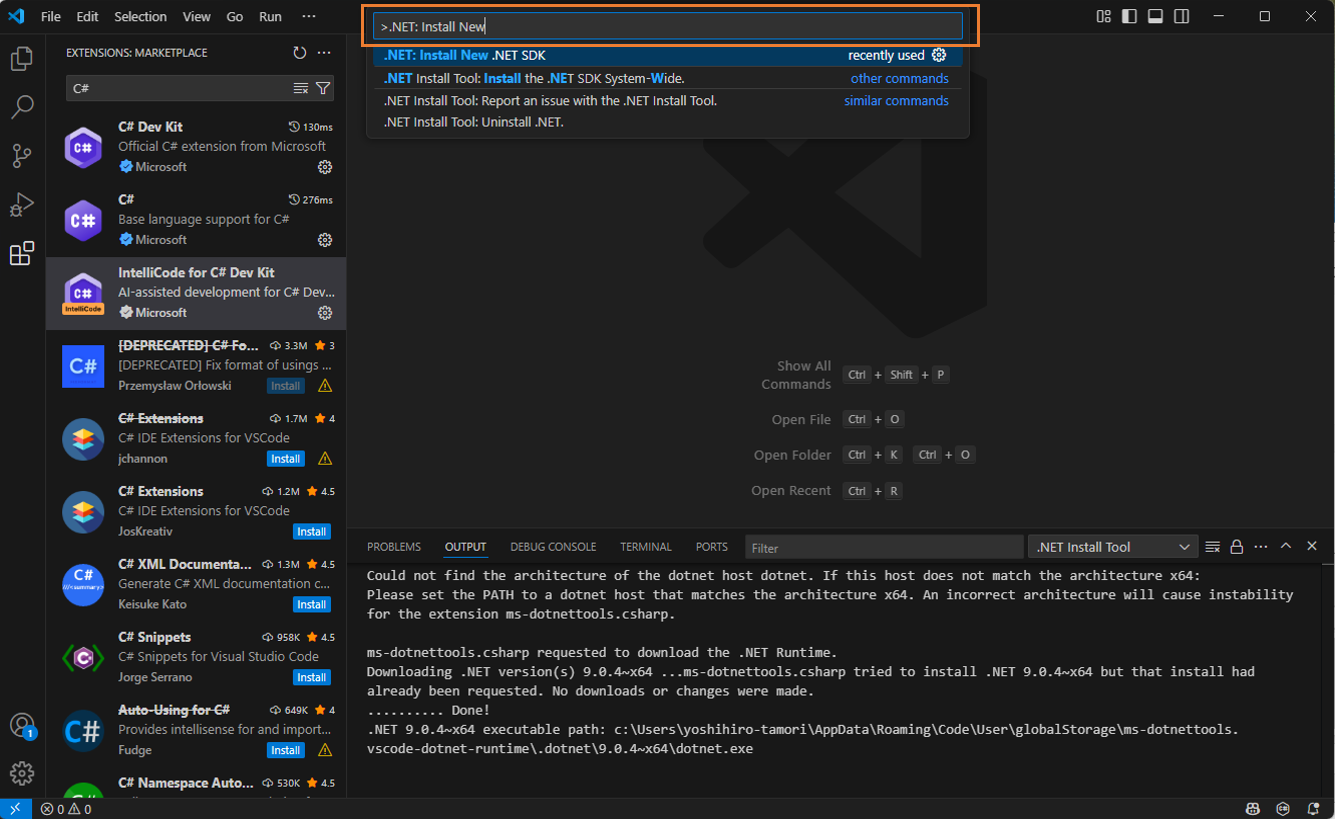
Click the Install button to install the .NET SDK.
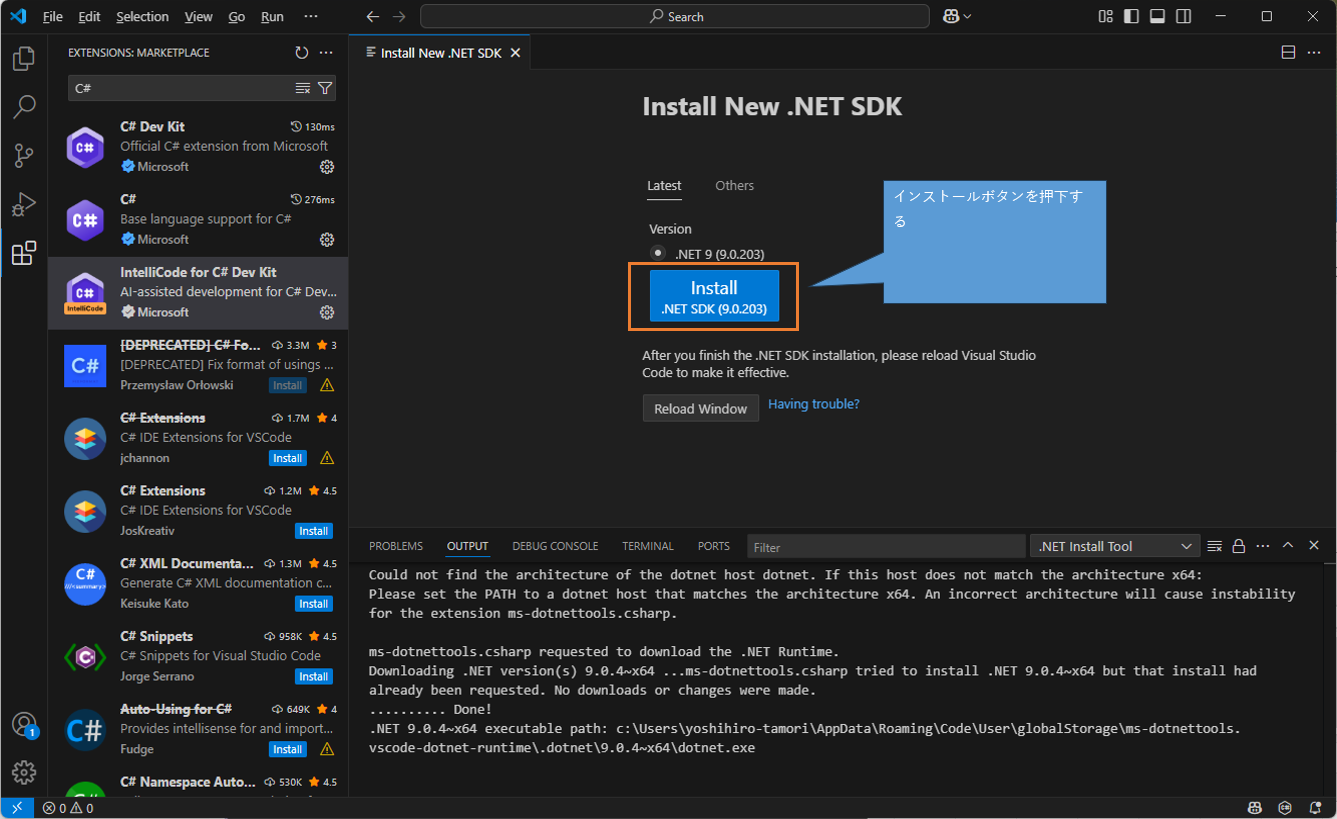
Once the installation is complete, restart Visual Studio Code. After restarting, run dotnet --version in the terminal to confirm the installation. If it displays the version without errors, you’re good.
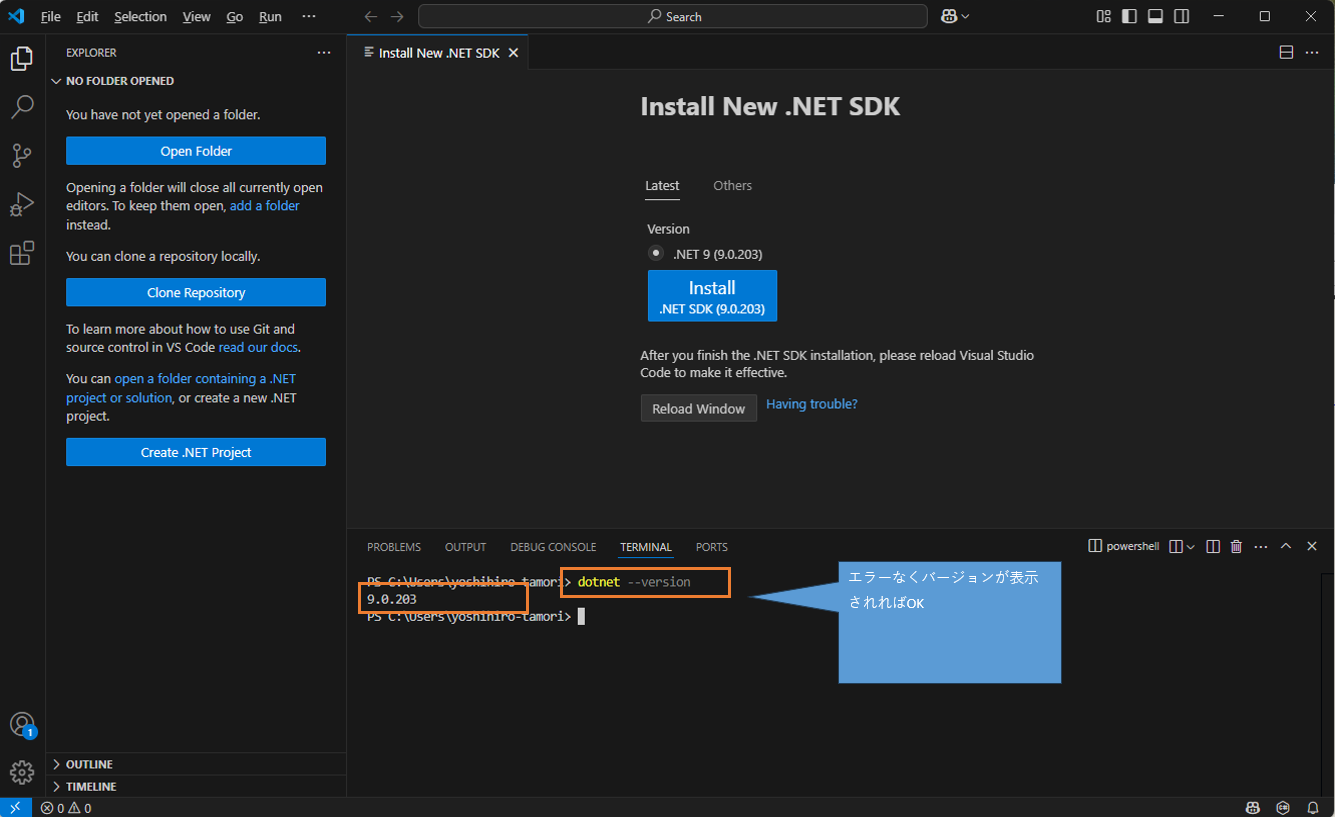
At this point, the installation is complete.
Creating a C# Project
#Next, let’s create a C# project.
Creating a Console App
#First, let’s create a console app.
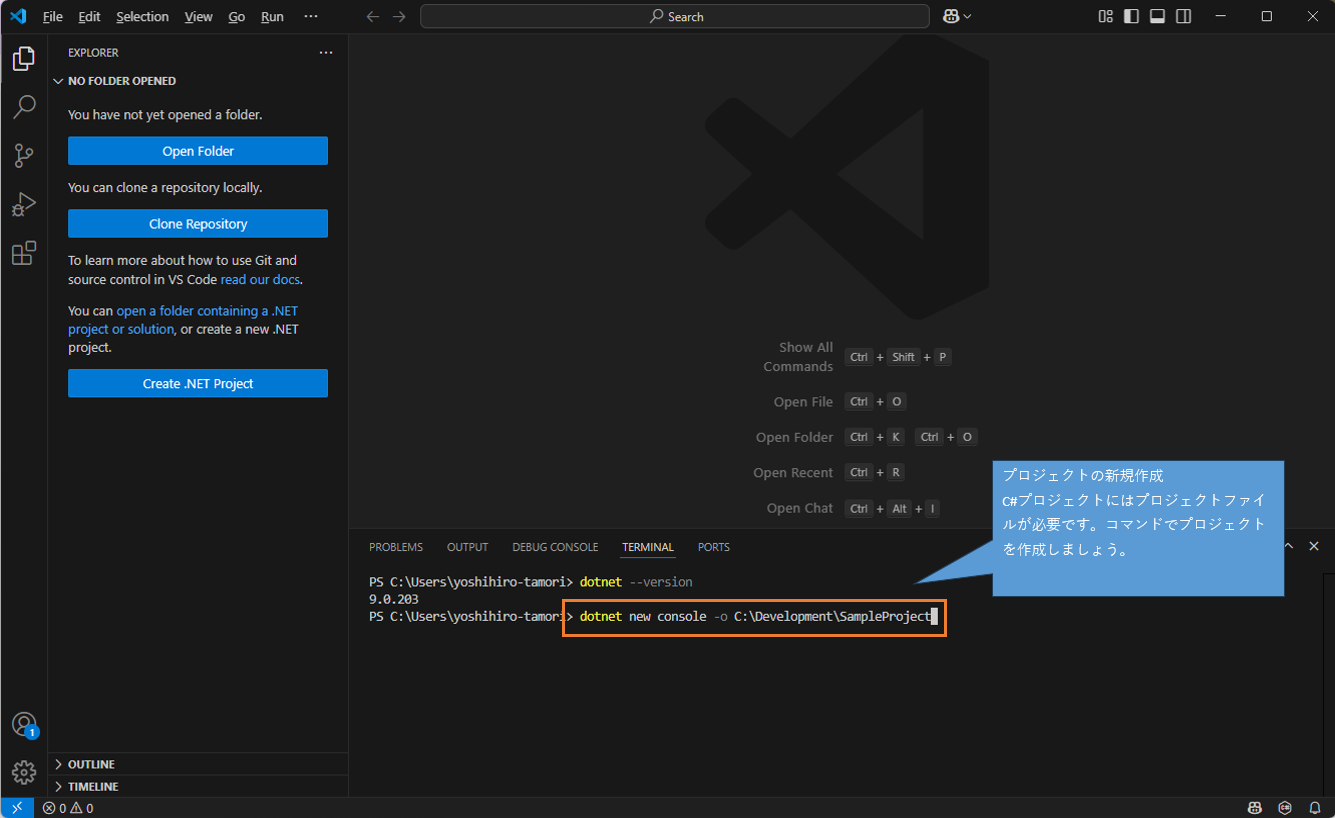
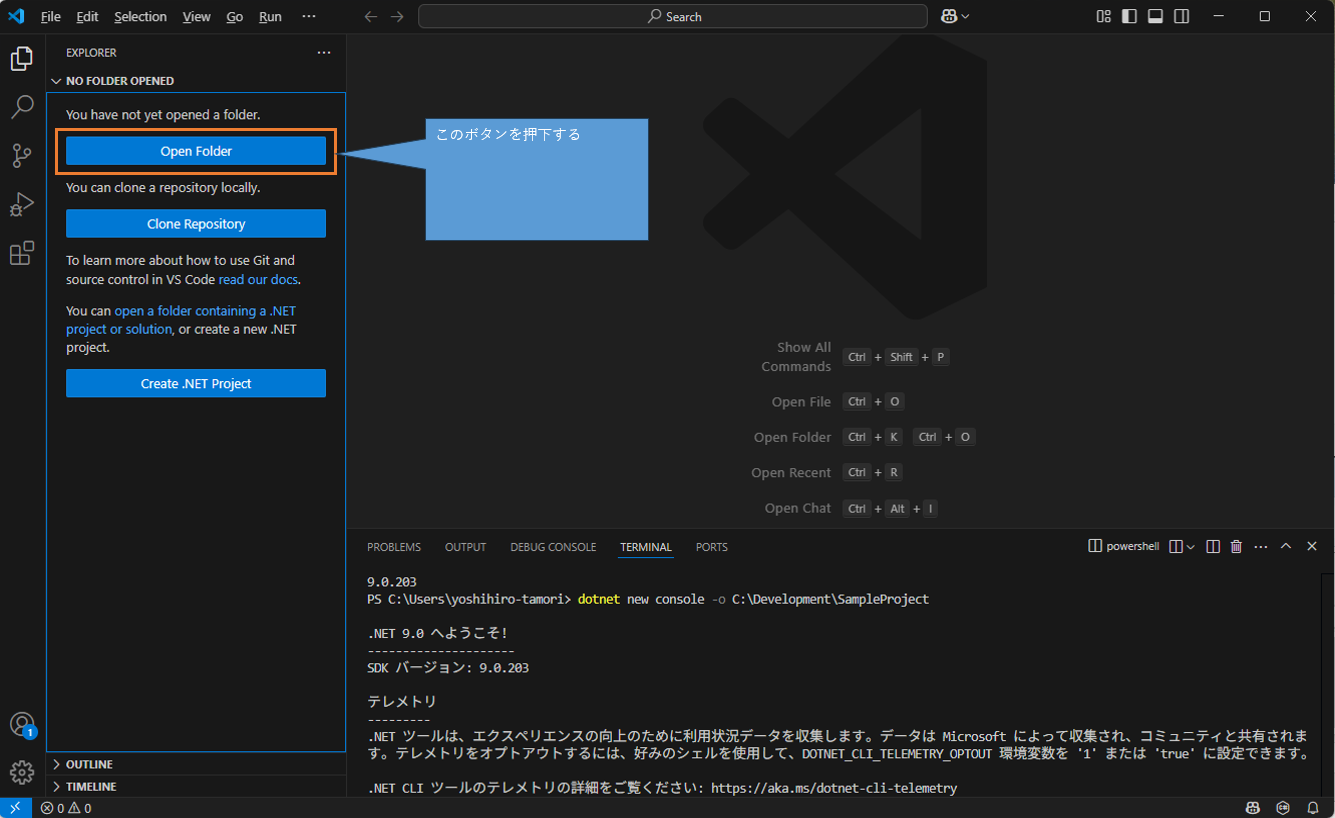
By running the following command in the terminal, you can create a new project (please adjust the directory and project name as appropriate).
dotnet new console -o C:\Development\SampleProject
The above is for Windows. For Mac, run the following command (adjust the directory and project name as needed).
dotnet new console -o /dev/SampleProject
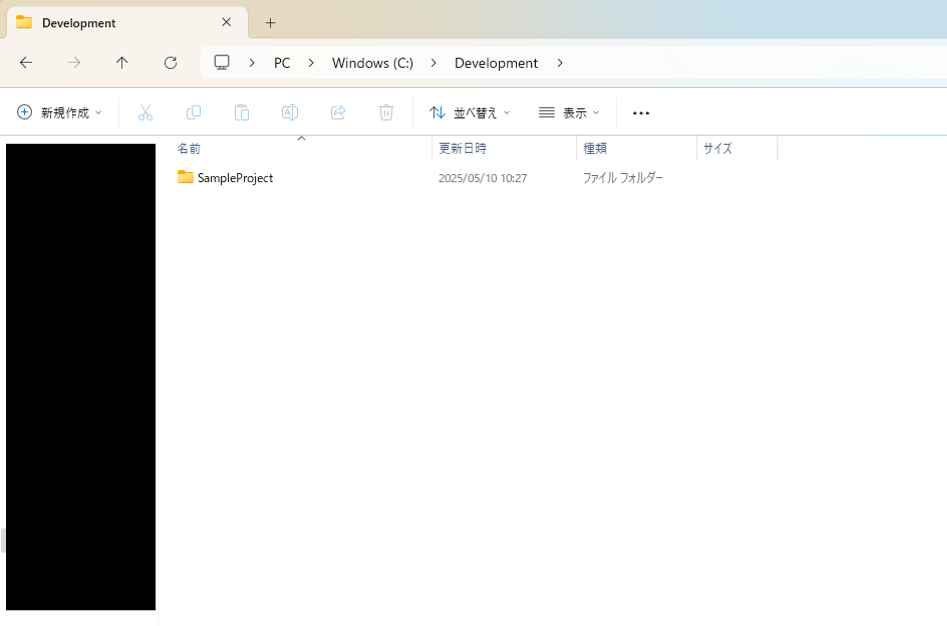
Confirm that the folder has been created in the Explorer.
Open the created project in Visual Studio Code.
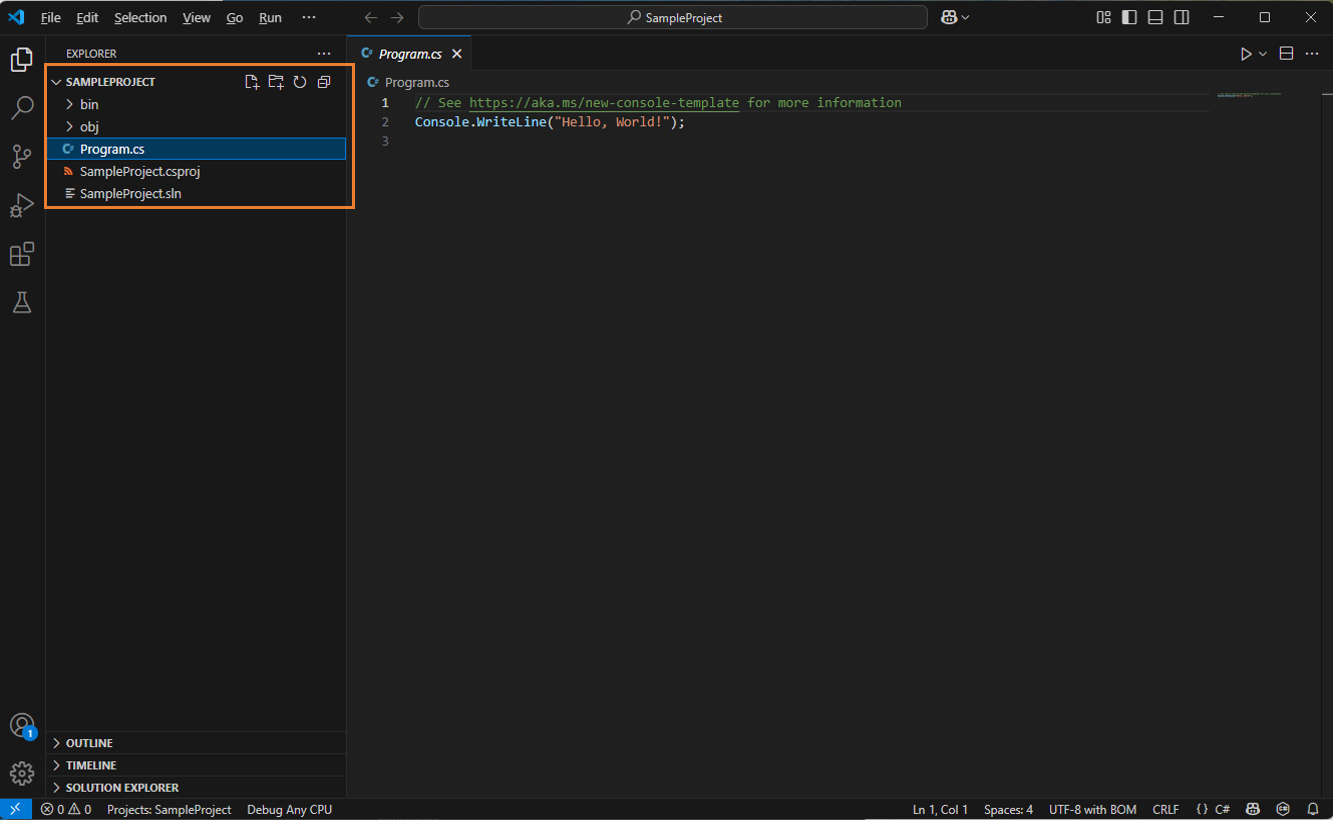
If you see the files and folders under the project folder displayed, it’s OK.
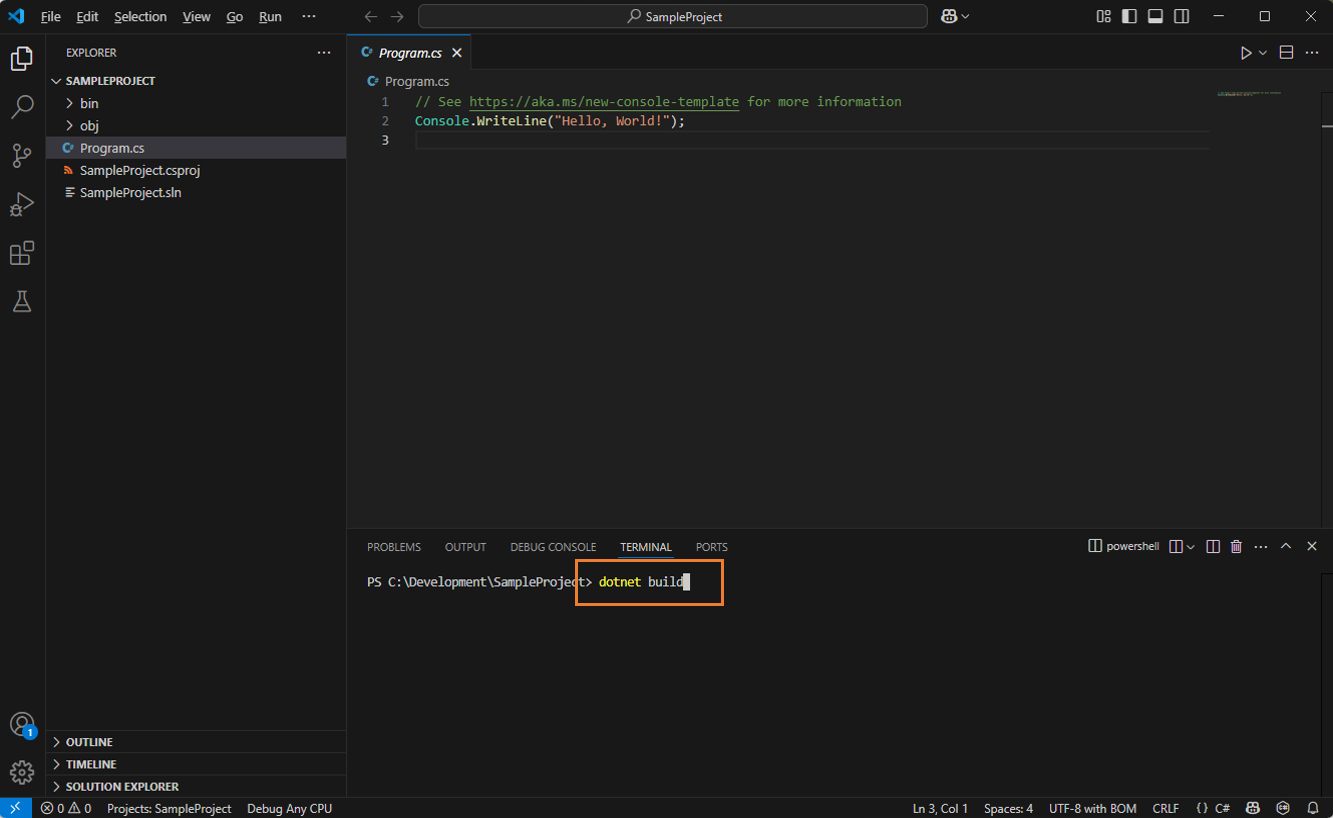
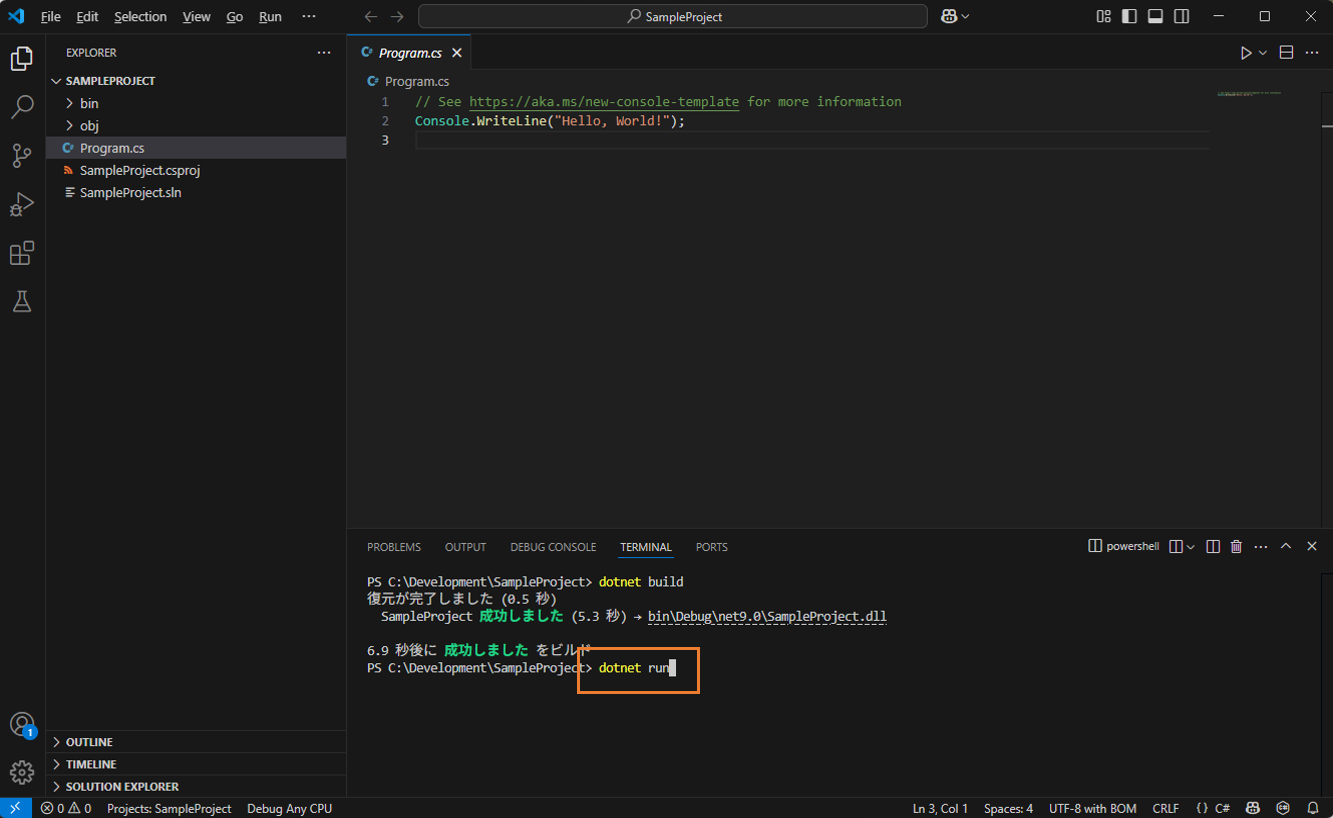
Since you’ve created the project, you’d want to run it, right? In the terminal, type:
dotnet build
After the build finishes, in the terminal type:
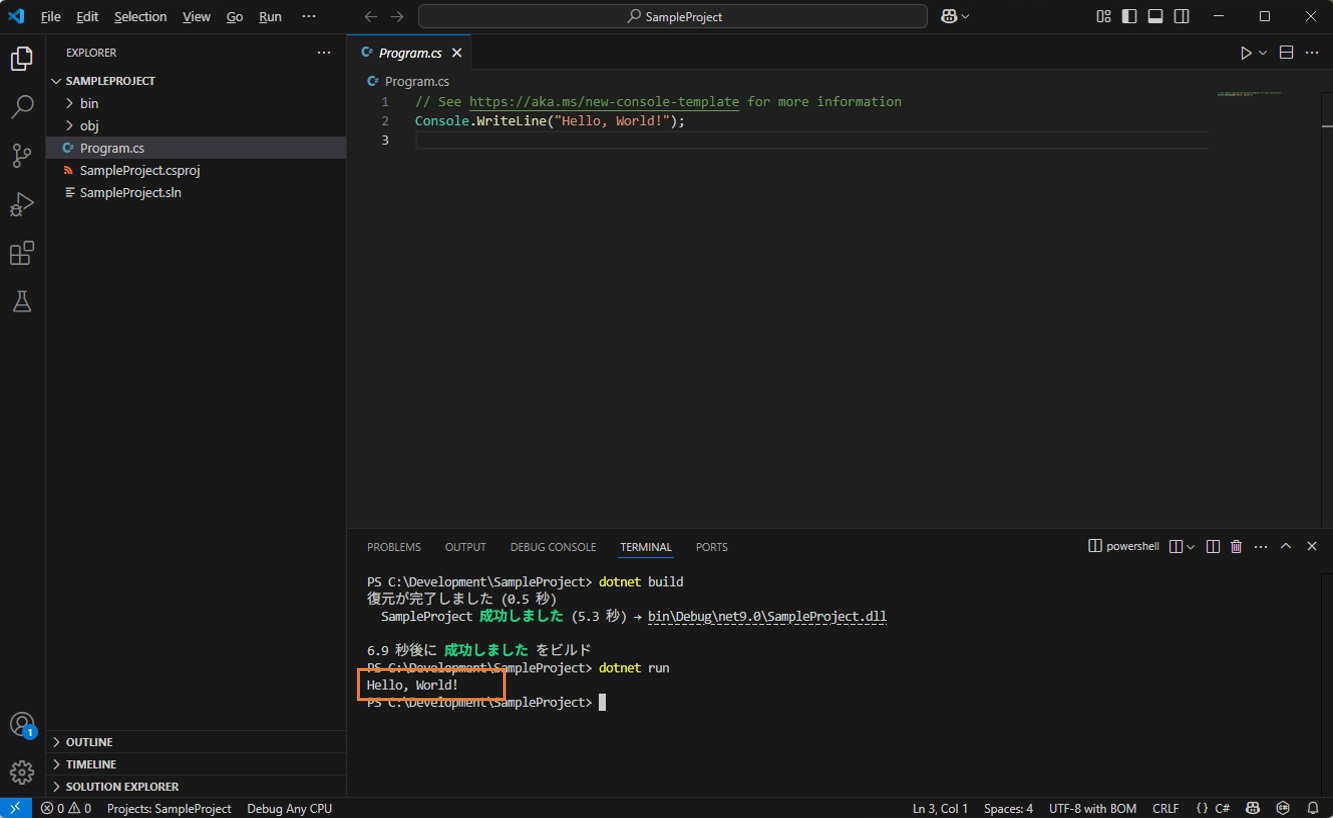
dotnet run
Hello, World! was displayed.
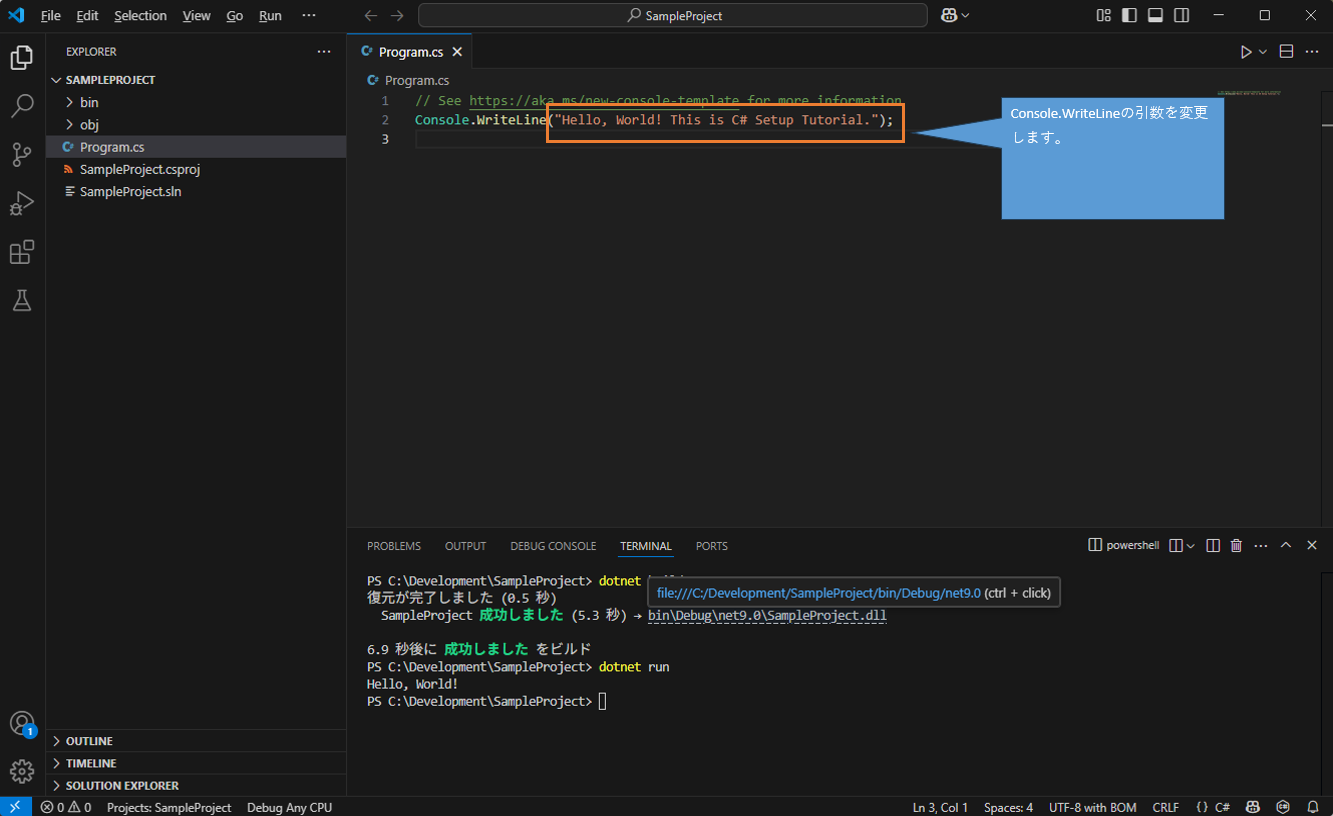
Change the message displayed in the console, save, and run it. As before, run:
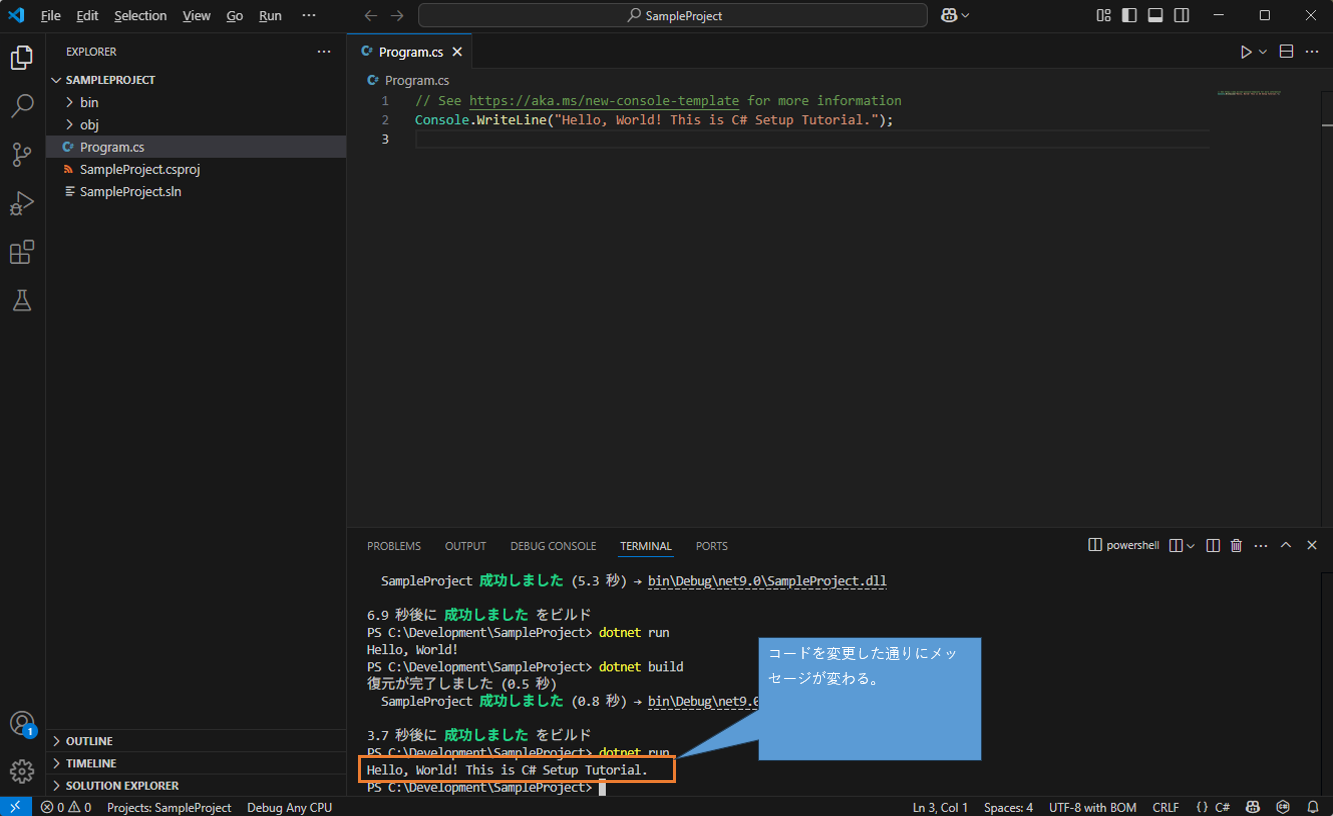
dotnet build
dotnet run
When you ran it, the message changed.
Creating a Web App
#Up to this point it’s a console app, which might feel a bit lacking. So next, let’s create a web app.
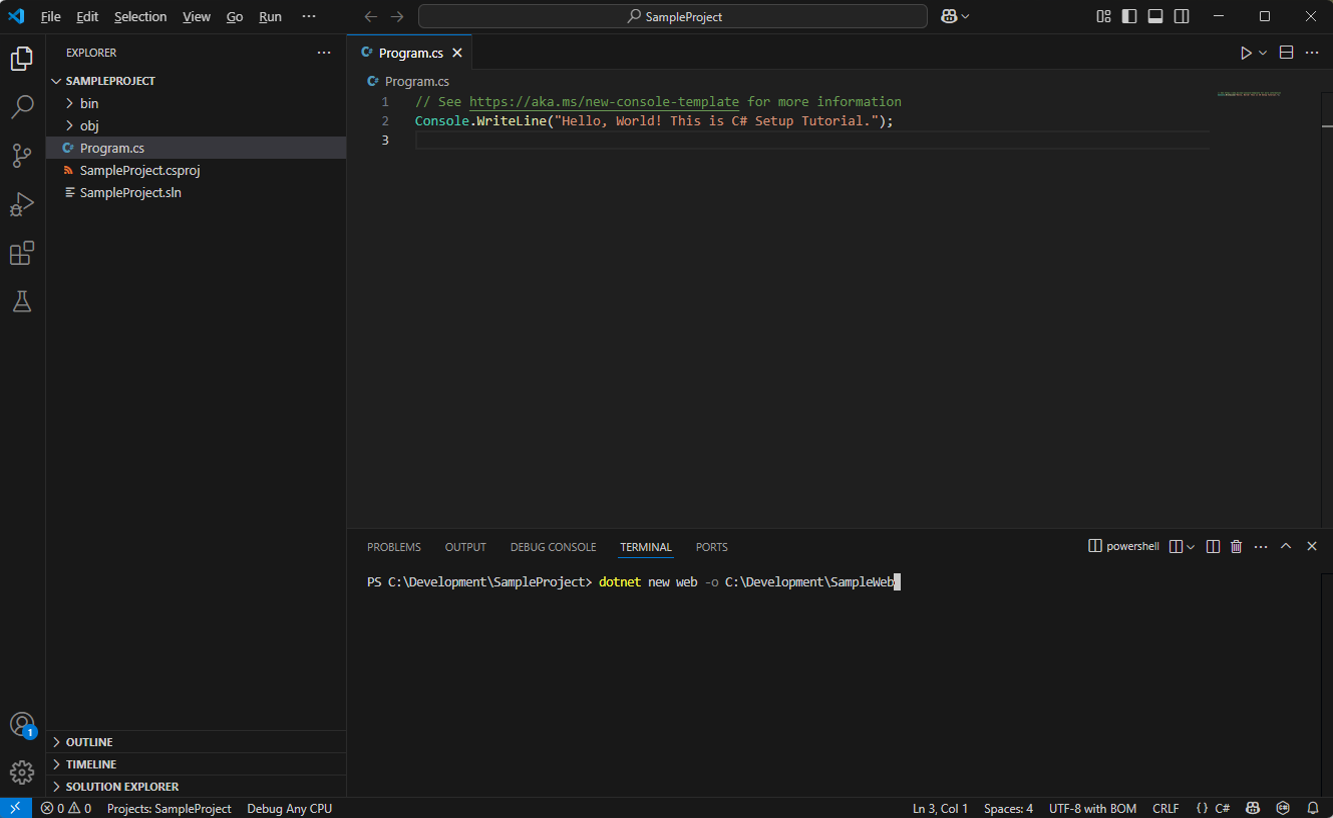
In the terminal, run the following command (the word after new specifies the type of project). Adjust the directory and project name as needed.
dotnet new web -o C:\Development\SampleWeb
The above is for Windows, so on Mac run the following command (adjust the directory and project name as needed).
dotnet new web -o /dev/SampleWeb
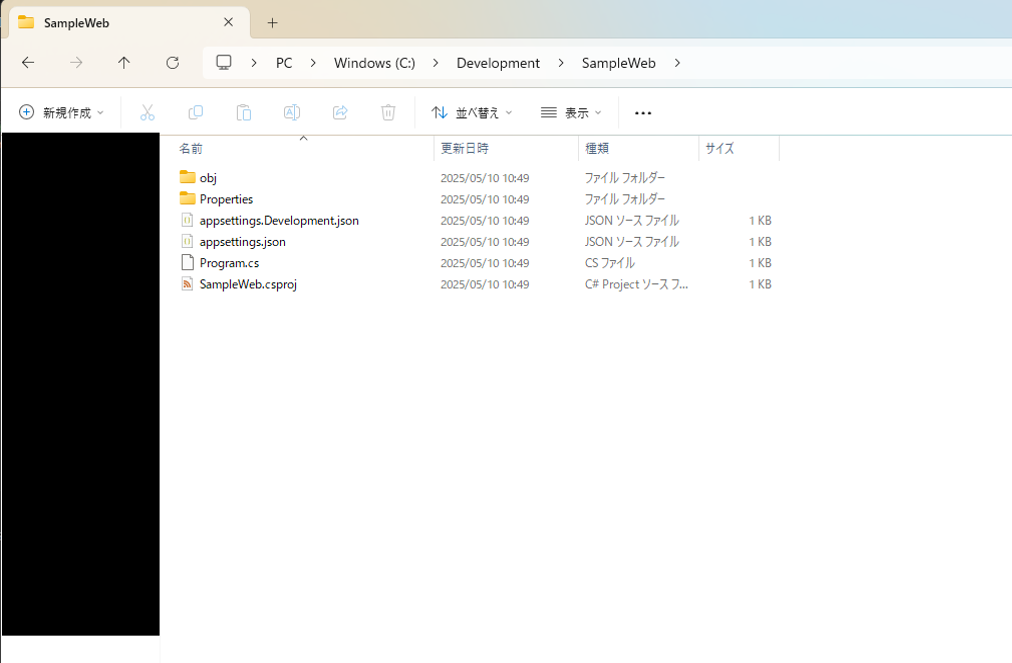
Confirm that the project has been created in the Explorer.
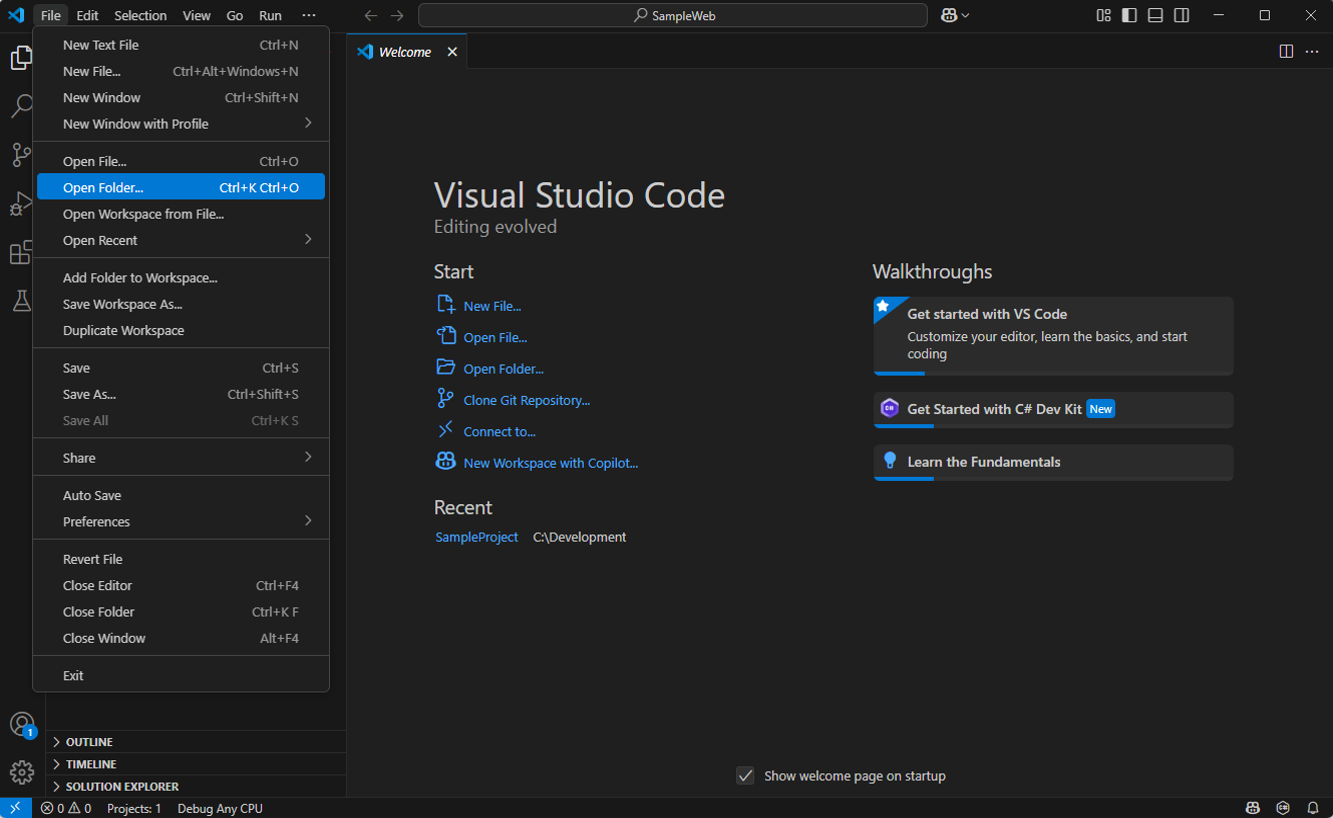
From the menu, choose “Open Folder” and select the folder of the project you created.
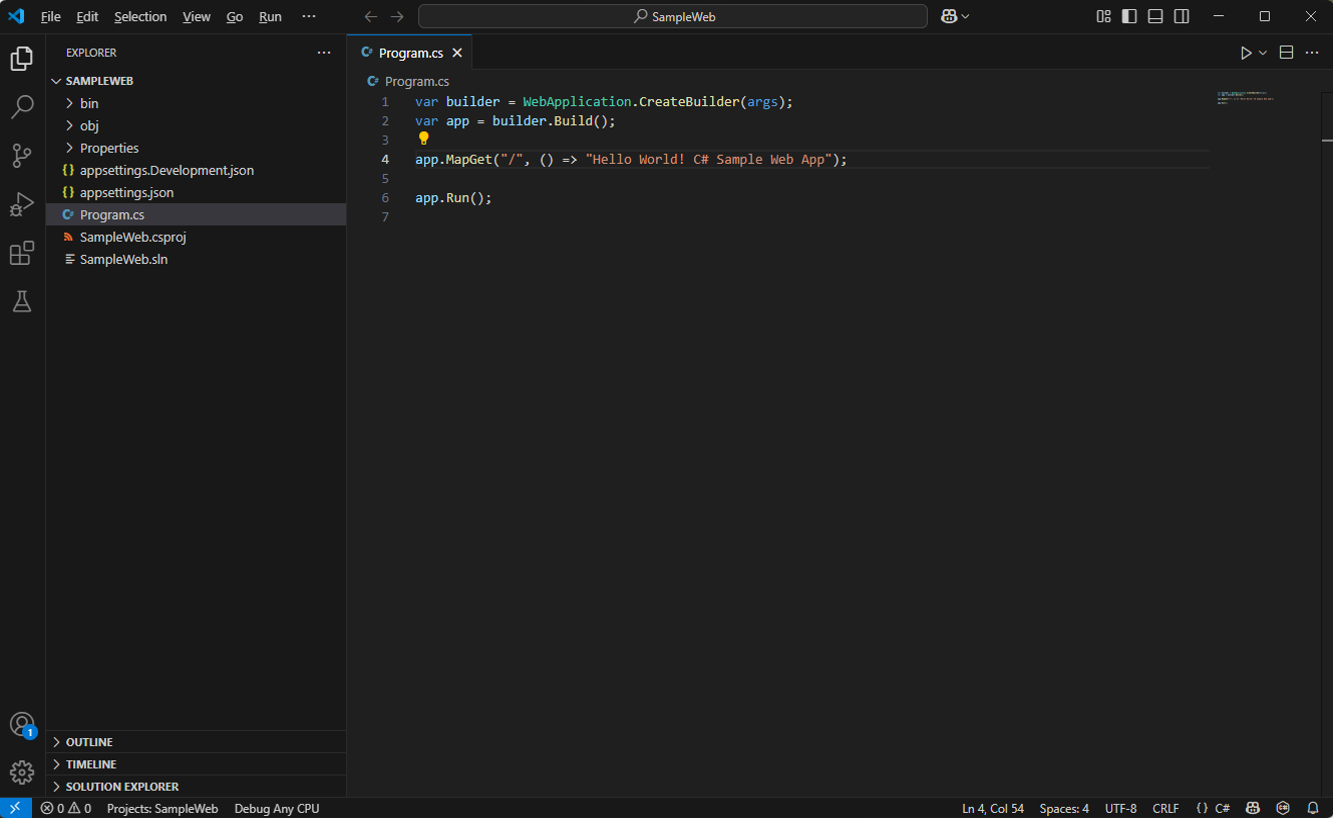
The web app project is displayed.
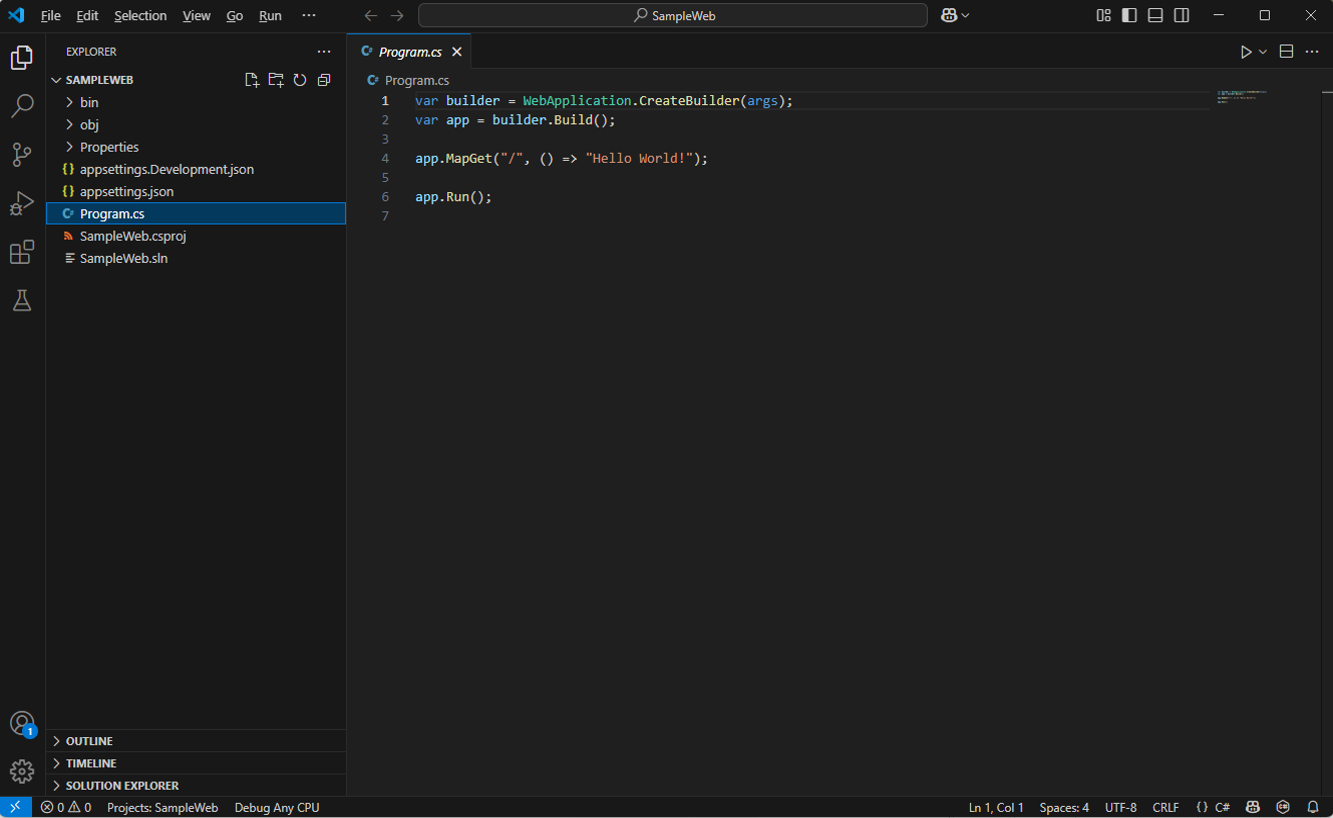
Add an arbitrary string to “Hello World” and try running it. To run it, type the following in the terminal:
dotnet build
dotnet run
Unfortunately, when running from Visual Studio Code, IIS Express does not automatically start and a browser window does not automatically open to display the page.
Visual Studio, however, automatically opens the browser for you.
Open the launchSettings.json in the Properties folder, check the URL, and enter that URL into your browser.
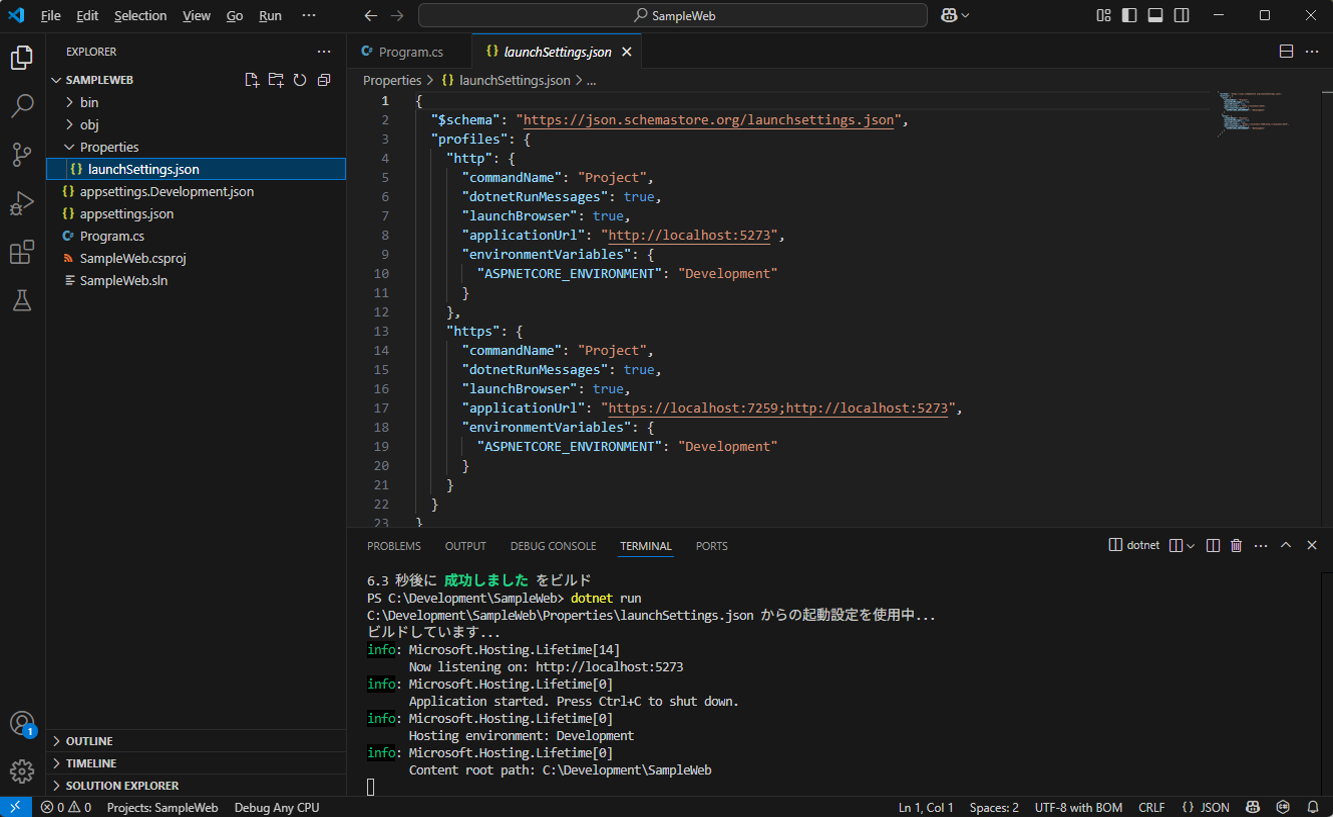
If it displays correctly, you’re all set.
Conclusion
#After setting up a C# development environment with VS Code, I felt once again that Visual Studio is convenient and easy. It’s almost entirely GUI-based, after all.
That said, you can set up the development environment with VS Code without too much difficulty (the installation takes a while, but that’s to be expected when installing Visual Studio or C#).